A very thin blinking line is visible at the end of the content you are typing. Well, you might want it to look darker or thicker than its present size. The Settings app provides you a slider called Cursor thickness that allows you thicken blinking cursor in Windows 10. Alternatively, you can also thicken blinking cursor through Control Panel. So, keeping these 2 ways in mind we are penning down this article of how to thicken blinking cursor in Windows 10.
Users with poor eyesight or users writing long content documents often get confused with the blinking cursor. Usually, the blinking cursor you experience is quite thin which becomes difficult to trace them, especially in the huge documents. But the Cursor thickness in the Settings app showcases a slider to Thicken Blinking Cursor in Windows 10. After you increase the thickness, you can see the blinking line is darker and thicker when compared to the previous line. Whereas, Control Panel gives you a drop-down menu with numbers to set the thickness of the cursor. So, let us move ahead and see how to thicken cursor in Windows 10.
Table of Contents
How to Thicken Blinking Cursor in Windows 10
As mentioned above, you have two ways to thicken blinking cursor in Windows 10. Find the ways below –
Way 1: Via Settings App
- Expand Settings app on your screen by the Start Menu.
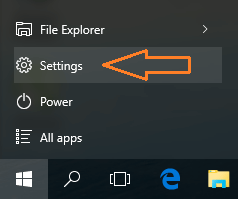
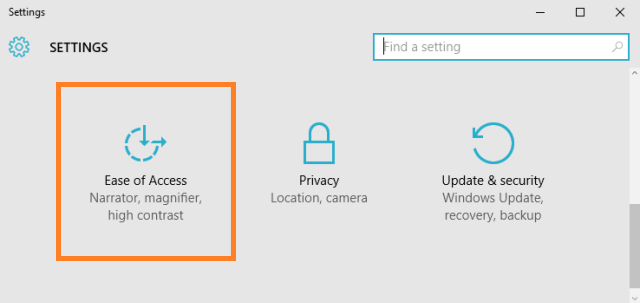
- From the available different categories, pick up Ease of Access.
- The left bar displays many options, choose Text cursor.
- Now, take a glance at the right side and you can see Cursor thickness with a slider.
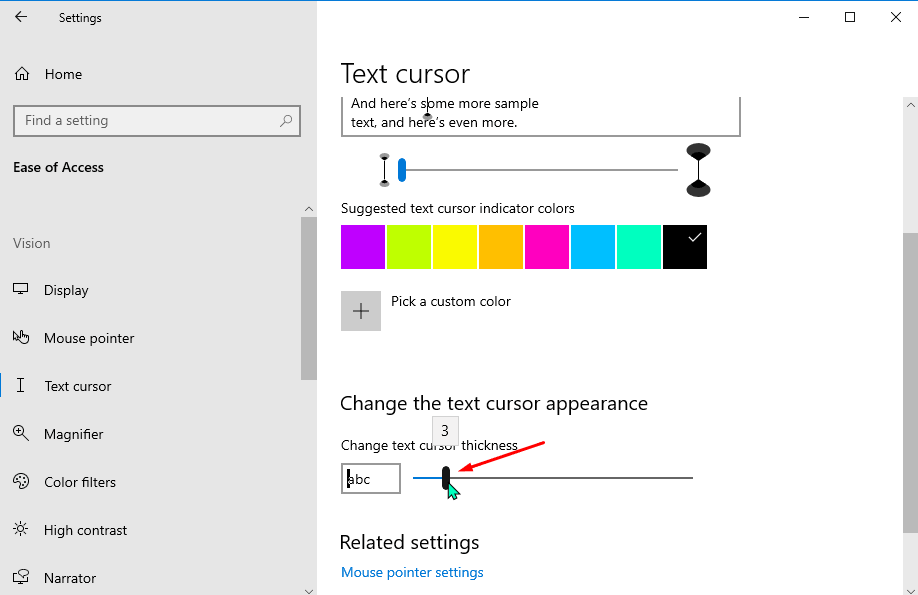
- To Thicken Blinking Cursor in Windows 10 Move the slider towards the right and thicken blinking cursor. You can see its preview at the side also.
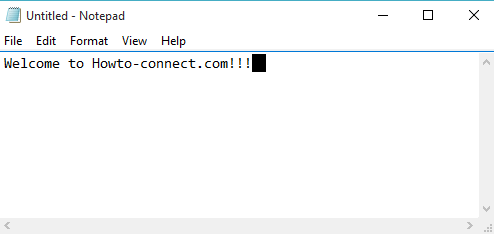
- Open any text document and see the cursor darker and thicker.
Way 2: Through Control Panel
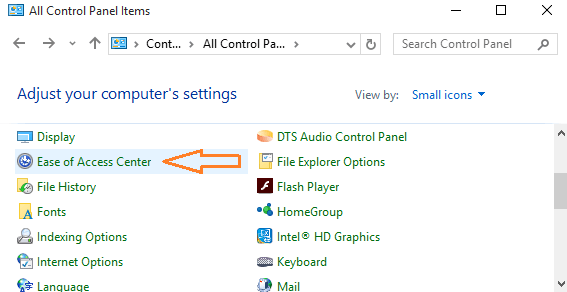
- Make your way to the Control Panel and pick up Ease of Access symbol.
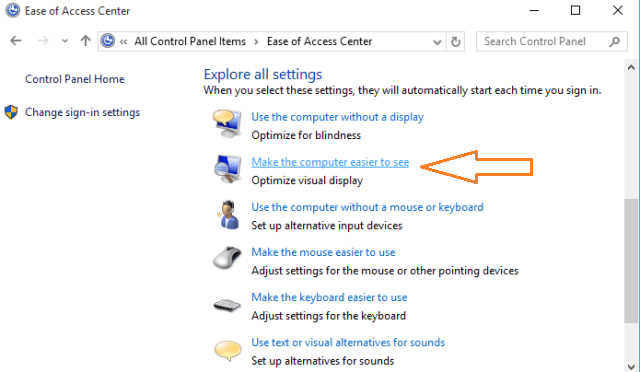
- Scroll downwards and find the link Make the computer easier to see. Click on it.
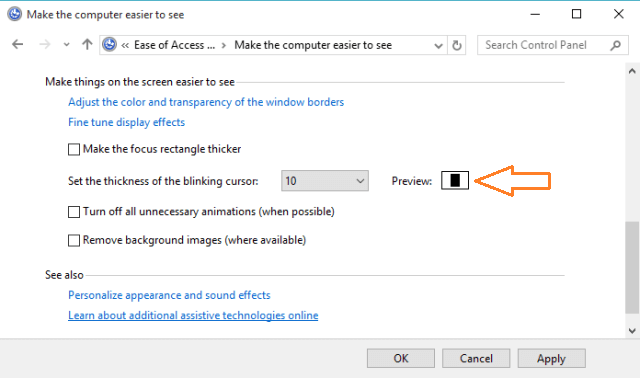
- You are now taken to the Make the computer easier to see a window where different settings options are available. Come down and you can see an option Set the thickness of the blinking cursor.
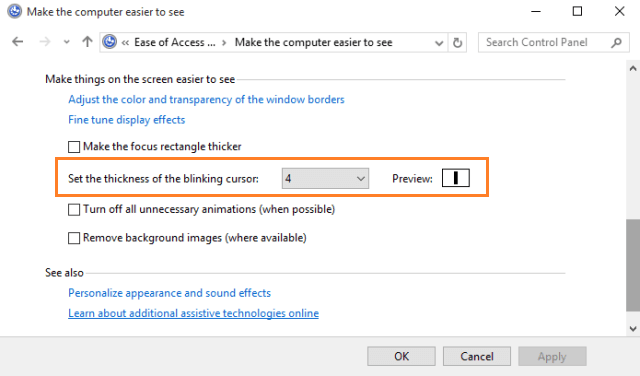
- A drop-down menu is associated with it. Click the drop-down menu and pick up the larger number of your choice.
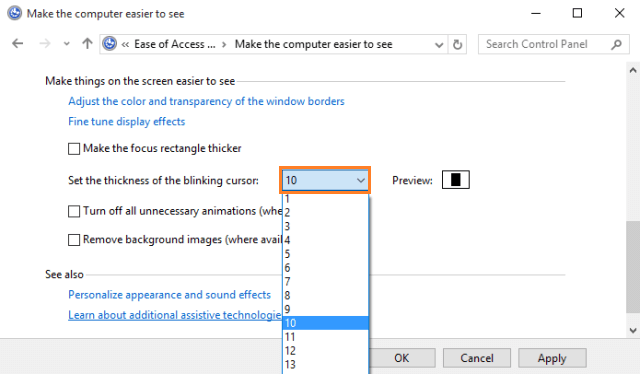
- After choosing desired number, you can see the preview of the cursor thickness also.
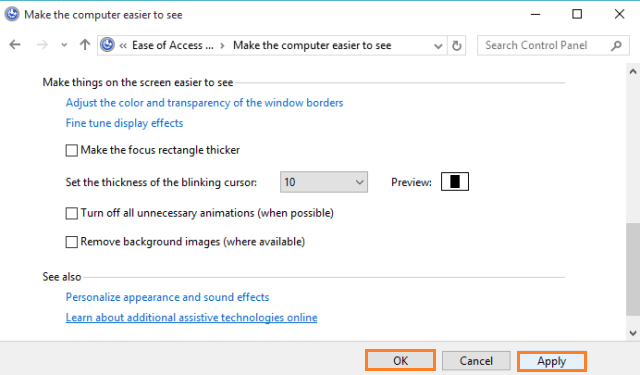
- After assigning the thickness, click Apply and Ok buttons to apply the changes.
- Done!!!
The Control Panel way is the old method for assigning the thickness of the cursor. As we have experienced that Windows 10 is slowly bringing all the Control Panel items in the Settings app, so, Cursor thickness is also now available in the Settings app. So, we hope these two ways will fulfill your need in improvising the cursor thickness.
sunita
says:Thanks for your compliment Stephen.
Stephen Kamman
says:Thank you very much!!!