Accounts Settings in Windows 10 – In our previous posts of Windows 10, we have mentioned the enormous and exciting features that the operating system has in its store. But along with that it also carries the features initiated by the forerunners of the editions. And maybe this is the main reason behind the complete package of the Windows 10 operating system. And carrying forward one of the forerunners features is the multi-user operating system. And it definitely needs a place from where all the configurations of the user account or sign-in options, things like that can be handled. In this article, we will present How to Access and Use Accounts Settings in Windows 10.
And thus we have witnessed a few Settings category of the new Windows 10 which resembles with its’ previous edition, Windows 8. The Accounts category we see in the Settings of Windows 10 is such a setting that was present earlier also. So, it is the place that lets you do all the modifications related to your account, manage your sign in options, and also controls your workplace account. When compared with the older editions, two extra settings are available in this present edition. Handling the accounts in Windows 10 has never been so easy. With a good impression in mind about the Settings category, we move ahead to this topic How to Access and Use Accounts Settings in Windows 10 and will take you through its details.
Table of Contents
Access Accounts Settings in Windows 10
Step 1
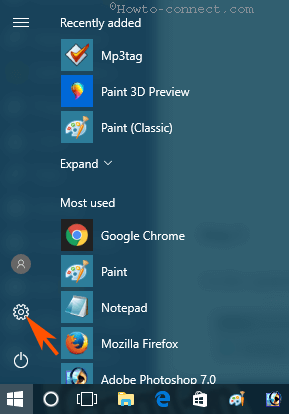
Click Start icon on the taskbar to Bring out your Start Menu on the screen.
Step 2
Click Start icon lying on the extreme left of taskbar. Once Start menu comes out, press the Settings cog.
Step 3
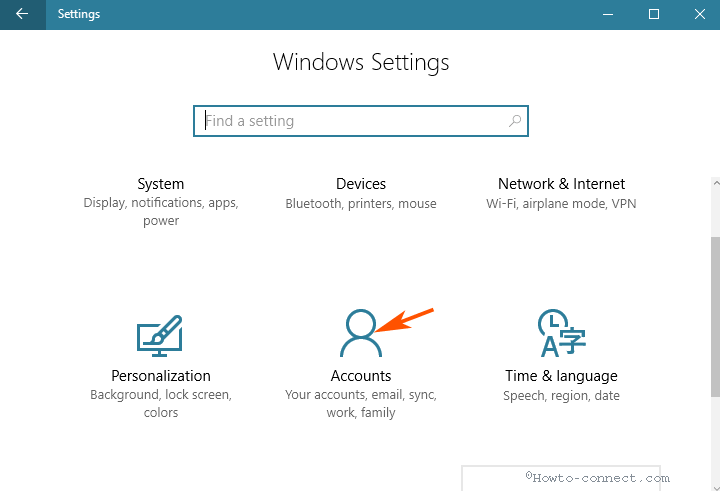
On the opened Settings window, go to the Accounts category.
Step 4
The settings related to the Accounts are opened now. The left column displays you five sets of settings you can do. The next half of the article shows you each section separately.
Accounts Settings in Windows 10
Account Settings comprise overall 6 segments –
1. Your info,
2. Email & app accounts,
3. Sign in options,
4. Access work or school,
5. Family & other people, and
6. Sync your settings.
1. Your Info
The first set of settings you will notice is the title, Your info. The right pane of the Your info displays the name of the account holder (your name) along with the email id. This is the place where managing the primary sign-in account is done. The email is connected to Microsoft’s cloud service.
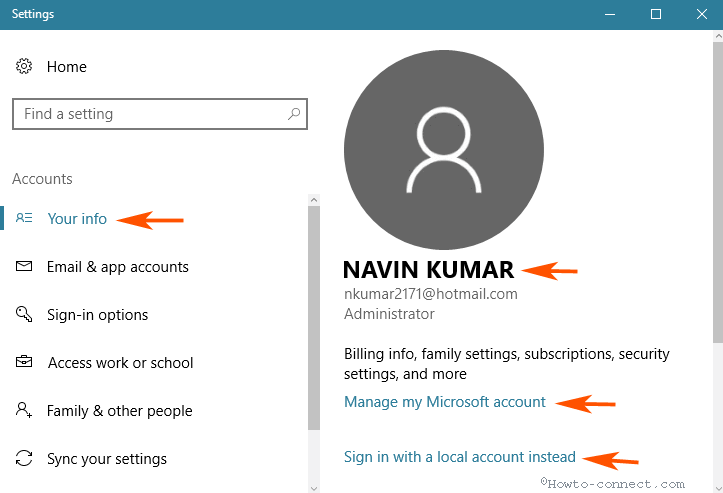
Coming down a little bit you will see a link More account settings online. This link takes you to Microsoft account section where you can control and modify your payment and billing section, edit your personal details or profile and things like that. Moreover, you can “Sign in with a local account instead” from this location in this pane.
Just below the link, you will see your Account picture. It will display your current account picture.
The Create your picture section lets you set an account picture either from the Camera app or from the computer using Browse for one.

See – How to Change Your Info on Windows 10 – Use an Adorable one.
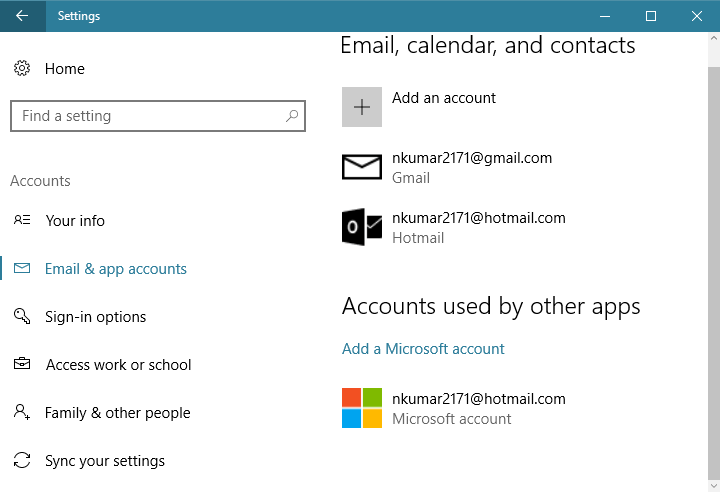
2. Email & app accounts
Email & app accounts Settings section provides you a platform for Addition and modification of the email ids applicable in the applications such as Email, Calendar, Contacts, and others on Windows 10.
3. Sign-in options
This setting of the Accounts category allows you to make your account more protective. In terms of security, there are four divisions of settings.
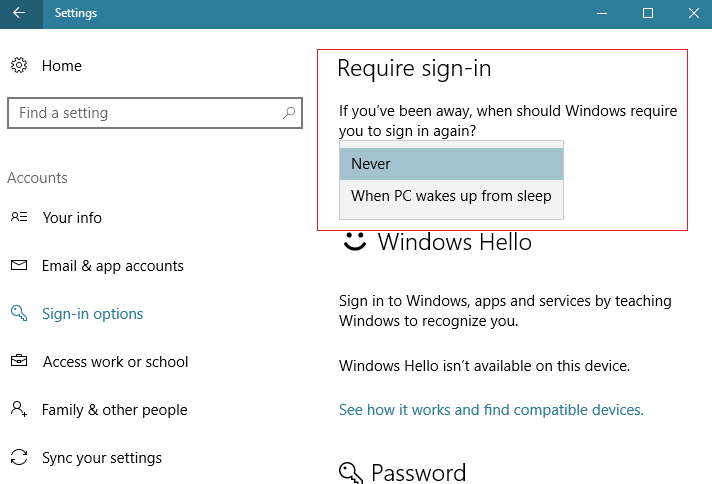
Require Sign-in
The first and foremost Section of Sign in option allows choosing the occasions when you would like to sign in your Windows 10. Here you will find a drop down having two options – 1. Never and 2. When PC wakes up from sleep.
The Sign-in policies provide you two options to select from. Either you can choose Never or When PC wakes up from sleep. When you are inactive, the screen gets locked or enters sleep mode, so it is the Never option that will not ask for a password to get in the Windows.
When you choose the first one from the dropdown you will get every time a login screen demanding a sign in from you to access the desktop.
Alternatively, when you Select Never you will be automatically logged in to your desktop.
Windows Hello
Windows Hello enhances the Windows 10 cognition while signing into your system. This feature allows signing in without entering email account or pin but with the help of either fingerprint or facial recognition. Windows hello is an additional layer of protection for your Windows 10.
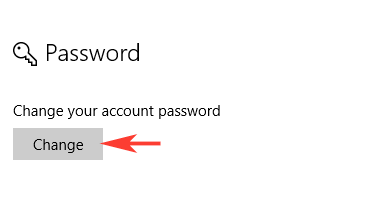
Password
The next section is of Password. A click on the Change button allows you to change your Microsoft account password.
PIN
The subsequent segment of Sign-in options existing in Accounts Settings in Windows 10 is the PIN. It allows you to utilize it in place of the password. You can make a PIN and use the number to sign into your system.

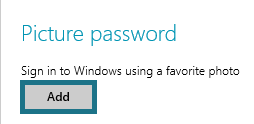
Picture Password
Coming down to the Picture Password, you can choose any portion (gestures) over the picture as your password. The Add button will let you choose an image and create gestures which will be your password to sign-in to Windows 10.
.

Privacy
Privacy allows to show or hide your Personal data such as the particulars of your account on the login screen.

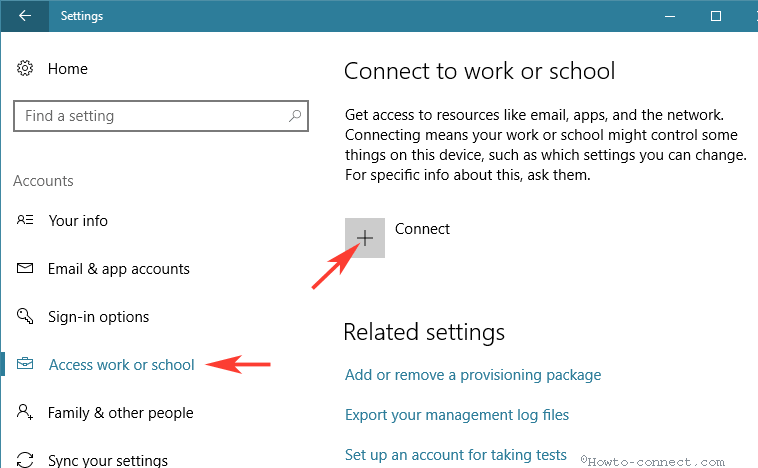
4. Access work or school
This is the new setting added to the Accounts category. To access your company’s resources such as email, network and apps with your workplace account you need to get into the Workplace setting. We will soon update you about this setting.
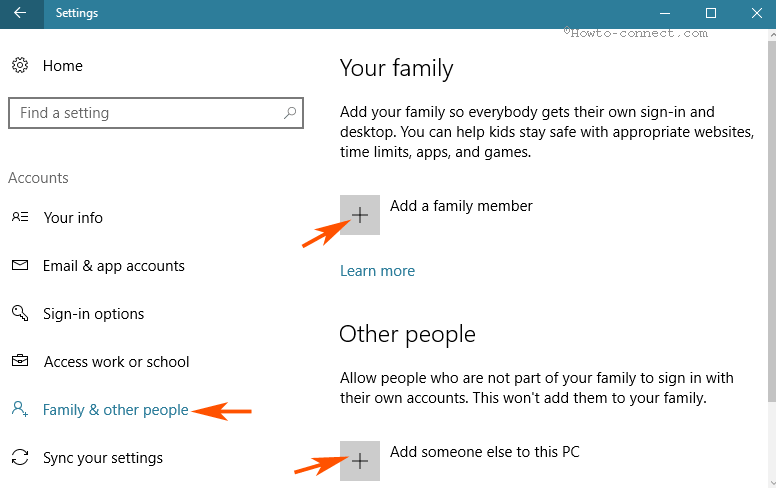
5. Family & other people
Windows 10 being a multi-user operating system allows you to create additional accounts. You can create an additional Microsoft account or even a local account. To create a local account, you don’t need any email address. All you need to do is to execute a click on the Add an account button.
From the following screen choose what type of account you wish to create. As stated above you can create an extra Microsoft account or local account (without any email id) or even add a child’s account. The child’s account allows you to take advantage of the Microsoft Family Safety feature by setting restrictions on the websites.
Another interesting thing Windows 10 provides is to Set up an account for assigned access. One Windows Store app can be accessed by you with this account. After going through the link, click on Choose an account. For the assigned access, choose an account you will use for it followed by a click on Choose an app. Select which app you wish to give the assigned access. You need to restart your system to apply the changes.
This part of Accounts Settings in Windows 10 provides initiate surplus accounts for Family members and different others.
Your family
You can allow your children and households making their own accounts and allocate them a time limit and website for accessing.
Other people
This section facilitates you to let the different individuals for signing in who are not a part of your family.
6. Sync your settings
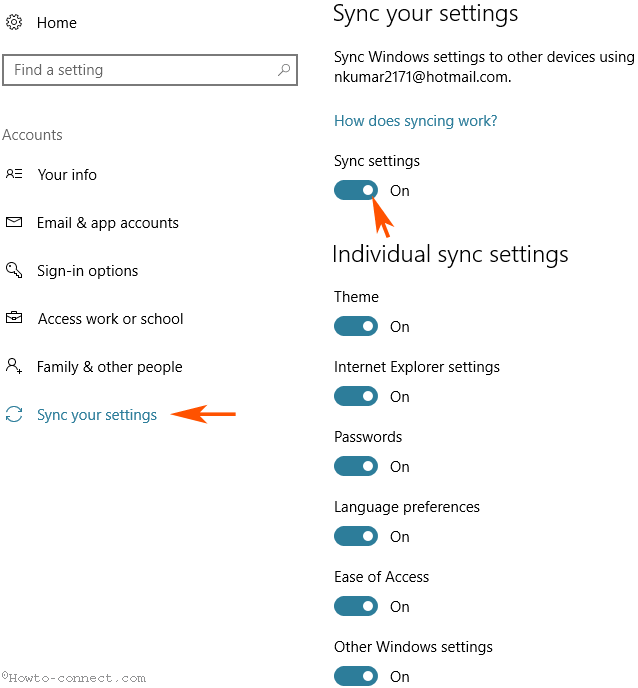
The Sync your settings section allows you to configure your computer’s sync settings. This is the newly added setting to the Accounts category. This setting is quite beneficial for those who do not wish to sync all the items of their personal computer with their work system or maybe vice versa.
The right pane of this setting allows you to turn on or off the Sync all settings. If you choose to turn it off, no sync is possible and the rest of the items in the setting will be grayed out not letting you to carry out any other modifications. But, when you turn it on, it allows you to select individual items for the sync to take place. You can use the sliders and make a theme, apps, web browser settings, passwords, preference of language, and ease of access sync to on or off.
Final Touch
Well, the Accounts Settings in Windows 10 really stores a few interesting things. Two new settings have been included in this edition of Windows. Now, you can easily manage your account or other related settings. Hoping that we have provided you sufficient information about this Accounts Settings in Windows 10 we are putting an end to this post now.
sunita
says:Follow the link – https://support.microsoft.com/
Lucien Bourque
says:Windows 10 refuses to allow me to switch to a local account. Each time I try, and it’s been closer to fifteen times than six, it tells me it cannot make the change to a local account and it gives me the error 0x80004005 – a real pain.