The Xbox app in Windows 10 put forward a feature entitled Game DVR which acknowledges the users to make a record of the moves of video games that are played on their machines. Continuing its facilities, it also qualifies the users to seize screenshots of the game clips.
In this post, we will pen down the steps of How to Enable and Disable Game DVR on Windows 10.
How to Enable and Disable Game DVR on Windows 10
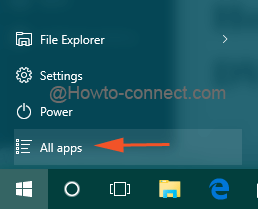
- Hit the Start icon to elongate the Start Menu on the screen.
- The last entry of the Start Menu located at the bottom area is All apps, click on it.
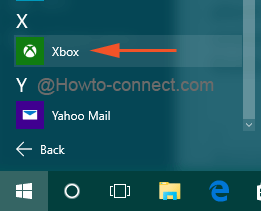
- Crossing all the alphabetical sections, reach “X” and appoint a click on Xbox.
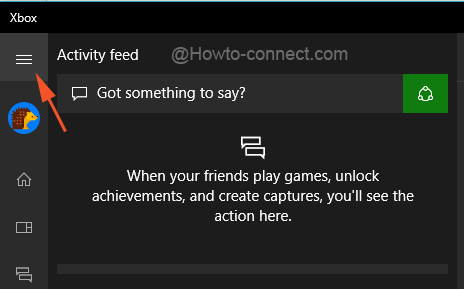
- Upon the occurrence of Xbox app on screen, take a glimpse at the upper left and three tiny straight lines will be observable, Click it.
- Do a tap on the Settings, the last entry on the displayed sidebar.
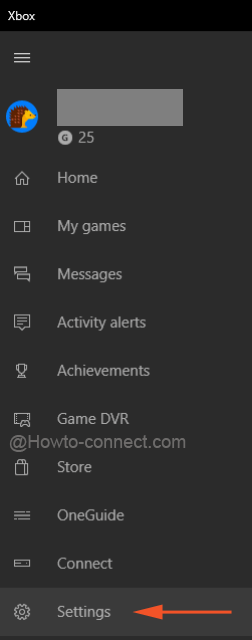
- Just underneath the Settings title, three separate segments will exist. Choose the middle one, Game DVR.
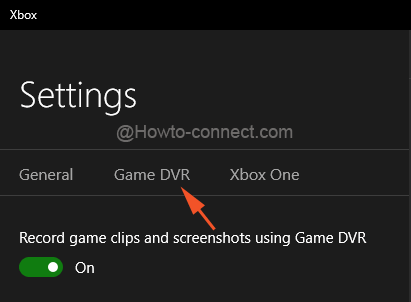
- Soon a slider denoting the ON position of Record game clips and take screenshots using Game DVR will be evident.
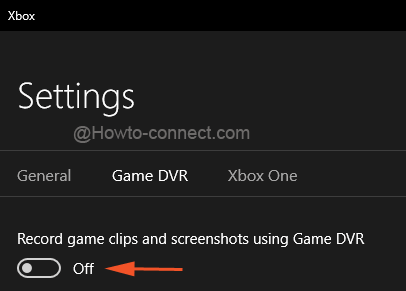
- Drag the slider towards the left and disable the recording element of Game DVR.
This grand feature of the Xbox app is enabled by default which means the shortcuts assigned by the OS will react instantly whenever you hit those. Either the footage or the capture of screen can be shared on the social media sites or can be stored in PCs for own reference. But once this feature is turned away, none of the shortcut combo will respond. The choice of enabling and disabling this added feature of Xbox is totally an individual decision. Give an attempt to the steps above and contribute your views in the comments form below.