Ways to Enable Braille Support in Windows 10 – In the Narrator Settings, Windows 10 Includes a very helpful tool for visually impaired users. The accessibility tool is Braille Support that provides you a perfect windows environment for the Blind users.
Using this setting, you can add a Braille display in Windows 10 in your preferred language. Also, this visually impaired supporting setting lets you choose your desirable manufacturer and Connection type. Currently, this is beta. It also recommends you to download and install a software compatible with the Braille settings on Windows 10. Windows 10 creator update will add Braille Support in April but you will find the necessary settings now. So you can enable this feature right now on your system.
Table of Contents
Enable Braille Support in Windows 10
Step 1 – You need to open Narrator first, so click the combination of Win and U on your keyboard. Make sure that Narrator is running before starting to Set up Braille Support. If you haven’t, then follow Windows 10 – How to Start and Get Help of Narrator.
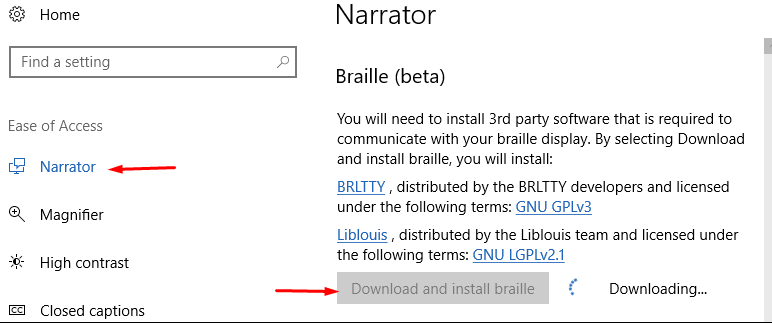
Step 2 – Go down to the lowest part of Narrator and click on Download and install Braille.
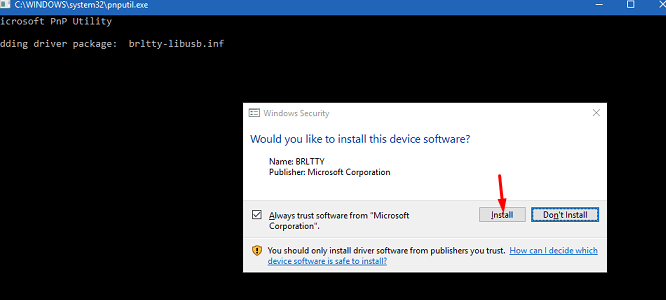
Step 3 – After a while, you see a UAC pop up, select Yes to install Braille. Quickly an installation dialog appears, select Install.
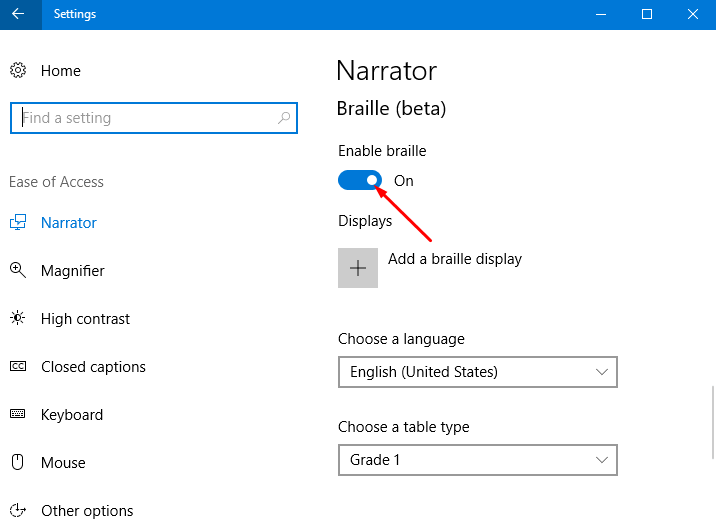
Step 4 – As the installation gets finished you will notice that Braille support is enabled. You can disable and Enable Braille Support in Windows 10 from here.
Add a Braille Display
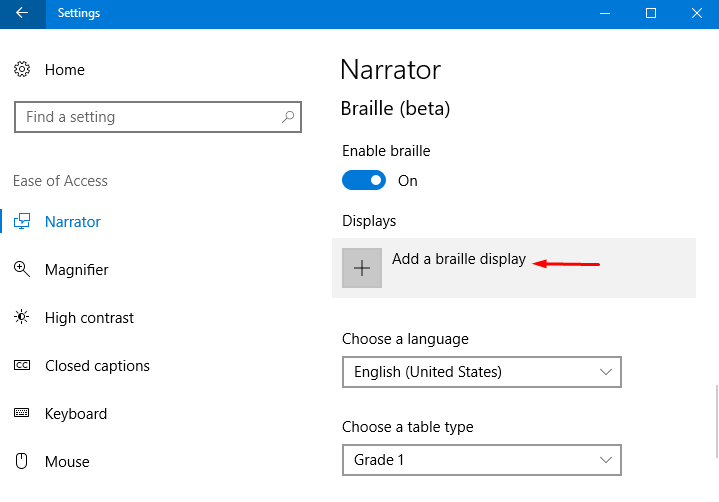
Step 1 – To set up a new Braille Display on Windows 10 click on +Add a Braille display.
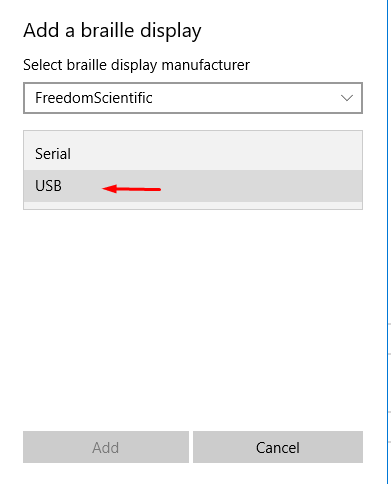
Step 2 – Click the dropdown below Select braille display manufacturer. Then select a correct Connection type from Serial and USB.
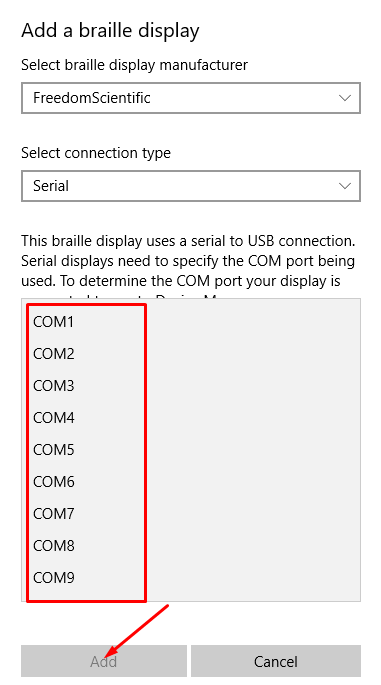
Step 3 – If you Select Serial in Connection type, a pop-up will ask about Output port. To select output port, click on the drop-down, select an appropriate Port and press Add.
Step 4 – If you want to change the out port for Braille Display, click on Modify, click on the drop down under Select output port and press Add.
Choose Language for Braille
To select or change the language of your Braille, click the drop-down and select your appropriate language.
Choose a table type
Click on the drop down under Table type.
Final Note
So this way you Set up Braille Support in Windows 10 with your native language and preferable table. This support is made available from the build 15025. Therefore, if you are running this build at least on your Windows 10 insider computer then Braille support will work. Until wait for this awesome feature. Isn’t it simple?