2 Ways to Enable Pin Pairing For Wireless Display in Windows 10 with Steps. – Windows 10 allows Stream media files through Wireless Display Adapter on a larger screen. When you connect the Display you don’t need to cross any security hurdle. Simply clicking Connect becomes sufficient to start media streaming. Thus you don’t need to enter a PIN or security key for pairing. The privilege to connect Wireless Display directly although lessens the user’s effort but oppositely insecure for users.
Fortunately, the Wireless Display Adapter application lets use Pairing mode. The mode includes the option Requires PIN Code to pair. Once you enable, this mode presents random pins. When you Enable Pin Pairing For Wireless Display in Windows 10 it becomes secure No one will be able to connect the display adapter and Stream media without your permission. So security measures will become strong and prevent unauthorized users from the pairing.
Table of Contents
Enable Pin Pairing For Wireless Display in Windows 10
2 ways help change the settings Require PIN code to pair. One simply Wireless Display Adapter application allows the Settings change and the other Group Policy Editor. You will see a guide for both the methods.
Via Wireless Display Adapter Application
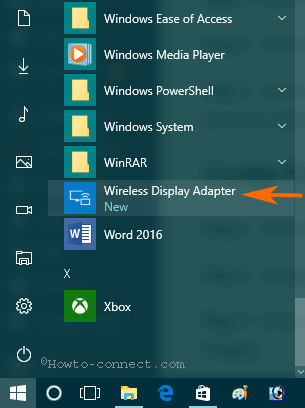
Step 1 -Open Wireless Display Adapter application from Start menu.
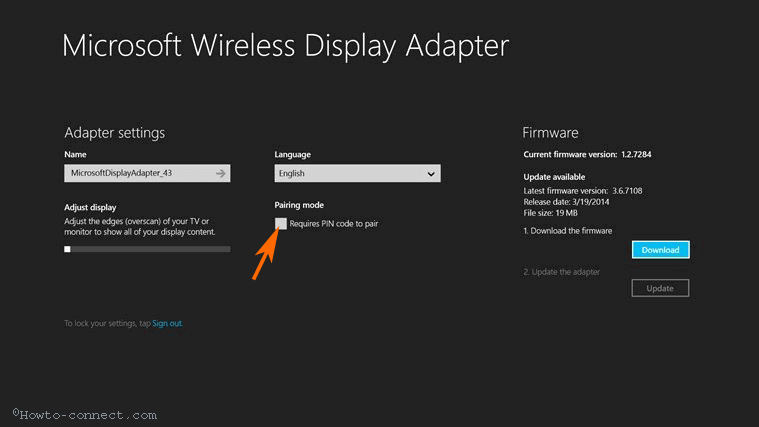
Step 2 – Click Settings from the left pane of the My adapter. This will open the Settings pane.
Step 3 – Locate Requires PIN Code to pair. You will find it under the Pairing mode. Check the box to Enable Pin Pairing For Wireless Display in Windows 10.
Using Group Policy Editor
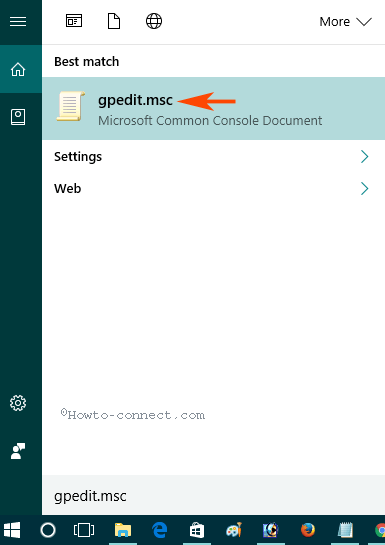
Step 1 – Click Start button and write gpedit.msc.
Step 2 – See gpedit.msc in the result section. Click the same to open Group Policy Editor.
Step 3 – In the right pane, follow Administrative template => Network => Wireless Display.
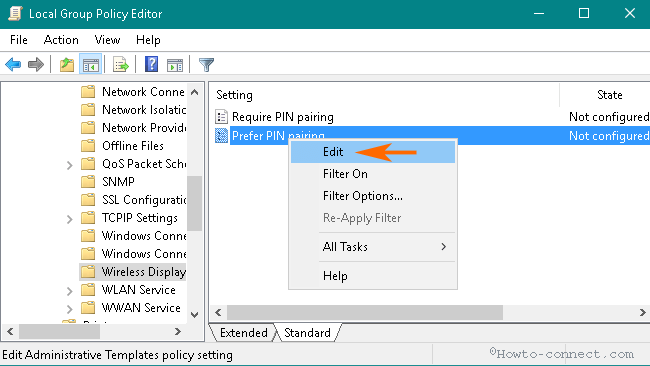
Step 4 – You find 2 policies for Prefer PIN pairing. Double click or click and select Edit on the second option for Prefer PIN pairing.
Step 5 – On the Prefer PIN pairing Policy window, select Enabled. Finally, click Apply and then OK.
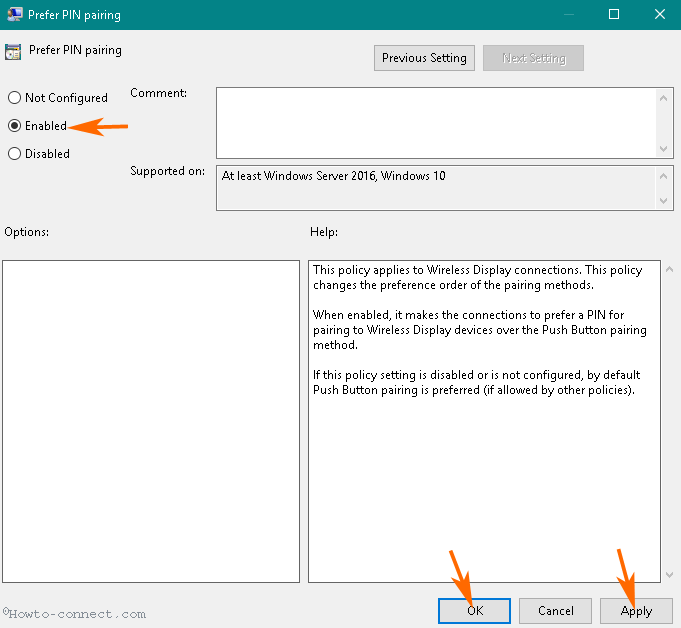
Once you enable Prefer PIN pairing, this policy applies to Wireless Display connections. This policy changes the preference order of the pairing procedures.
When enabled, it forces the connections to prefer a PIN for pairing to Wireless Display devices over the Push Button pairing method.
If you choose either disabled or Not configured in this policy setting, by default Push Button pairing is preferred (if allowed by other policies).
After pairing using PIN when you’ve established a connection between your computer and the Wireless Display you can stream media to HDTV or projector. These devices will work as a second screen. In addition, You can play video files wirelessly to the devices over home network pretty effortlessly
Conclusion
So these are the methods and easy steps How to Enable Pin Pairing For Wireless Display in Windows 10. When you select the Pairing mode a box will appear at the time of connecting media device. How simple is it?