Way To Modify MAC Address on A Network Adapter on Windows 10 – Spying network security key and exploit others’ data is abundantly happening occurrences today. So, safety reasons lead users to take various corrective measures. One is the change of the MAC Address to strengthen the defense of network. Hence, here we will elaborate on the steps which hopefully simplify to Modify MAC Address on A Network Adapter on Windows 10.
Table of Contents
Method to Modify MAC Address on A Network Adapter on Windows 10
Structure of MAC Address
The structure of the MAC address is separated by colons just like the IPv4 addresses, however, the MAC is a little different because it consists of alphabets and numbers Total number of characters is six all separated by colons. and the MAC address looks like – 00:9a:8b:66:92:80
Locate MAC Address of a Network Adapters in Windows 10
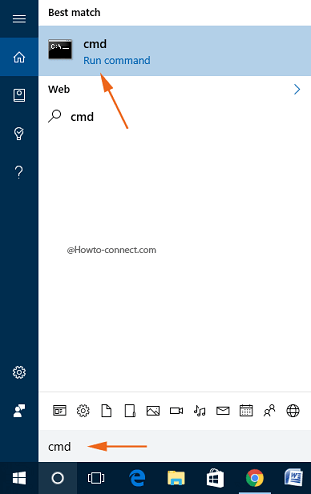
Step 1 – To start the process, write cmd in the taskbar search area and soon Command Prompt will be exhibited in the topmost part beneath Best match, hit it.
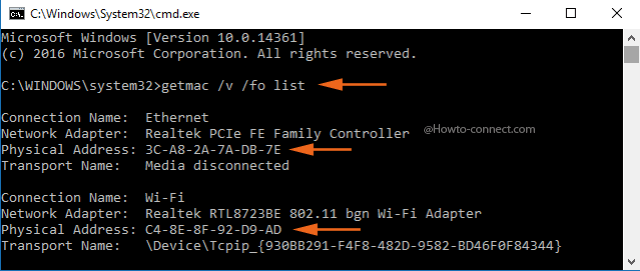
Step 2 – Now, write this line of code in the outspread Command Prompt and hit Enter in order to carry out its duty – getmac /v /fo list
Step 3 – The outcome showcases a network adapter for both Ethernet and Wifi. MAC Address is the group of six characters located alongside the term Physical address, for more clearance look at the below-embedded image.
Steps to Modify MAC Address on A Network Adapter on Windows 10
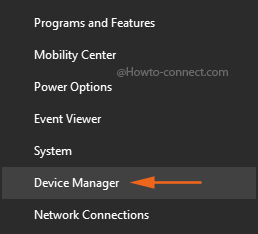
Step 1 – First and foremost, appoint a right-click on Start button and click or hit the choice termed as Device Manager in the emerged menu.
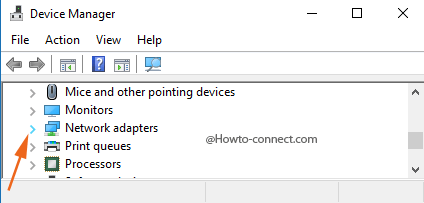
Step 2 – Once the Device Manager outspreads, trace out the category entitled Network Adapters.
Step 3 – Click or hit the arrow that is noticeable alongside the Network Adapters.
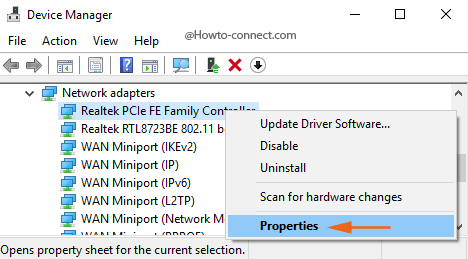
Step 4 – Right-click that adapter whose MAC address you desire to change and hit the choice Properties, positioned at the bottom at the emerged menu.
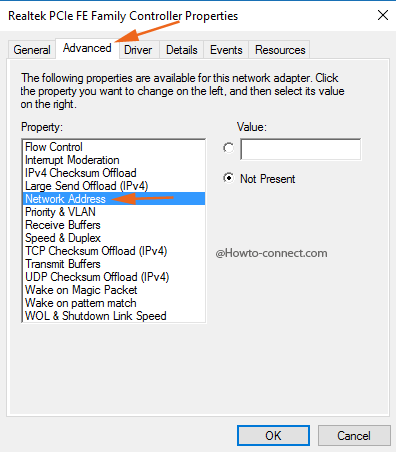
Step 5 – Click or hit the Advanced tab.
Step 6 – Trace out an option labeled as Network Address or Locally Administered MAC Address in the list of visible options. Remember that you can see either of them, depending upon the network adapter you have selected in step 4.
Step 7 – After selecting either of the options, you see a text box beneath Value, click the round cell under Value, and write the alphanumeric code found in the command prompt in the above process. Note that you do not have to separate the characters of the MAC Address by giving any colons or dashes. Just type the code only because adding colons or dashes might lead to unwanted errors.
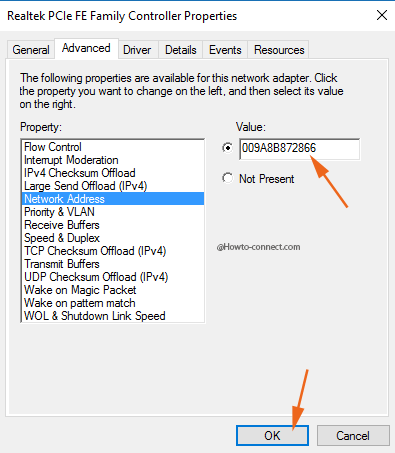
Step 8 – Click or hit the Ok button.
If you don’t wish to undergo so many steps and do it manually, you can take help from the following tool –
Technitium MAC Address Changer
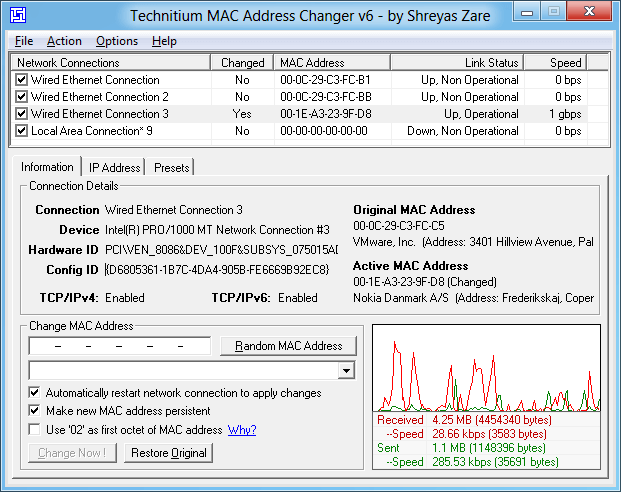
An optimal third party utility named Technitium MAC Address Changer is equipped with a pretty effortless UI is comfortably available on the internet. The tool furnishes a list comprising particulars of NIC individually present at a system. This utility permits the modification of the MAC address for their network cards without encountering any fuss.