Excel WorkSheet contains multiple pages, and whenever you work in excel environment, contents automatically cover required worksheet space. As you are aware most Excel Worksheets have a header row. While scrolling worksheet so long, you see similar Worksheet header. This type of arrangement is absolutely fine with soft copy view. While matter turns to take hard copy of such Excel Worksheet then new type of arrangement are required. Because default Excel Worksheet setting does not allow to print Header Row on every single page during printing activity. But paucity could be shunned if you apply certain changes as I suggest below.
To print Header Row on every Excel Page, you need to take these consecutive steps. These steps are suitable for Office 2007 and later on version.
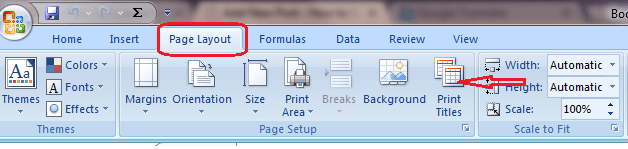
Step 1. Open your Excel Worksheet and navigate ‘Page Layout‘ tab. Then after click on Page Tiles option, which placed under Page Setup section.
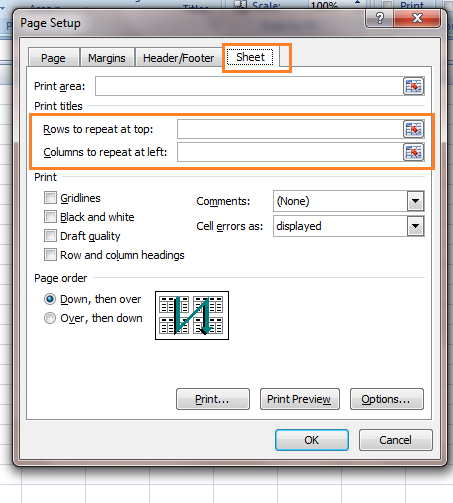
Step 2. Now click on to ‘Sheet’ tab and affix the section of Print Titles.
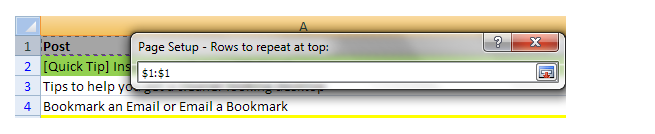
Step 3. To print Header Row on each page click on ‘Rows to repeat at top‘ text box. It leads you to Excel Sheet along with new dialog box. Now click on row number 1 and press extremely right button of dialog box.
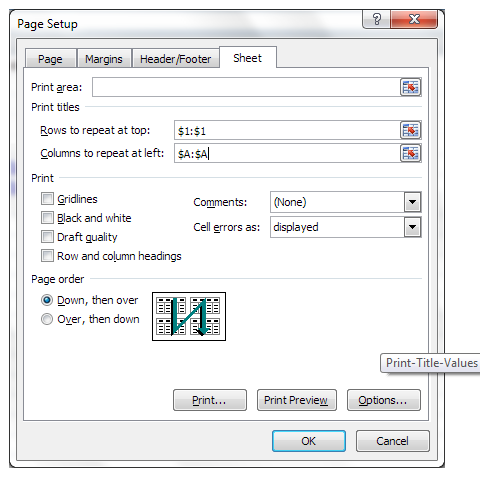
Step 4. Come back on Page Setup modal window. Here you see boxes filled with as per your direction. At last click on OK to save applied settings.
Note: whenever you want to display Row Heading with Numeric value or Column Headings with alphabetical value you need to apply checkmark against Print option of Heading. You may navigate such option easily in this way Page Layout < Sheet Option.