Methods to Use Z-Cron Task Scheduler for Windows. – Z-Cron is a freeware that schedules a software or task on Windows PC. Using this tool you can have programs of all kinds started automatically by the system even if no user is logged in.
You will see here the ways to use Z-Cron Task Scheduler for Windows. In addition to scheduling the tasks this software Start and stop applications, Load documents, Start, stop and monitor system services, Copy, move and delete files and directories. You can learn a guide to the built-in administrative tool – Windows 10 Task Scheduler Access, Functions, Operation, Summary.
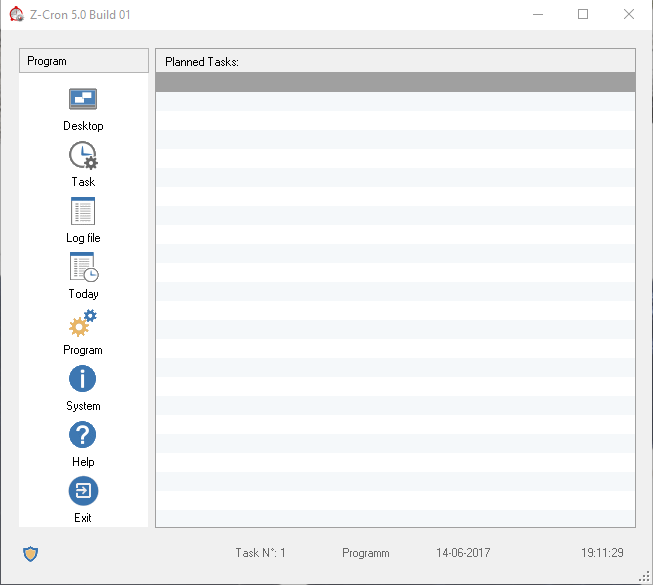
Table of Contents
Use Z-Cron Task Scheduler for Windows
Download Z-Cron Task Scheduler
Step 1 – Reach out to this page and get the Z-Cron Task Scheduler software. This is pretty heavy and may occupy around 17.9MB of the disk space.
Step 2 – Now follow the guidelines on the computer’s screen to get through the installation process.
System Requirements
Z-Cron Task Scheduler is compatible with all Types of Microsoft Windows, right from Windows 10 up to Windows 7.
Use Z-Cron Task Scheduler
The basic program interface indicates the functions on the left pane and the current tasks become available in the right pane. If there is no task reminder then the right pane of the interface remains vacant.
Task option on the interface helps in creating a new task or editing previous ones. The Today icon displays tasks for the entire day. Desktop, as the name suggests, shows the desktop of the device and to save, print, or send a log you can use the Log file.
Creating New Tasks
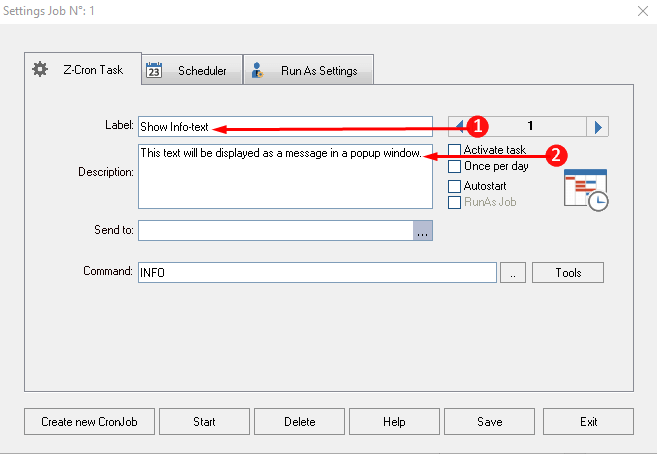
Click on the Task button in the interface to create a new task and this will further open a box for the same reason.
The new box contains 3 tabs namely Z-Cron Task, Scheduler, and Run As Settings. Usage of the first two tabs for setting the task is essential and the third one is optional.
The below-given steps will guide you in creating new tasks in Z-Cron.
Step 1 – For creating new tasks, begin with the option Label and type the job that needs scheduling. Then write the Description in detail on the Z-Cron.
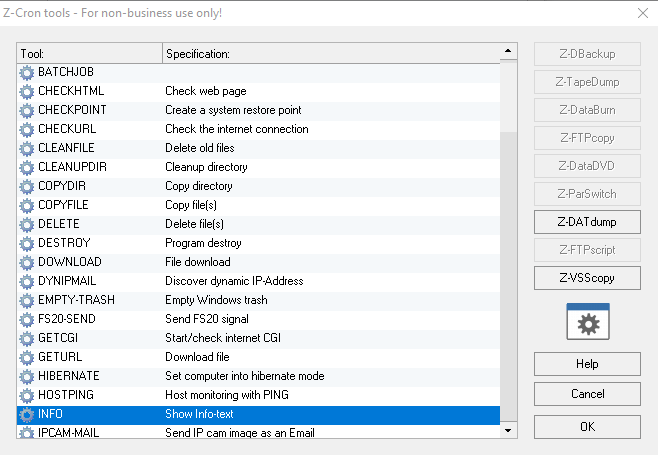
Step 2 – Now move further down and click Tools which brings to view a list of options as shown in the screenshot. Here, choose the suitable option as per the job and conclude the process of this particular tab.
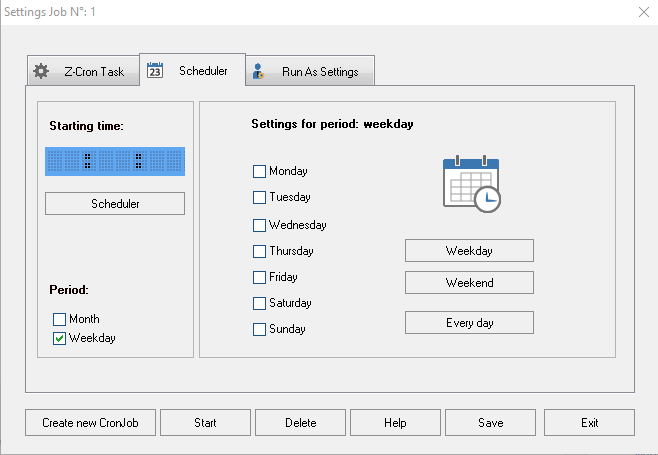
Step 3 – Go to the next tab, Scheduler to define the time of action of the job. Set the period for the task by checking the box/boxes and clicking on Save.
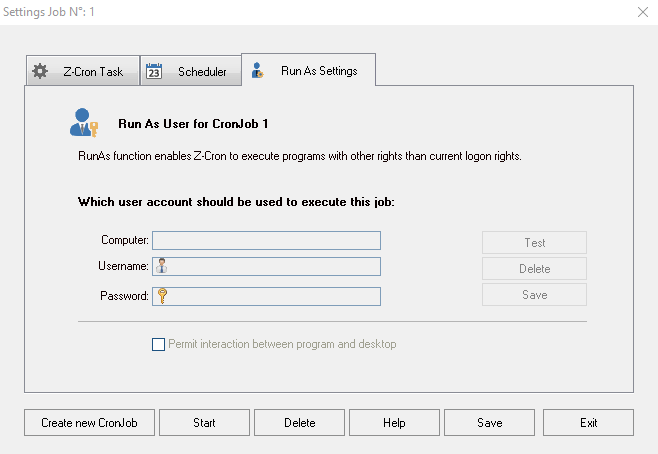
Step 4 – Finally, move to the third tab, Run as Settings which is optional and there is no binding to fill the details. This tab will ask about the account responsible for performing this task. Here, set the user to perform this task.
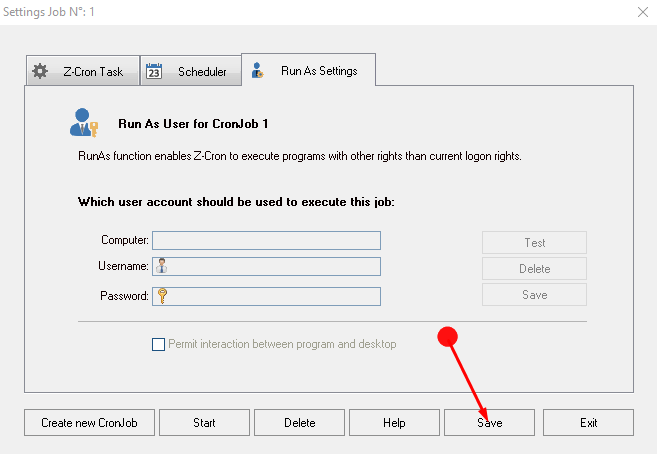
Step 5 – After completing all the steps click on the Save option which is at the bottom of the panel.
Once you complete the whole setting on Z-Cron, it becomes ready to run the scheduled task.
Read an article on another Utility here – Use Total Copier for Windows to Manage File Copy Job.
Final Words
So this was the available method to use Z-Cron Task Scheduler for Windows. This is very helpful software that lets the scheduling of jobs easily so that none is unattended or forgotten. So download this Z-Cron Task Scheduler and leave back all the worries of forgetting a task.