Windows 10 camera app enables the laptops and tablets integrated webcams to capture images, run video recording practicing with user-friendly tools and commands. You will find here ways to work with the Settings and options on webcam app Windows 10 with simple instructions. In addition, the application opens the pics you take with Photos app having advanced and cool features. So we will also explain some methods to make your experience interesting with the snapping and editing. I hope you will have great experience ahead after knowing the functions of your webcam and the procedures to utilize.
Few most important things you do with the camera app are listed below. You will pretty easily reach the ways by clicking the respective links –
Part1 – How to Open Camera app
Part2 – How to Capture Photo
Part3 – Where is the Captured Photo saved?
Part4 – How to set Timer
Part5 – How to Change Brightness
Part6 – Time Lapse in Camera app
Part7 – How to Pause and Resume Videos
Part8 – How Edit Picture with Help of Camera app and Photos
Part9 – How to Customize Flicker reduction
Part10 – Zoom in and out
Everything You Can Do with Windows 10 Camera app
How to Open Windows 10 Camera app
You can follow 2 easy ways to Open Windows 10 Camera app – from Search and Start.
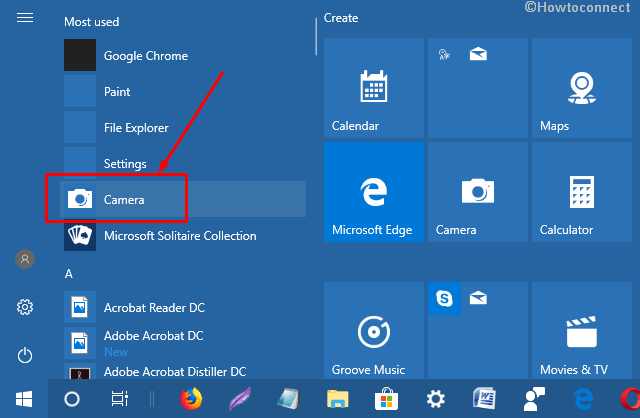
Way-1: Click on Start, type camera, and then press Enter.
Way-2: Open Start menu, scroll down until Camera appears. Click on this app.
If you don’t Find Camera App Installed
However, Windows camera is a default application and automatically installed when you upgrade or clean install Windows 10. But when you unable to locate the same then –
- Open Store from the taskbar, type windows camera in the search box and select the same from drop-down.
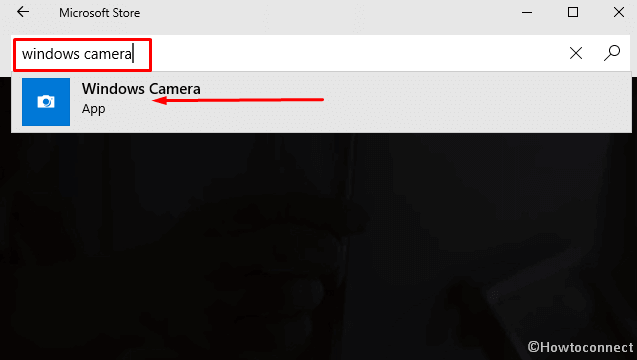
- Once the store displays Windows camera application, Click on Get.
Soon you will see a message to launch the application moreover to pin it to your taskbar. Select Launch here.
How to Capture Photo using Windows 10 camera app
Step-1: At the right edge of the camera application, you notice a button to Take photo. Click on this one.

Where is the Captured Photo saved?
After snapping a pic the next task is to see whether it looks cool, and you will have to access the folder when the application stores your images. Camera Roll folder contains everything you catch with the Windows 10 Camera app.
Step-1: Click on the File Explorer icon from the taskbar and wait for a Window to be revealed on the screen.
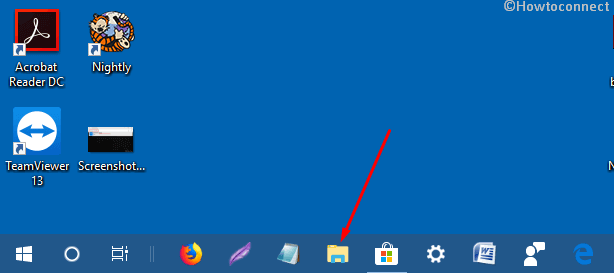
Step-2: Go to the left side and click on Camera Roll in the Quick access. Moreover, you see the Camera Roll icon on the bottom right of the app.

How to set Timer to take Photos using Windows 10 camera app
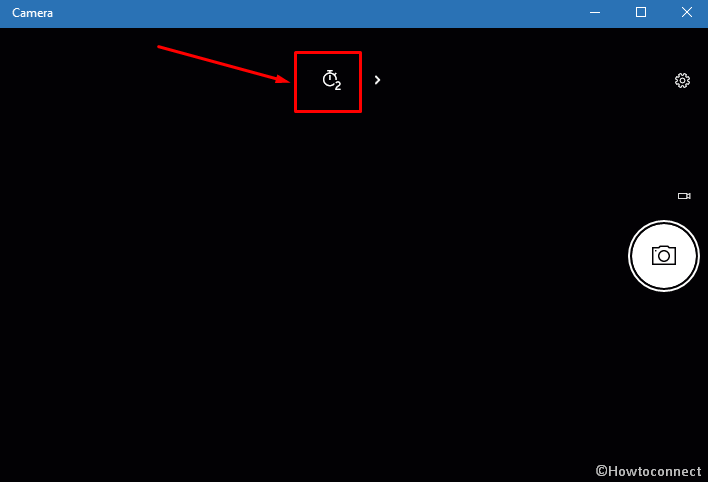
You can comfortably set a timer for 2 to 5 or 10 seconds before capturing a picture.
- Move your cursor over the timer icon located at the upper part of the application. Once clicking on the timer will set 2 seconds delay and in the same fashion, twice and thrice hitting for 5 and 10 seconds. Jump into the picture to get ready making a pout.
How to Change Brightness of Photos
Windows 10 Camera app empowers you to change the brightness of images and videos. The tool for this work is Exposure compensation which displays a slider for the same.
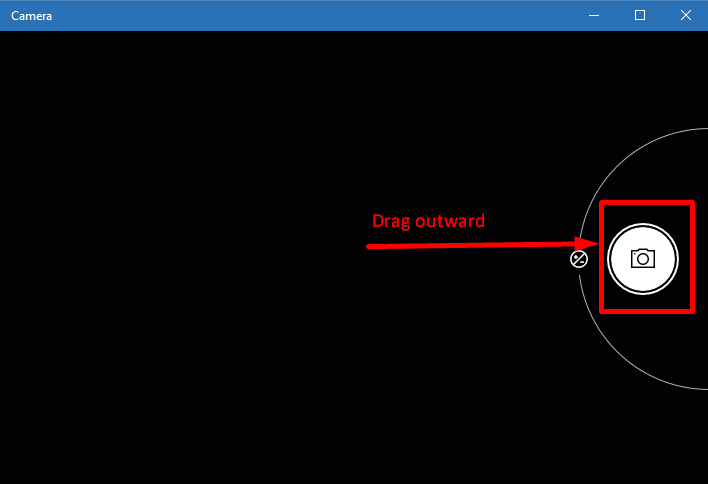
Way 1
This way is the easiest one because you need to only drag the Camera button outward means toward the left direction.
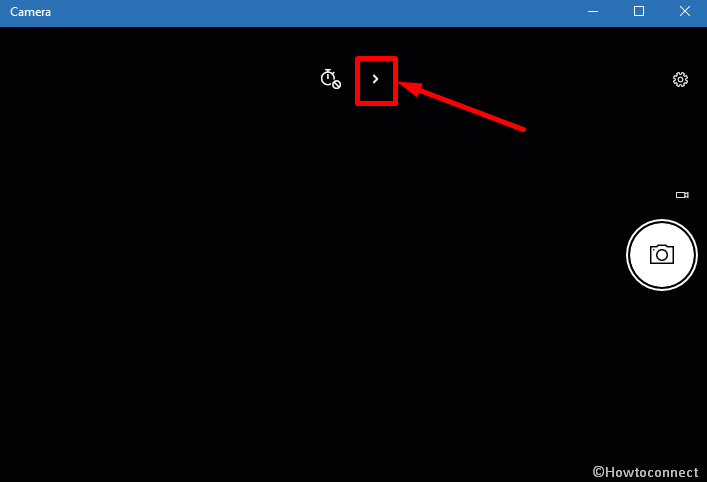
Way 2
- Go to the top central part of the application and make a click on the Expand icon and make the options unhidden.
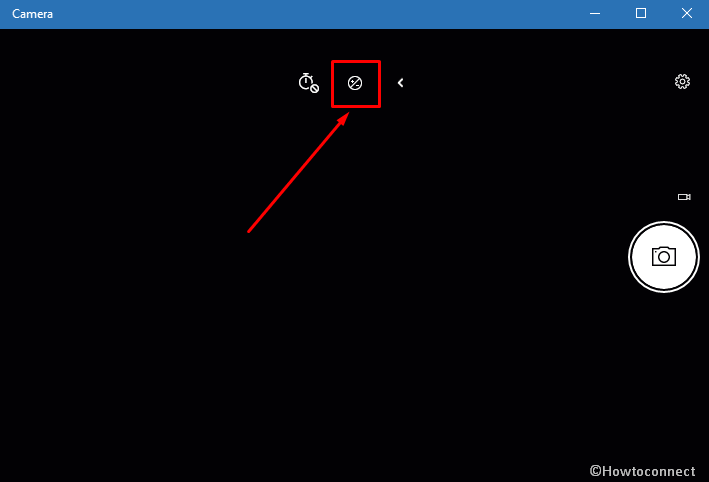
- Select the “Exposure Compensation” button from the center portion.
- Take a glance over the Exposure Compensation button finding a circular slider around the Take Photo.
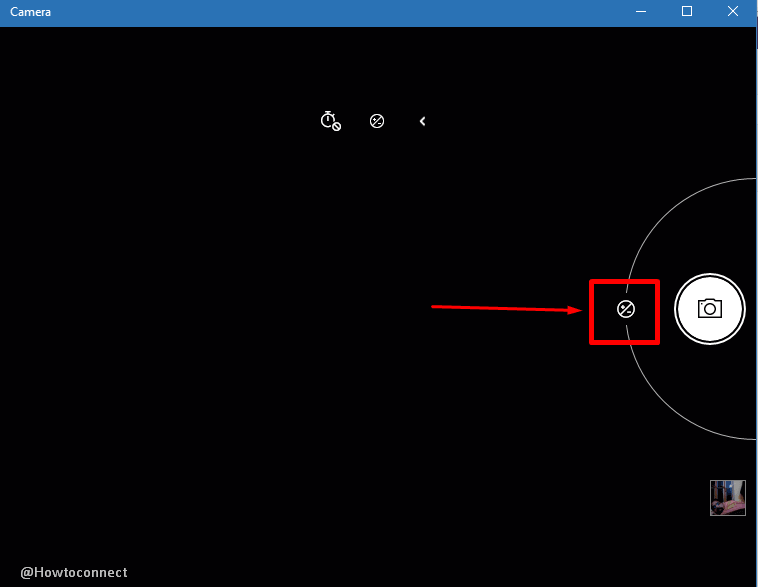
- To lower the brightness of photos drag the slider in the downward direction and to improve, upward.
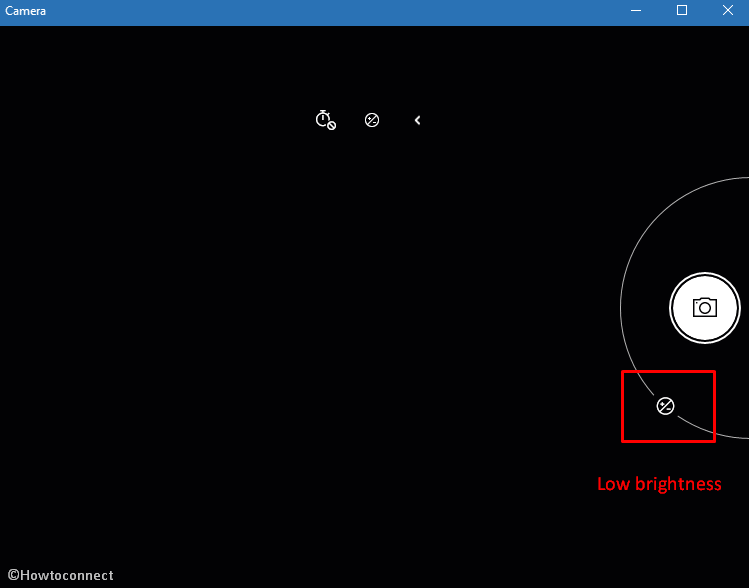
Hence, for pro controls, pull the shutter button toward the center and adjust the dials for brightness.
How to Take Big and small Size Pictures
When you are thinking to capture pictures in different sizes then this is the best webcam software. 16:9 and 4:3 are the two aspect ratios of photos can be snapped, the ideal sizes for laptop or notebook users.
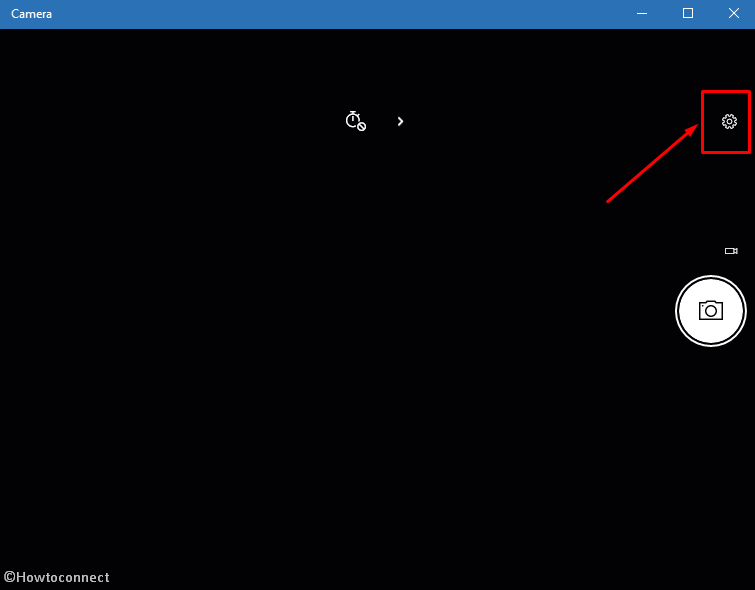
- Select the settings icon and let a pane become visible in the far left.
- Click on the drop down located below Aspect ratio
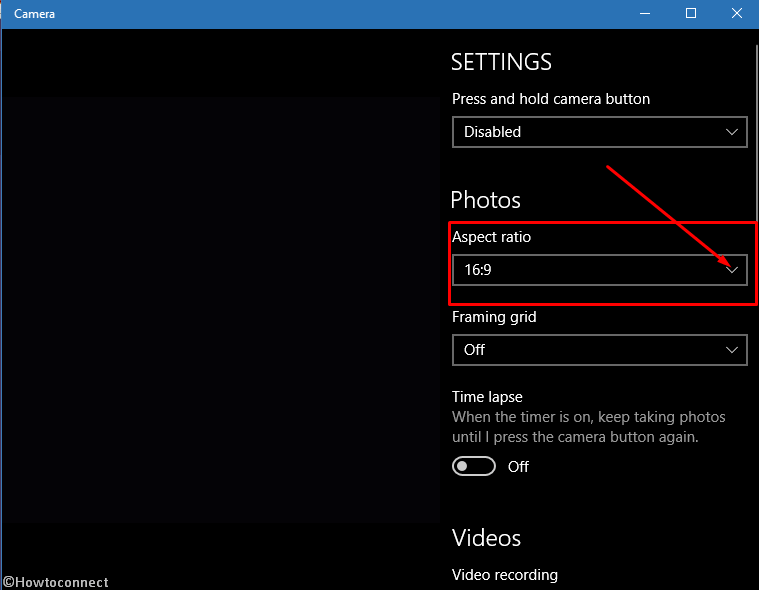
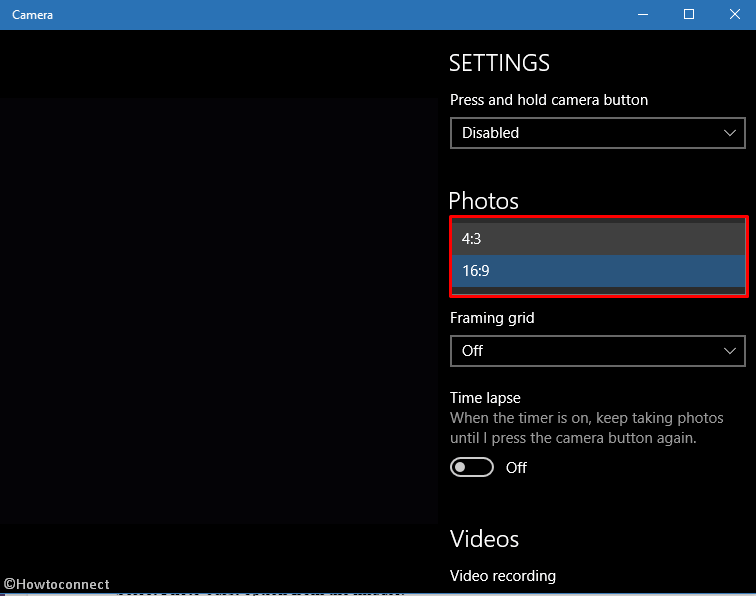
- Choose either 4:3 or 16:9 Aspect ratio value that is suitable for your preference. Obvious that the previous parameter will provide a larger image and the later smaller in appearance.
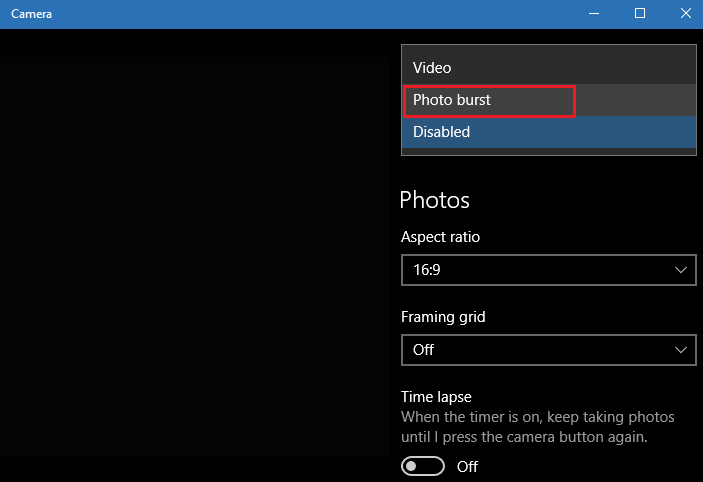
How to use Photo burst
The app has a specific feature to take multiple pictures at a time. This is Photo burst that lets you snap numerous pics after a small change in the Setting. You get a detailed guide in this context – How to Take a Bunch of Photos Rapidly in Windows 10.
- Carry out a click on the Settings icon and hit the drop down under Press and hold camera button.
- Select Photo burst option from the middle.
- Now click and hold the Take photo button continuously and go to the Camera Roll folder and grab the collection of photos.
How to use Grid
Windows 10 Camera app gives you a Framing grid option that helps in making focus better while capturing pictures. Rule of thirds, Golden ratio, Crosshairs, and Square are the variations that display type of rulers that make the important part in the center of the application. Go to Settings then hit Framing Grid drop-down and select the suitable one.
Time Lapse in Windows 10 Camera app
Time lapse in Windows 10 camera application offers to keep taking pictures when the timer is on. It will not stop until you camera button once more. If you are choosy then this feature will help to sort a collection of pictures and pick the best one. Open settings, go to Time lapse and toggle the option to enable.
Record Webcam Windows 10 Using Camera app
Just like capturing a photo the Camera app allows record webcam Windows 10 easily. Despite the application adjust brightness itself but it also lets you increase and decrease on your own.
Way-1
- Do a click on the small button ‘Switch to video’ just above the camera button adjacent to the right border of the application.
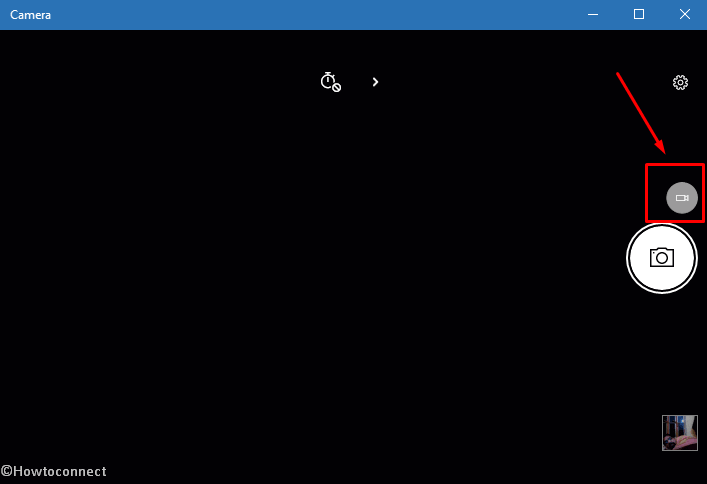
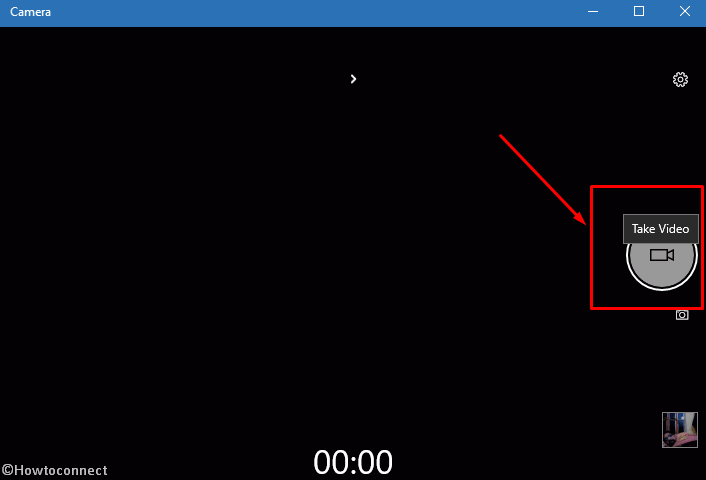
- Take video button will be highlighted, Strike it to start.
Way-2
- Navigate to Settings pane and choose the option Video in Press and hold camera button dropdown.
- Continuously click webcam icon to start video recording.
How to Pause and Resume Videos
You can Pause and resume while you record video to help stitch collectively different moments. To “pause”, click on the tiny button just above the “Take video” and then use the same to resume.

How to increase and decrease Brightness of Videos
Step-1: Click and hold Take video button and pull it out. You will experience a brightness slider around named Exposure Compensation. Drag down to decrease and up to increase.
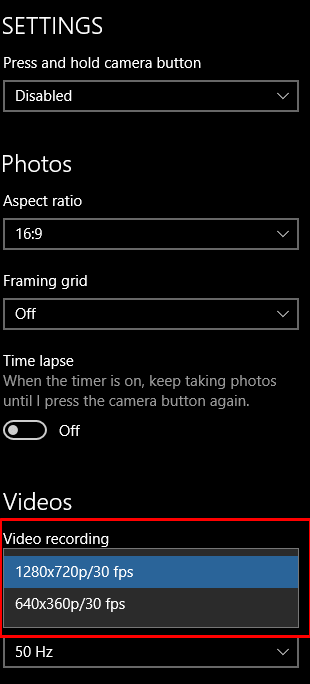
How to Change Resolution of a video using Windows 10 camera app
During video recording, you can change resolution on Windows 10 app very easily. Press settings from the uppermost right corner and scroll down on the visible pane. Click on the Video recording drop down and select the preferable one. You find here 2 resolutions 1280×720/30 fps and 640×360/30 fps. The frame rate is pretty good and the previous resolution is higher so you will experience better quality. In the contrast, selecting the later value will provide low-quality video.
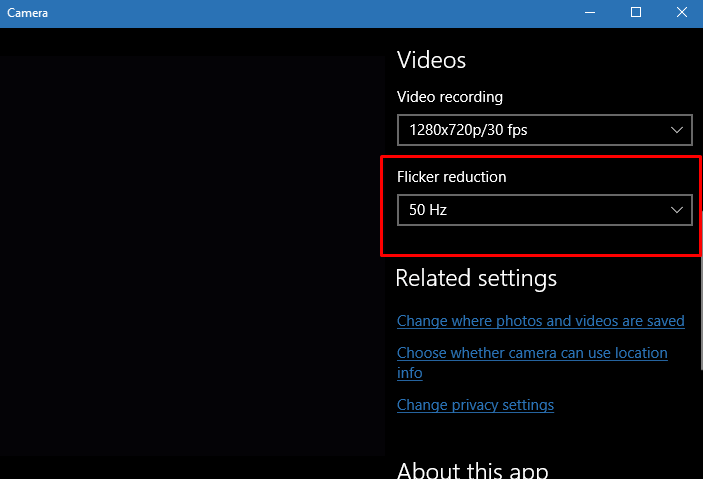
How to Customize Flicker reduction in Windows 10
Flicker reduction allows you lessen the video flicker by syncing itself with the AC frequency of power mains. For European Union or other parts of the world, it should possibly 60 Hz, while if you reside in North America, select 50 Hz.
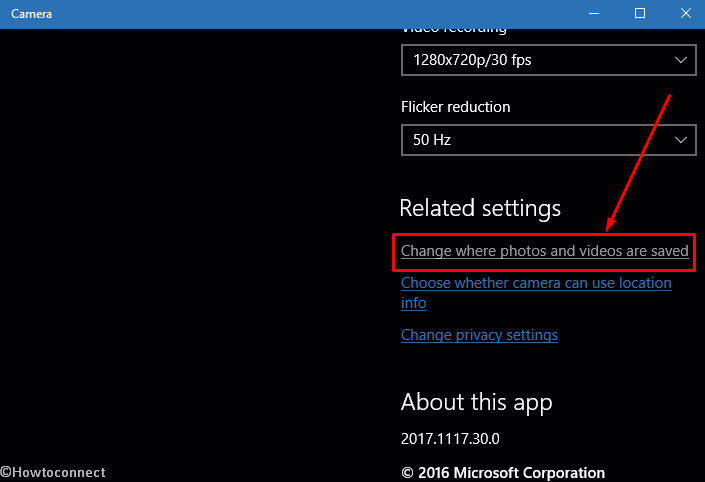
How to Change Where photos and Videos are saved?
Step-1: Click on the Setting icon from the top right corner and allow the pane to appear. Travel down and click on the link Change where photos and videos are saved.
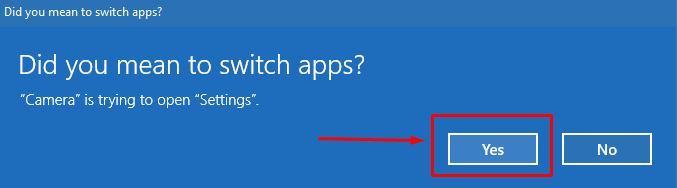
Step-2: A pop up appears saying “Do you mean to switch the app?”, select Yes.
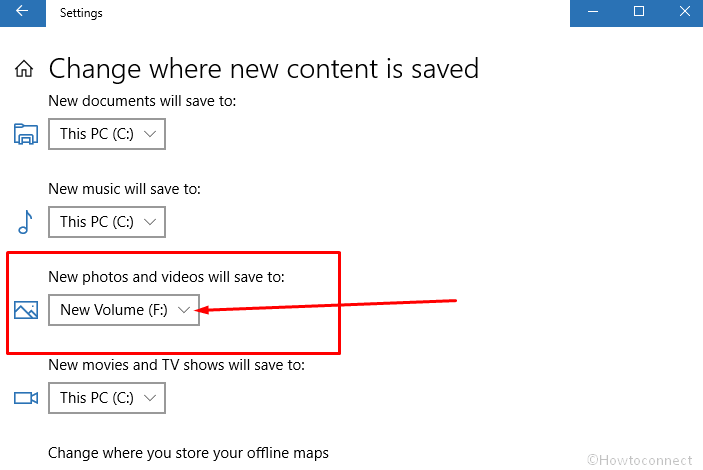
Step-3: You will be shifted to the Storage page of settings app, here choose “Change where new content is saved” from the lower part.
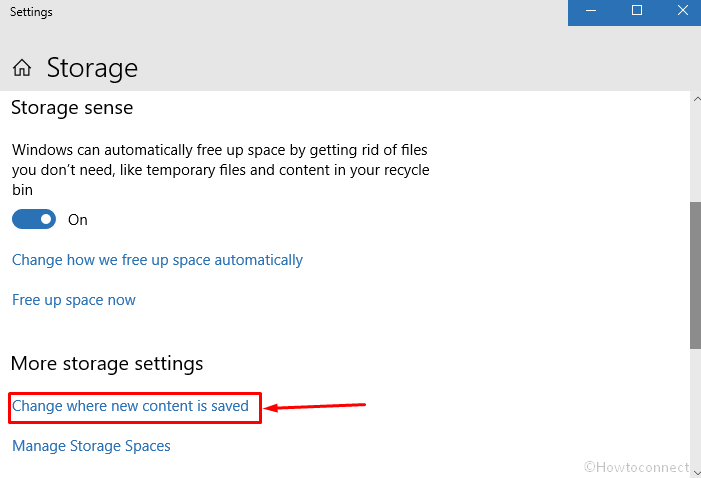
Step-4: On the next screen, click the dropdown under “New photos and videos will save to” and select your opted drive.
Get at the exclusive info with directions –How to Change Location to Save Photos by Camera App in Windows 10.
How to Change Location settings for Camera app
Camera app asks for permission to handle your precise location. Apply Change location button when it is not correct. If you have a local account you can determine your own location from this page.
Clicking on the Set default will prompt a pop up requesting – “Let Windows Maps access your precise location?”. Select Yes, navigate to the maps and explore and choose your exact place. Descend and turn on the using toggle switch straight to camera.
You can also Change Privacy Settings using Camera App to help it to improve its experience.
How to Zoom in and out Images
Need to see a photo in big and small size, okay, click on Camera Roll (bottom right) from the application to see the recently taken pic.
Click on the lens icon having plus icon from the center of the menu bar.
A slider will appear, so use this to increase and decrease the size.
How Edit Picture with Help of Camera app and Photos
You can Remodel your static photos into living images that move, then play them back in the Photos app on any Windows 10 device. When you take a snap using the camera app and open it appears with the Photos app. You can do a vast editing on this interface such as Crop, add filter, music, theme, text, music and a lot more. Here, I will tell you few basic tips which can be performed with the combination of the two apps.
Add to a creation – Once you take a photo, open it by clicking on the lowermost right corner. Select Add to a creation and let a pop up to be visible. You can add the image to a new album or to the existing creation using the various available choices. Select New album to create something different and type a name. Clicking on Create album will send it to Photos app where you can reach using “View album” link.
If you want to add the same to an Old creation, select one from the list appearing down in the pop up. In addition, you can convert this image to a video enhance it with music but in this case, you will need to add a melody after navigating in the photos app.
Windows 10 Camera not Working – What to do?
When you get an issue with the Camera app like it doesn’t open, crashes, or something other the common fix is resetting. However, you will find the instructions in this article How to Reset Camera App in Windows 10 but see a brief here –
Go to Settings => Apps => Apps & features => Camera => Advanced options.
Select Terminate if it is not responding, freezing, and hanging and Reset when any problem.
The Camera app is faster and easier so just you need to point and shoot to take great pictures automatically. The same excellent camera experience is ready across Windows 10 computers and tablets.
The Camera application automatically places your images so you can retrieve them on all your PC and tabs through the cloud storage OneDrive.
Conclusion
This is everything you can do with the Windows 10 Camera app. Looking at abundant of options and tools you will certainly be happy with the Webcam experience of your device. When you take a photo or record video and edit with Photos application I assure you to have an eccentric and exclusive feel.