Windows 10 shows the files in result indexed on your System very fast as Windows search works very effectively. But the extent of files is encrypted by BitLocker and by default they are not shown in the search result. If you want to have the encrypted files in search result you need to Add Encrypted Files to Index. Let’s see How to Add Encrypted Files to Index in Windows 10 to show in the result.
Note: – Before even adding the encrypted files to the index, make sure that Windows BitLocker enabled on your PC. However, BitLocker is enabled by default and if you have not disabled it doesn’t need to be concerned.
How to Add Encrypted Files to Index in Windows 10
- Access the Control panel on your system with the way which suits you (How to Open Control Panel on Windows 10). Click Indexing options link to open the same.

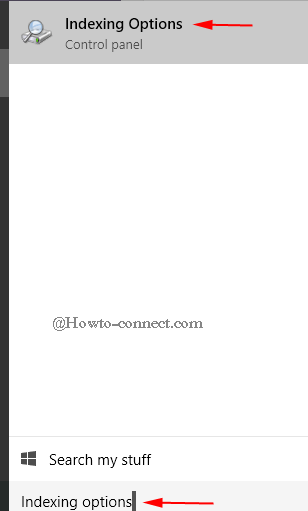
- You can do the same simply by typing Indexing options in the Search box of Start menu and clicking on the top link which appears in the Search Window. This will open the Indexing Options window. A screenshot is shown below.
- Go to the bottom and hit Advanced button. This will open a new window which is displayed below.

- Look at the top of this Advanced options Window, you will find two different tabs. They are Index Settings and File Types. Index Settings opens up as default. Under this tab, click on the bubble present at the left of Index Encrypted Files.

- You are prompted a Cannot verify data security dialog box. Click Continue button.

- As soon as you click the Continue button the system starts scanning to look for the encrypted files to include to the index and shows you the status of the number of files added.
That’s it. If you have any other query related to windows 10, ask us in the comment box below.