Microsoft Windows 10 is designed to run on various devices from PC to touch and mouse oriented interfaces. People running this version especially on tablet or surface, often complain auto rotation not working. Autorotation behaves wrongly and simply stops functioning moreover don’t change from portrait to landscape orientation and vice versa.
Autorotation in Windows 10 mostly allows the monitor to be placed vertically and want the device to act as a tablet. Instead of rotating the screen in the right direction, Windows 10 often found to cause issues with the same. This commonly happens due to improper rotation settings, faulty driver software, and external hardware accessories. However, resolving the issue is easy.
Auto Rotation not working in Windows 10
Here is how to fix Auto rotation not Working in Windows 10 –
1] Restart the device
For any problem you encounter in Windows 10 laptops or tablets, the first solution to try out is performing a quick restart. Often, this small step works as a trick especially when the issue is caused by an app or Windows 10 glitch. Here is the process to follow –
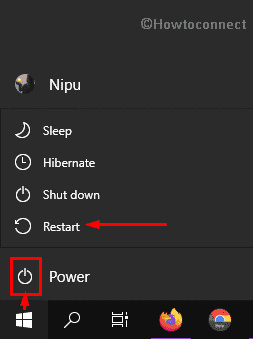
- Press – Windows key.
- Click – Power icon.
- Choose – Restart.
2] Make sure to keep Rotation lock off
If the screen rotation option has been enabled unintentionally the computer will block the display from adjusting to the current orientation. Therefore, ensure whether the option is turned off or not.
- Press – Windows + A.
- Click – Expand.
- If the system is running on laptop mode, click – Tablet mode.
- After enabling tablet mode, Turn off – Rotation lock.
If the option is missing in Action Center, you can disable the same feature from Windows Settings too. Here’s how –
- Press – Windows + S.
- Type in – display settings.
- Hit – Enter.
- Scroll down to reach – Rotation lock. For detail, you can follow – How to Turn Off Screen Rotation on Windows 10.
- Click on the toggle switch to turn off.
3] Disconnect external peripherals if Auto rotation not Working
Suppose you are using a convertible device such as Surface Pro, the autorotation may stop working mysteriously. This generally happens because of connected peripheral like detachable keyboard, mouse, or dock. So, if you are using any of such accessories, disconnect all of them and then check if the auto rotation issue is solved. Once the feature starts working, connect the peripherals one after another to check if Auto rotation not Working for any particular hardware.
4] Run sensor troubleshooter
Tablet, Surface, or Laptop devices that support auto-rotation uses sensors to sense screen direction and adjust the display accordingly. Microsoft provides troubleshooters to deal with the issues associated with the sensor, you must give it a try.
- Click SensorDiagnosticTablet to download the tool.
- When the troubleshooter window is up, select – Advanced.
- Next, click the – Run as administrator.
- Select – Next.
- Let the tool scan the whole system.
- If there is any on-screen instruction, follow the same.
5] Update the driver dedicated to sensor when Auto rotation not Working
An old and incompatible driver can also cause Auto rotation not Working. Therefore, you need to ensure your system has an updated and compatible sensor driver that goes with your systems configuration.
- Click search icon from the taskbar.
- Type – devmgmt.
- Select – Device Manager.
- Double-click – Sensor I/O devices or Sensors.
- Right-click the ‘driver’ available and choose – Update driver.
- Choose – Search automatically for drivers.
- Lastly, restart the PC and check if Auto rotation started working.
You can also visit the manufactures website to check whether a new version of the Sensor driver is available or not.
6] Install updates for Windows 10
Microsoft always listens to users and after coming across any report of bug, they provide an automatic fix for the issue through update. So, install the latest patch when Auto rotation not Working in your system. Even though it doesn’t fix the issue, your PC performance will be improved for sure.
- Press the – Windows + I.
- Click – Update & Security.
- Click – Check for updates.
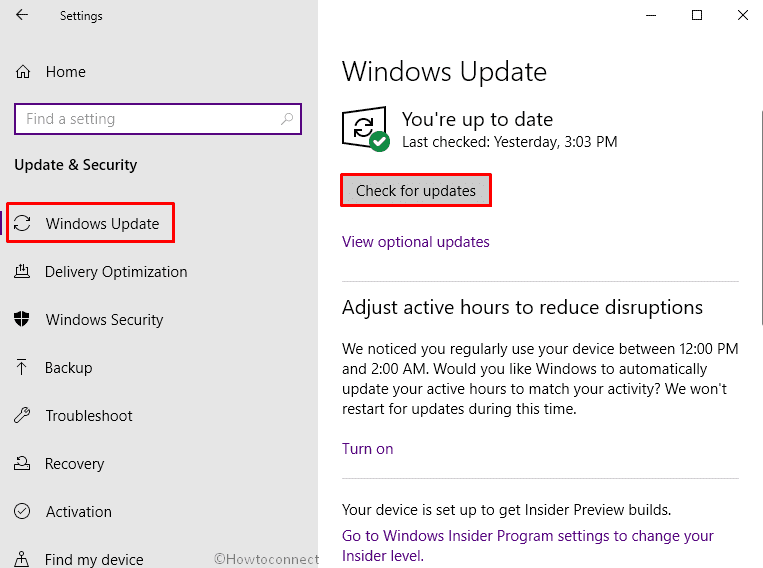
- After downloading, click – Restart now.
7] Enable Integrated Sensor Solution if Auto rotation not Working
If none solutions fix your issue and Auto rotation not Working still persists, there is a chance Integrated Sensor Solution is the reason. Autorotation only works when the Integrated Sensor Solution is turned on. To enable it, go through the steps described bellow –
- Press – Windows + S.
- Type – control panel.
- Hit – Enter.
- Make sure the View by type is set as Category.
- Click – Hardware and Sound.
- Select – Devices and Printers.
- Right-click on your laptop and choose – Properties.
- Shift to Hardware tab.
- From the available functions, find – Intel(R) Integrated Sensor Solution.
- Select the shield to change settings and look into the Drive tab.
- Make sure Integrated Sensor Solution is enabled.
Fix greyed out Rotation lock option
It’s rare but according to some users, they found that the Rotation lock option is greyed out. Because of that, they can’t even deploy some of the above workarounds. To activate the option again, you will have to tweak the registry key. Though it seems complicated at first glance, actually it’s not if you follow them precisely.
Note – It’s always recommended to backup Registry before you make any changes to it. This will be helpful if something wrong happens during the process.
- Press – Windows key.
- Type in – regedit.
- Select – Registry Editor.
- When a User Account Control appears, click – Yes.
- Go to
HKEY_LOCAL_MACHINE\SOFTWARE\Microsoft\Windows\CurrentVersion\AutoRotation.
- Move to the right-hand side.
- Double-click – Enable.
- Put 1 in the Value data box.
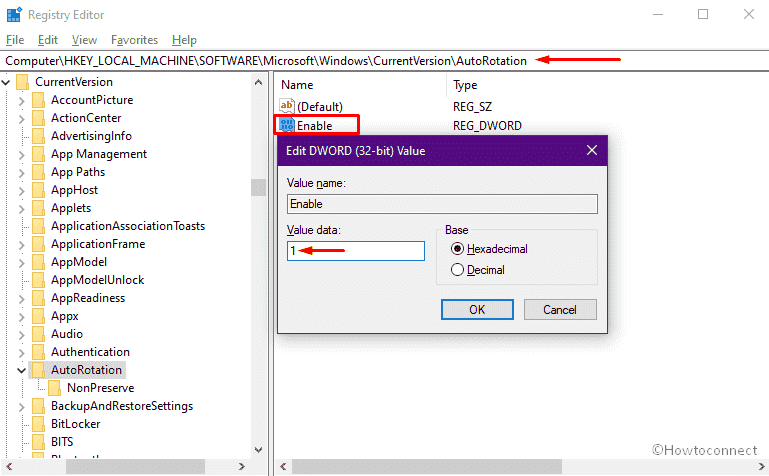
- Click – OK.
- Similarly, set value 0 for LastOrientation DWORD.
- Double-click SensorPresent DWORD and set its value to 1.
- Put 1 in the Value data box of SlateEnable.
- Reboot your device.
Methods list
1] Restart the device
2] Make sure to keep Rotation lock off
3] Disconnect external peripherals
4] Run sensor troubleshooter
5] Update the driver dedicated to sensor
6] Install updates for Windows 10
7] Enable Integrated Sensor Solution
That’s all!!