Procedures to Create Box Notes, Edit, and Save with Steps. – Are you looking for a guide helping you to take note on Box Notes? Then you are at the right location as you will find the ways to create, edit, and perform various functions regarding the note taking here. Box Notes is a note taking tool that works on Desktop whether it is Windows or Mac and browser itself.
You might have known Box has been providing Cloud storage service for years. Now it has presented Box notes and you can write notes, share ideas and collaborate with others using this tool. You can create Box Notes, track updates on your Windows Desktop and Browser with equal ease. A similar article on OneNote Windows 10 on a different web page might help you to understand this guide.
Method to Create Box Notes
First of all, you need to create a folder in Box notes. Mind that when you will create a Box notes they will be placed in this built folder.
Create Folder in Box Notes
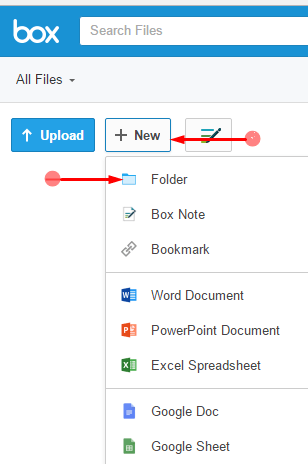
Step 1 – Open the Box notes in your preferable Browser or desktop app and click on +New. Select Folder in the Drop down.
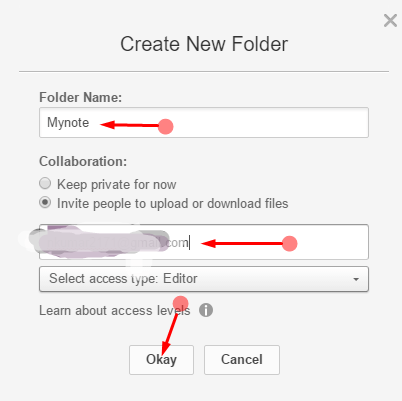
Step 2 – Write the name of the folder and email id and select Okay.
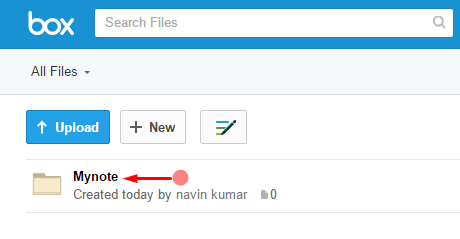
Step 3 – Click on the newly created folder and lets it open.
Create Box Notes
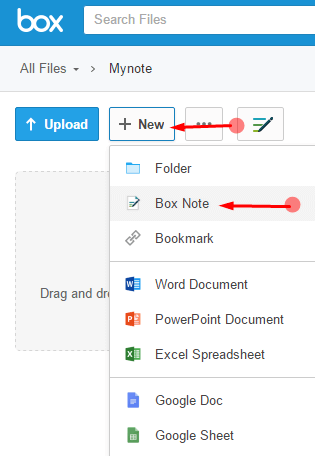
Step 1 – Now click on +New and then on Box Note.
Step 2 – You will find a Pop up screen reading Create a Box Note. Name the newly created box note. Type the name of your note and select Ok. It will later help you to locate the box easily.

Step 3 – Once done click on the OK button, Box Note Editor will be available indicating that the box note is ready to work.
Step 4 – There is no Save button which we are generally habituated to. Rather Box notes include a feature of auto saving. It will be saved in the folder you have chosen in Step 1. The extension name. box note denotes that it is a box file.
Isn’t it simple? Again at times, you need to edit the content of the box notes. Even this is possible if we follow the below-mentioned steps.
Edit Box Notes
Step 1 – In this process, you will need to search your Box Note first. So, locate one from the files having extension name .boxnote.
Step 2 – Press the box that you wish to edit. Just as the preceding case it will open in the box note editor.
Step 3 – Do the needful changes in the content. Again you do not need to save it as it is automatically saved just as the previous one.
Attention – You can also structure your text in the box note editor using the formatting tools in the toolbar. The functionalities of the Box editor tools are just similar to MS Word so, you can customize the size, the text as per your need.
Insert images in Box Note
In case, you require inserting images in the Box Notes editor then follow these few steps.
Step 1 – Initially, you need to select the box Note and the picture you want to upload.
Step 2 – Click on the Insert image icon on the Box Note toolbar. Browse folders on your computer, select the image you need to insert and click on Open.
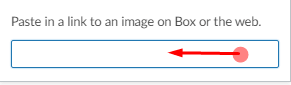
Step 3 – In addition, you can include an image using a link to the editor. First of all, press the option Add image with a link.

Step 4 – A tiny pop appears, so copy an image link from the web to your clipboard and paste into this pop up. Press Enter.
Add Links to Box note
Once you Create Box Notes, you may also require the inclusion of links and comments in your Box Note now. So, just follow these few simple steps.
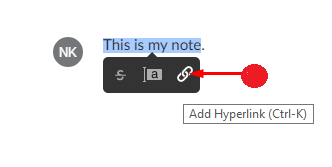
Step 1 – Select a text (word, phrase or a paragraph) in order to Highlight it.
Step 2 – You will see 3 icons after you highlight the text. Click on Add Hyperlink icon and open a pop up.
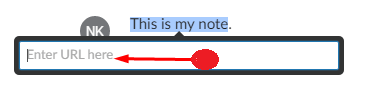
Step 3 – Paste the link in the pop up on the text Enter URL here and press Enter.
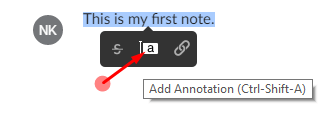
Add Annotation
Step 4 – If you require adding a comment on the text then press Add Annotation button. A pop up opens up, write your comment and click on Post.
Share Box Notes
Suppose, you create Box Notes want to share with few other people. It is very easy and you just need to follow the provided steps.
Step 1 – Select the box Note file you desire to share. Press the Share icon or text at the far right of the toolbar. Right below the toolbar, you will find a dropdown containing few options. Click on Get link.
Step 2 – Copy the whole text a link of the popup or use Keyboard shortcut combination of Ctrl + C is another process of copying the text.
Step 3 – Use any of the social media accounts to share the link with the desired group of people.
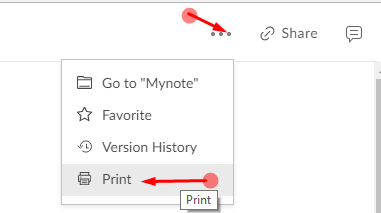
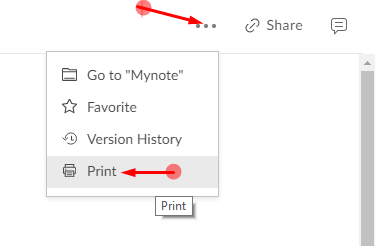
Print Box Notes
To get a print out all you have to do is go to the three dotted lines on the taskbar and you will find a drop down option. One of the options will be Print. To take the print of the Box Notes simply press the Print option on the dropdown. Connect your computer to a printer and take the box note print out.
In this way, you can Create Box Notes, Edit and Save quite simply.