Windows 10 includes a toggle in the VPN section of Network & Internet Category of Settings – Allow VPN while roaming. Using this setting you can check and balance your data expense keeping your data plan into account. See the previous article on How to Disable / Enable Allow VPN Over Metered Networks on Windows 10.
While on roaming generally your data plan is restricted by different types of terms and conditions. You cannot exceed the data limit else you will have to either more or use a lesser data speed. Follow a very useful guide in this concern – How to Check Monthly Data Usage in Windows 10. Move on further with the guide.
Allow VPN While Roaming on Windows 10
Through Settings
Step 1 – Click the shortcut combination Win+I to open Settings program. Alternatively, you can follow a very interesting tip – Add Your Important Settings Categories to Start Menu in Windows 10.
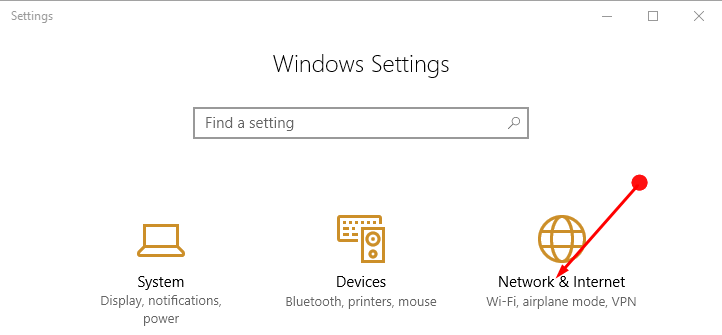
Step 2 – On the Settings home panel, read for Network & Internet and choose the same.
Step 3 – Now under Network & Internet on the panel select VPN. After that in the adjacent panel use the toggle (slider button) under Allow VPN while Roaming as per your choice.
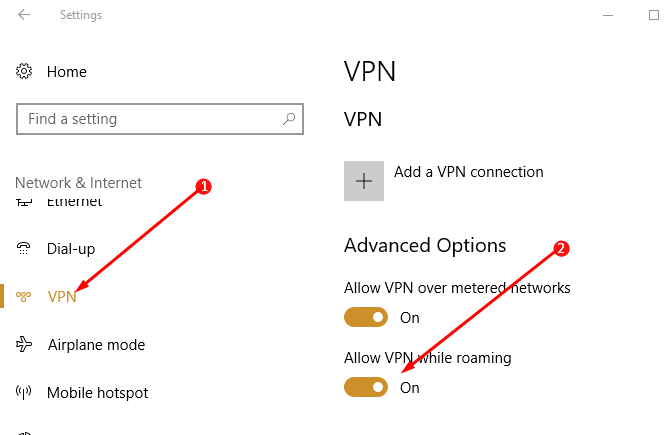
To enable the connection toggle the button to On or to disable the connection toggle to Off.
Through Registry Editor
Through Registry editor also you can make the desired changes. But it is noteworthy that you need to log in as an Administrator. We also suggest creating a restore point before and import the registry keys before touching.
Step 1 – Type regedit in the taskbar search and choose the same when it appears under Best match.
Step 2 – Click Yes to permit UAC prompt appearing on the PC screen.
Step 3 – Unfold the given keys one by one to reach the destination.
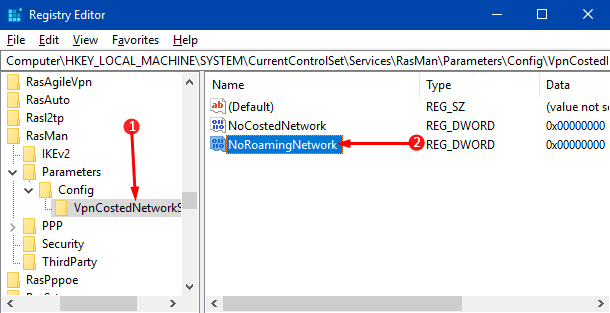
HKEY_LOCAL_MACHINE => SYSTEM => CurrentControlSet => Services => RasMan => Parameters => Config => VpnCostedNetworkSettings
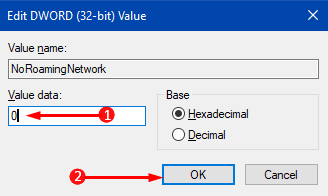
Step 4 – Now move to the adjacent panel and double click on the DWORD NoRoamingNetwork. In the edit string, type the below values as per your requirement. Do not forget to click on the OK button to carry on with the changes.
0 to Enable Allow VPN While Roaming on Windows 10
1 to Disable Allow VPN While Roaming on Windows 10.
Step 5 – Reboot the computer to apply the input.
Conclusion
Thus we see that using either of the methods we can enable or disable Allow VPN While Roaming on Windows 10. This is actually a good method to keep the expenses incurred via roaming in control. Therefore you can try using any of the above methods and enjoy the VPN services.