Do you know Window 10 supports HDR (in short High Dynamic Range) and Wide Color Gamut (aka WCG)? These two features allow users to use fully their HDR TV. However, to experience a brighter, lively, and clarity picture, simply Enable HDR and WCG Color in Windows 10.
All you need is to just connect the television with a computer running Windows 10 OS which has an HDR10-capable display. By doing so, you will have the colorful, interesting and wider images, films or movies than others standard television. Let us see how to turn on this amazing feature.
How to Enable HDR and WCG Color in Windows 10
Step 1: Select Start in the lower left corner of the desktop or press Windows symbol on your keyboard. Choose Settings cog icon on the left pane.
Step 2: When the main interface of the app comes into view, click System category.
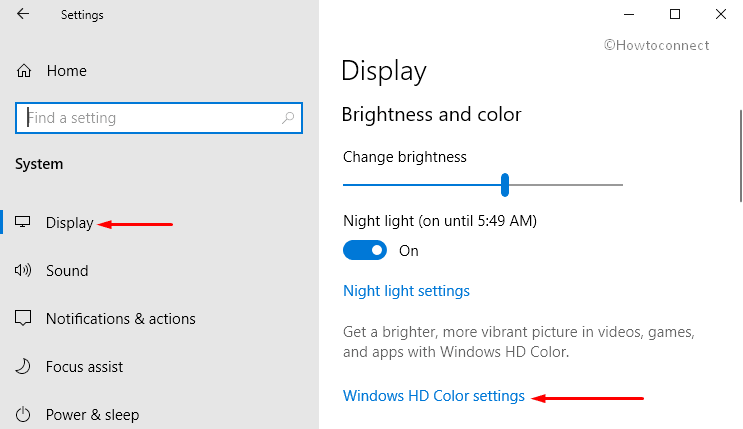
Step 3: Choose Display on the left sidebar of the following page. Switch to the adjacent right side and click Windows HD Color settings.
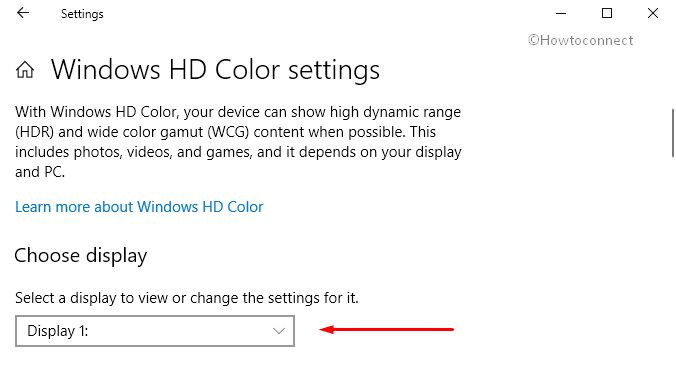
Step 4: Next, click the drop-down that occurs Select a display to view or change the settings for it and pick up your second display.
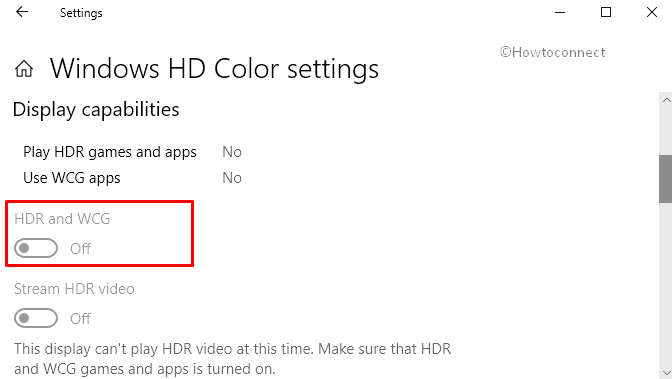
Step 5: Now, toggle ON the option HDR and WCG.
After you Enable HDR and WCG Color in Windows 10 if the display “HDR content” confronts certain issues, here are the possible workarounds.
Problem 1: TV does not show HDR
Firstly, you have to ensure that your TV has turned on “HDR”. You must also acknowledge that the way you get to the on-screen menu on your television is based on its model. You can find and check out the document for your TV by going to the manufacturer’s web page.
Open Windows Settings by making a simultaneous hit on Win + I hotkeys.
Now, go to System => Display => Windows HD Color settings. On the subsequent page, check whether you enable HDR and WCG Color in Windows 10.
Besides, it is very important to ensure that does your PC have that driver to support ‘HDR10’ or not. Here is how to do that:
Press Window Key + S and type dxdiag then click OK.
If a dialog box pops up, select Yes.
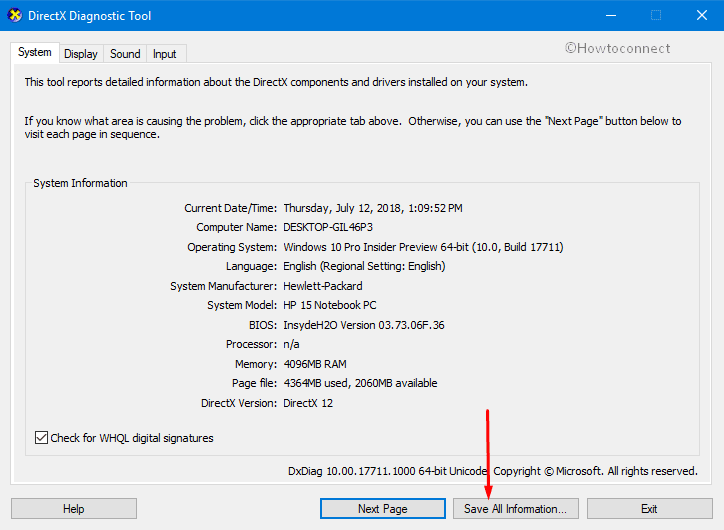
Look up the System Information section on the System tab of the DirectX Diagnostic Tool.
You may like to read How to Find the Version of DirectX in Windows 10.
In order to save the details to a file, click “Save All Information” and store the text file somewhere on the PC.
Now, launch the text file and check the value for HDR support. If it displays “Supported”, it means the display or TV supports ‘HDR10’.
Next, you must determine that the television or current display connection has an ‘HDR’ signal or not. If Yes, you can move to this section.
Get access to the text file that you just saved and check the value of the ‘Display Color Space‘.
If the value is “DXGI_COLOR_SPACE_RGB_FULL_G2084_NONE_P2020“, it signifies that the HDR10 and the connection are displaying advanced color.
When it shows “DXGI_COLOR_SPACE_RGB_FULL_G22_NONE_P709“, it means this is sRGB and not advanced color.
Monitor Advanced Color Capabilities
In case, you are looking for Monitor Advanced Color Capabilities for more detailed information about the display’s capabilities. These are your needed info:
BT2020RGB or BT2020YCC: Any one of these color spaces must be visible in order to consider as an ‘HDR10-capable display’.
Eotf2084Supported: This value must available for the display to help us understand it is an “HDR-capable display”.
Advanced Color Supported: This show that a display has advanced color capabilities.
Advanced Color Enabled: This shows the advanced color turns on for your TV or display.
Problem 2: The picture on the display is dim
Sometimes, our desktop might be dim due to we set the display to standard dynamic range (SDR) mode. The main reason is that a display clarifies the HDR and SDR signal differently. Do not frustrated, you can solve this problem within a few minutes by this instruction.
Click Start icon => Settings => System => Display => HDR and WCG setting. There is an available option to change the brightness for ‘SDR content’. Simply drag the slider to the right until you get your wanted bright level.
Follow our another article on How to Adjust SDR Content Brightness on HDR Display in Windows 10.
Furthermore, you can also “increase the brightness” by using the button and the on-screen menu on your display.
Problem 3: Color does not display correctly
Many users claimed that there is an error about the color of the display. To solve it, you must ensure to use the latest driver WDDM 2.4. If not, go to Windows Update in Settings or check the driver from the producer.
If you are using HDMI connection or HDR, you should use “Display Port”. It will better than a PC or display.
In case ‘HDMI’ is your only option then you should try this.
To reduce the frame rate
Go to Settings, the built-in application and choose System.
On the Display section, switch to the right side and click Advanced display settings. Next, make a hit on Display adapter properties.
In Display Properties box, shift to Monitor tab, select “30 Hertz” and click OK.
Also, read How to Change Refresh Rate Windows 10 PC Screen.
To reduce the resolution
Here also, first of all, navigate to the Settings app using Win + I keys. Go to the System category.
On the right pane of Display, scroll down and click Advanced display settings. Next, click Display adapter properties.
For reference, you can follow How to Get Best Experience from Windows 10 Display Settings.
Make a click on the button List All Modes on the Adapter tab of the Properties dialog (see snapshot).
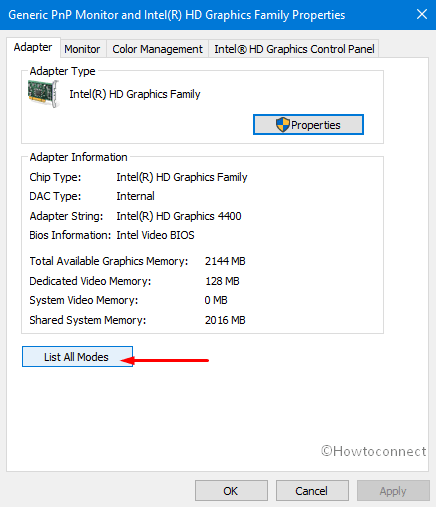
Locate and select the mode “1920 by 1080, 60 Hertz”. Finally, click OK to save the resolution changes.
Although it might bring us many other problems, it is very simple and easy to enable HDR and WCG Color in Windows 10. Since Windows 10 released, it has brought to the users’ lots of helpful functions and features. If you want to know more, find out in the next articles.