While attempting to upgrade from a lower version to Windows 11 or 10, you might encounter an issue. The error message could be “0x8007000A – 0X2000D The installation failed in the SAFE_OS phase with an error during MIGRATE_DATA operation”.
0x8007000A – 0X2000D indicates that something prevents process during the period of migrating user data and commonly appears when you upgrade from Windows 8.1 to 10 or 11 or 10 to 11. As a result, the upgrade fails. The error code may show up if the disk is full of tons of temporary moreover unnecessary files. Furthermore, file lock apps or corrupted system files can be equally responsible to cause the failure.
0x8007000A – 0X2000D installation failed in the SAFE_OS phase
Here is how to fix 0x8007000A – 0X2000D installation failed in the SAFE_OS phase Windows 11 or 10 –
1] Clean the Storage
Most of the time the upgrade fails because of lack of storage space on the computer popping up the error message. Actually, when you perform a task, the system generates temporary files and store them in the drive. After a certain time, those files that are totally useless, increase in number and occupy gigabytes of space in the disk. Additionally, you might have downloaded large files resulting in shortage of storage. Whatever the reason be, 0x8007000A – 0X2000D error can be solved by cleaning the space on computer. Disk cleanup is the handiest tool to perform this work so follow the instructions –
- Click on the Start.
- Type cleanmgr and then hit enter.
- Select the (C:) and OK.

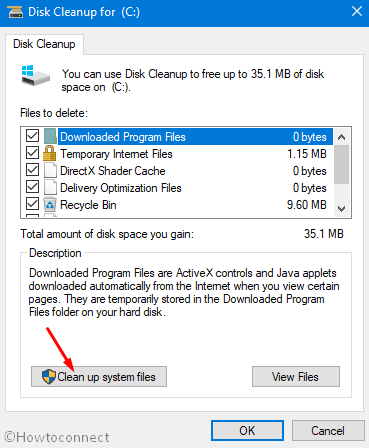
- Disk cleanup will calculate the amount of files that can be deleted and show you after a while.
- Click the Clean up system files.
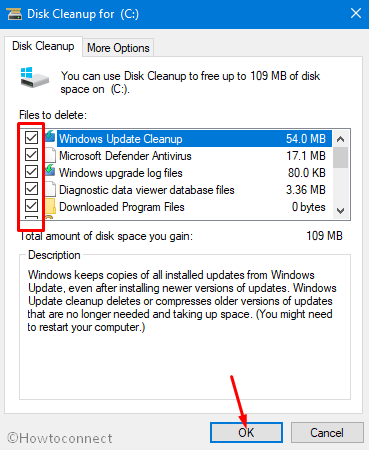
- Again choose (C:) and then click OK.
- Check all boxes located beneath Files to delete area.
- Click OK and then Delete files for approval.
Important – If you have downloaded such large files that can occupy substantial space then manually delete them. Remember to also remove the files from Recycle bin.
Delete the Temporary Files
- Press Win+R, type temp and hit the enter.
- Select all the items in the directory and hit “Del” on your keyboard.
- Now open the Run dialog again, type %temp% and click OK.
- Select entire items in the folder and press Del.
Reboot the system and the error 0x8007000A – 0X2000D will be fixed now.
2] Disable the BitLocker to fix 0x8007000A – 0X2000D
Enabled BitLocker may cause 0x8007000A – 0X2000D installation failed in the SAFE_OS phase error. To fix the issue, disable the tool for the time being and after successful upgradation you can enable the same again. Here are the steps you need to follow –
- Press the Windows logo key, type control, and then hit enter.
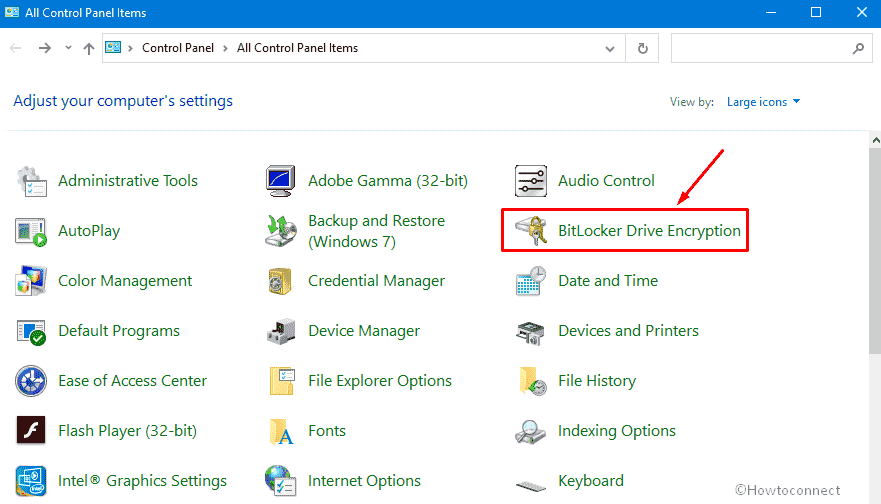
- After Control Panel appears, set the View by Large icons.
- Click the BitLocker Drive Encription.
- Select Turn off BitLocker.
- A pop-up will prompt for final approval from where you will have to click “Turn off BitLocker”.
3] Turn off the antivirus program temporarily
Anti-malware programs always work to protect the OS from vulnerable threats but sometimes, they create conflicts that cause problems during upgrade. As a result, 0x8007000A – 0X2000D installation failed in the SAFE_OS phase error shows up. So, disable third-party antivirus program you are currently using following the Steps –
- Right-click the antivirus icon present in the System tray.
- Pick the option that says Disable option or the one with the same meaning.
Note – Procedure to turn off antivirus program temporarily may vary for different software but for all apps it should be almost same.
4] Check for system corruption
0x8007000A – 0X2000D error may occur because of fault in Windows Image or system files. You can repair them using DISM and SFC tools successively. So, follow –
- Click the Start and type cmd.
- Press Ctril+Shift+Enter.
- When the User account control dialog prompts up, click Yes.
- Copy the following text and paste in the Command prompt –
DISM.exe /Online /Cleanup-image /Restorehealth
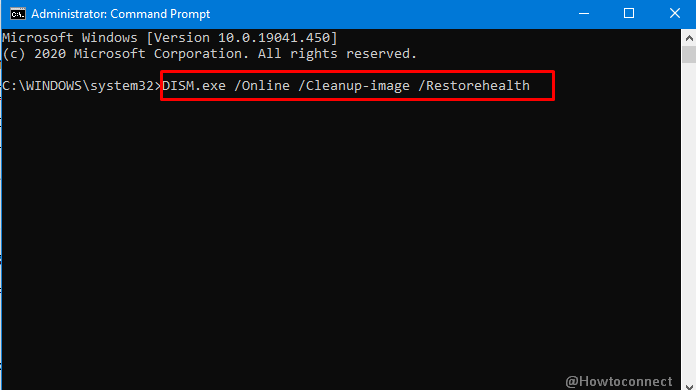
- Hit Enter.
- When the utility finishes its job, reboot your PC.
- Now type in the below command and press Enter.
SFC /Scannow
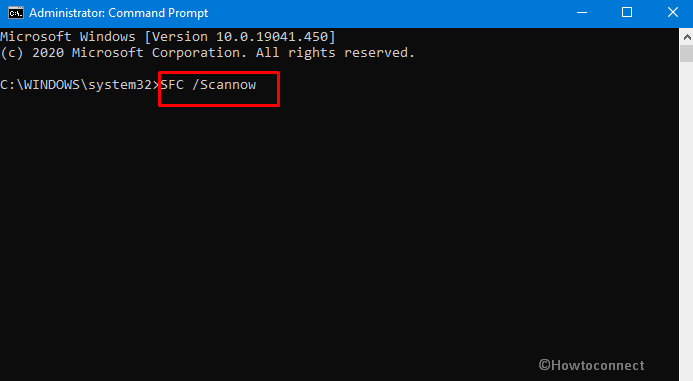
- System File Checker now scans the full system for corruption and fixes them automatically if found.
- Once the procedure is fully complete, reboot the PC and try to upgrade Windows.
Methods:
1] Clean the Storage
2] Disable the BitLocker
3] Turn off the antivirus program temporarily
4] Check for system corruption
That’s all!!