Ways and Steps for How to Fix Repair Your Computer Not Working | Missing on Windows 10 – Are you confronting with nonfunctional or missing ‘Repair your Computer’ option. When you face Blue Screen or variant glitches restraining Windows 10 from starting you depend on Repair your Computer. This option allows you to solve multiple issues connected to BCD, Startup, and Several others.
Repair Your Computer Not Working | Missing occurs because of either corrupt or missing BCD Files. These Boot data configuration files relentlessly support Windows to load when you boot your system. So this mess up stops you from fixing the Advanced boot option problems.
Repair Your Computer Not Working | Missing on Windows 10
Since BCD is accountable for the functions of Repair your computer option so you will need to rebuild it. First of all, BCD is a hidden system file so you need to run a command for making it work.
Way 1 – Enable the Hidden BCD Files
Step 1 – Right click on ‘Start’ icon on the left bottom nook for the quick appearance of ‘Power menu’. Identify the option ‘Command prompt (admin)’ in the middle part and choose.
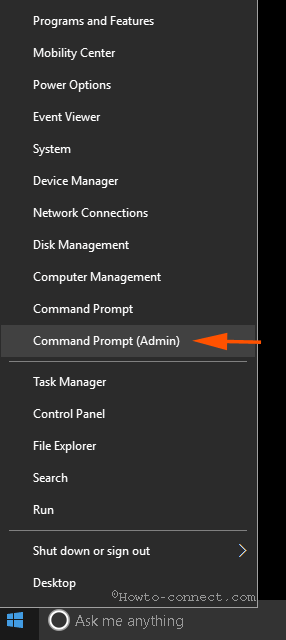
Step 2 – User account control pop up instantly appears on the screen. Select ‘Yes’ option and allow the command prompt to become accessible.
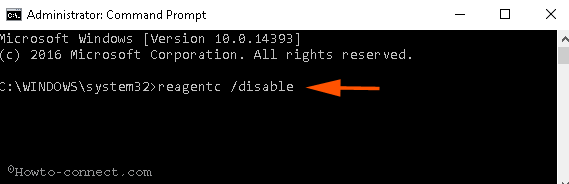
Step 3 – Now you must have to run 3 commands one after another in the interest of enabling BCD files. So, copy the commands in sequence from below, paste into the elevated command prompt and click ‘Enter’.
1. reagentc /disable
2. reagentc /enable
3. bcdedit /enum all
Once the above is executed, now you need to rebuild the BCD Files. so
Step 4 – Copy the BCD rebuilding command undividedly, paste into the command prompt, and press Enter.
bootrec.exe /rebuildbcd
bootrec.exe /fixmbr
bootrec.exe /fixboot
In the end of this method, reboot and ensure if get Repair Your Computer back or it begins working now.
Use CHKDSK to Fix ‘Repair Your Computer’ does not appear or Work
Step 1 – You have launched the command prompt using Way 1, so copy chkdsk C: /f, paste, and click the Enter Button.

Wait until the command completes its work then check if the option returns back or starts working.
Execute SFC Tool
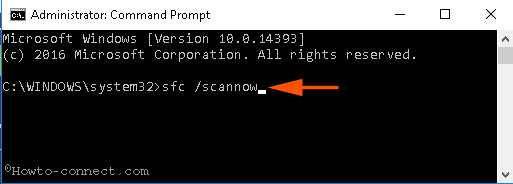
Despite you are facing trouble to open Repair your computer Windows 10, then run System file Checker.
Step 1 – Open the command prompt with help of the method described in Way 1.
Step 2 – The subsequent command functions for System File Checking. So,copy
sfc /scannow
from the above, paste and click Enter.
The scanning and restoring genuine files will take some time, so stay till the task is all over.
Finally, confirm if Repair Your Computer Not Working on Windows 10 issue gets away.
Conclusion
So these are the processes and steps to fix Repair Your Computer Not Working on Windows 10. The first way will enable the hidden BCD Files and then rebuild the same and if any issue remains SFC utility will resolve.