Shared Folder Troubleshooter is a tool to easily diagnose and fix problems with files and folders on other systems. Microsoft offers advanced and keenly developed Diagcab applications to solve issues in different Windows components on Windows 10. There are various reasons which cause issues in sharing files or folders in Windows machines. Most of the time it occurs due to the underlying network connectivity or because of HomeGroup messes. Whatever the reason may be, you should first try to Run Shared Folder Troubleshooter in Windows 10.
If something on your device is not working, then you can run the built-in troubleshooters of Windows 10. The tool will automatically detect the critical problems on shared files or folders and will make an attempt to repair them as well. Once you run the tool, it will ask you to provide the network location that you prefer to access. So, let us delve into the steps and see the way to run Shared Folder Troubleshooter in order to bypass the problems that don’t allow you to access the items on other PCs.
Run Shared Folder Troubleshooter in Windows 10
Here is how to run Shared Folder Troubleshooter in Windows 10 –
Through Settings
Step-1: Make a joint press on Windows logo + I hotkeys to open Windows Settings. Instead, you can also launch the Start Menu and hit the cog icon to access the same application.
Step-2: Click Update & Security category on the main interface of the app.
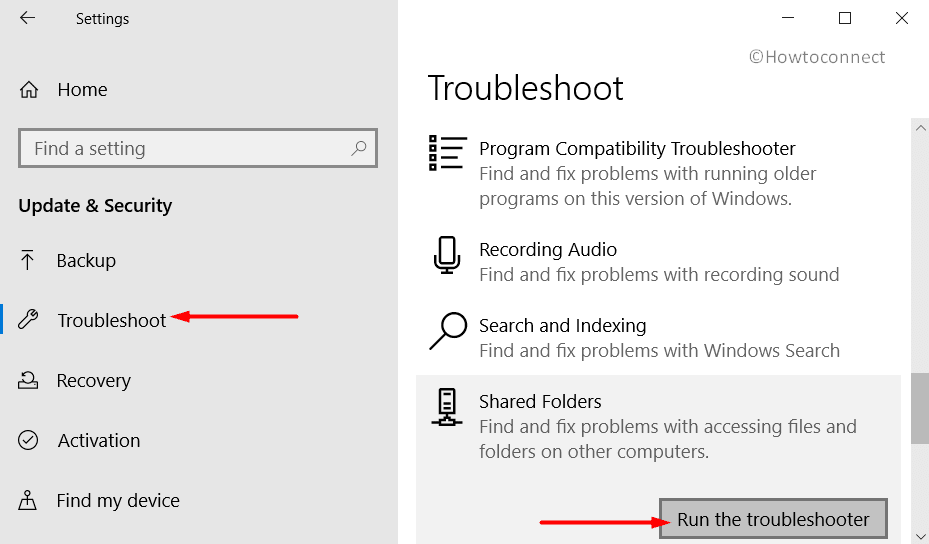
Step-3: Go to Troubleshoot section on the left column of the following page. Switch to the corresponding right pane, then locate and select Shared Folders.
Step-4: Click Run the troubleshooter button as shown in the below picture.
Step-5: Let the tool detect the problems that create issues in accessing files and folders on other computers. If it finds any such issues, the tool will make an attempt to fix them as well.
Via Control Panel
Go to Cortana search box and type “Control Panel“. Hit Enter when you notice the same as the result.
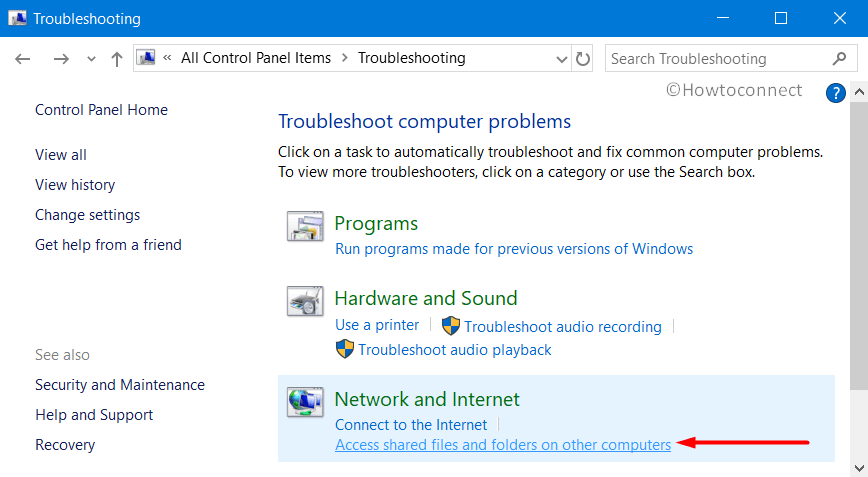
Make items into small view and click the Troubleshooting applet. On the following window, click the option namely Access shared files and folders on other computers.
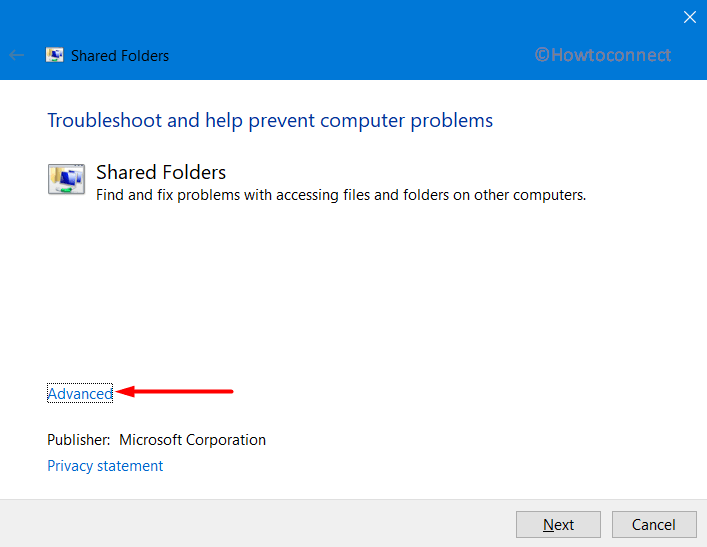
When Shared Folders troubleshoot wizard will appear, click Advanced.
Ensure to checkmark the box against the option Apply repairs automatically. Then, click Run as administrator.
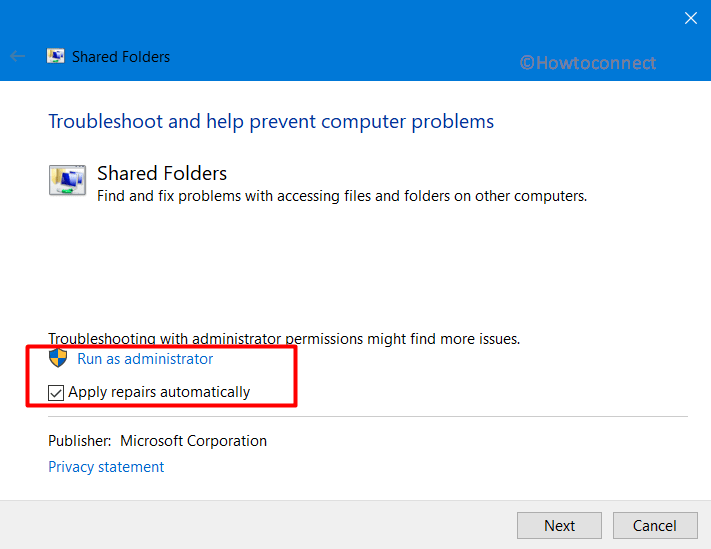
Click Next and when asked to provide the network location that you want to access, give it. Wait for the tool to finish the scan and repair the problems.
Hopefully, you will be able to Run Shared Folder Troubleshooter in Windows 10 and easily share the folders or files on other computers.
That’s all!!!