If you disapprove to share your Windows 10 system then ‘Turn Off Fast User Switching’ feature will give a great experience. The main purpose of this sharing is that it provides a quick way to move from one account to another. But, because of its certain limitations, users hardly avail Fast User Switching.
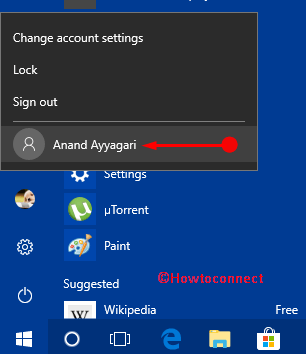
However, in Windows 10, the Start menu includes the way to directly switch user is from one user profile menu to other. Though the OS provides you several methods to use this sharing feature but does not offer any process disable it. There are two methods applying which you can turn off this feature and let us see them one by one.
How to Turn Off Fast User Switching on Windows 10
Method 1 – Via Group Policy Setting modification
Step 1 – To begin with, launch “Group Policy Editor“. To do so, type in group policy on Cortana and hit Enter key.
Step 2 – On the window that comes into view, go to the following path.
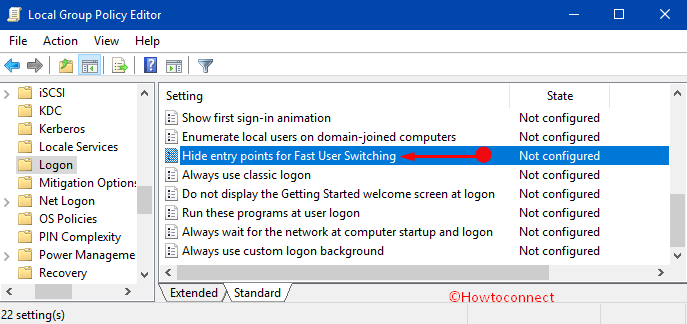
Computer Configuration => Administrative Templates => System => Logon
Step 3 – Shift to the right side of “Logon“, locate and double-click the policy setting namely Hide entry points for Fast User Switching.
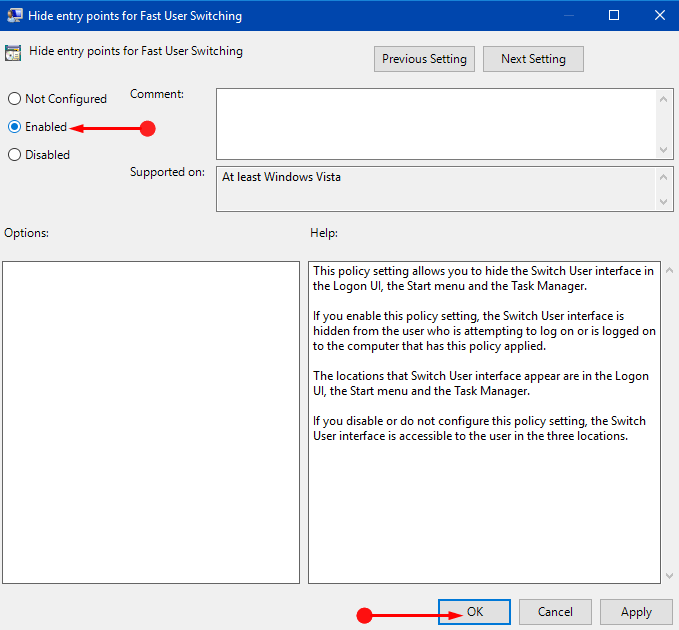
Step 4 – On the edit window, select Enabled option on the upper left portion. In the end, to Turn Off Fast User Switching, click “OK” button and reboot the machine.
Method 2 – Through Registry Hacking
Step 1 – First and foremost, access “Registry Editor” with a view to Turn Off Fast User Switching. To do so, type in regedit on Cortana text and press Enter.
Also, ensure to Import and Export Registry Editor on Windows 10.
Step 2 – Upon the prompt of UAC, click Yes to move ahead.
Step 3 – On the Registry Editor, navigate to the given path on its left sidebar.
For All Users
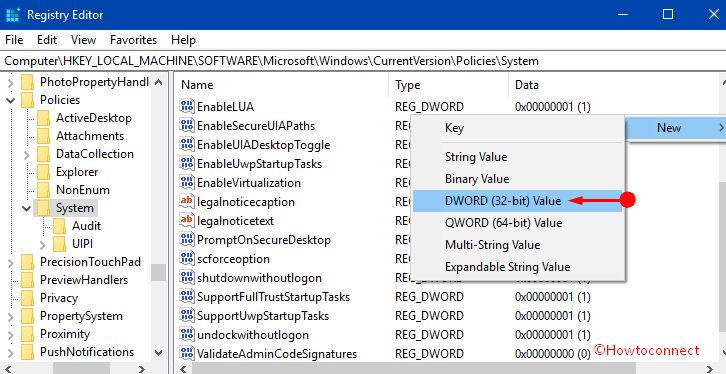
HKEY_LOCAL_MACHINE => SOFTWARE => Microsoft => Windows => CurrentVersion => Policies => System
For Current User
HKEY_CURRENT_USER = > SOFTWARE => Microsoft => Windows => CurrentVersion => Policies => System
Note – Depending upon your requirement, you can do modifications either for all users or for the current user accordingly. So, after following any of the above paths, do the below steps.
Step 4 – Once you reach the System key, shift to its corresponding right pane. Here, execute a right-click on a vacant area and select “New => DWORD (32-bit) Value” (see screenshot).
For reference, read our guide to Create a New DWORD Value in Registry Editor on Windows 10.
Noteworthy is that even if you are running 64-bit Windows, you have to still generate 32-bit DWORD.
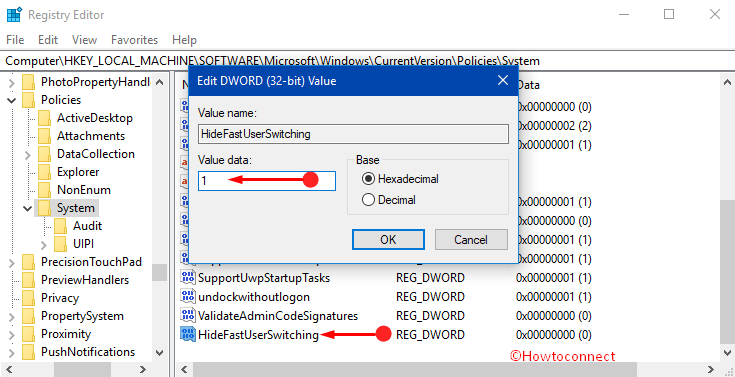
Step 5 – Moving ahead, name this DWORD as HideFastUserSwitching.
Step 6 – Now, appoint a double-click on this newly generated DWORD. On its edit box, assign 1 in its Value data box and click OK to implement the modification.
Step 7 – Lastly, restart Windows 10 and your attempt to Turn Off Fast User Switching will immediately be implemented.
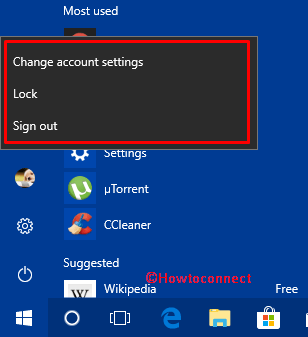
Once you get back to the system, you will no longer notice the quick user switch feature in the user profile in Start Menu (see snapshot).
Conclusion
Hence, after following the above-mentioned two procedures and their sequence of steps, you can pretty easily Turn Off Fast User Switching. We recommend you to work with group policy because any mistake in the Registry can lead to other unwanted issues. However, if you are aware of some more tips that can disable this quick sharing feature, do write them to us.