Methods to Uninstall/Install Internet Explorer 11 (IE11) in Windows 10 through Steps. – Internet Explorer and Microsoft Edge are the two built-in web browsers Microsoft incorporates in Windows 10. Commonly, most users prefer Edge or other third-party browsers rather than IE11. But when compatibility issues arise on certain websites, Windows suggests using Internet Explorer 11 instead of other browsers. See if you want to Block Microsoft Edge on Windows 10.
But, if you experience that Internet Explorer 11 fails to serve you in any way, then you can decide to uninstall it. However, uninstalling it doesn’t remove it completely from the OS and you can install it anytime. Well, all thanks to Apps & features settings page that lets you Uninstall/Install Internet Explorer 11 (IE11) on Windows 10. Now, let us see the guide in detail.
Uninstall/Install Internet Explorer 11 (IE11) on Windows 10
Uninstall Internet Explorer (IE11)
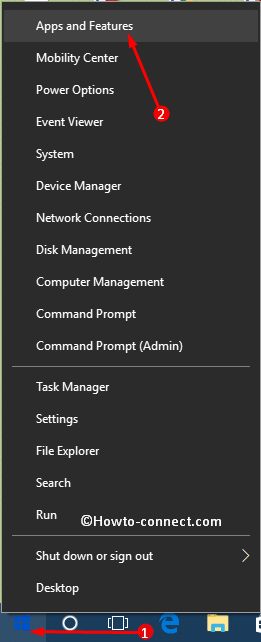
Step 1 – First of all, start the method by launching Apps & features settings page. To do so, perform a right-click on Windows logo icon and when multiple options will show up, then locate and select Apps & features.
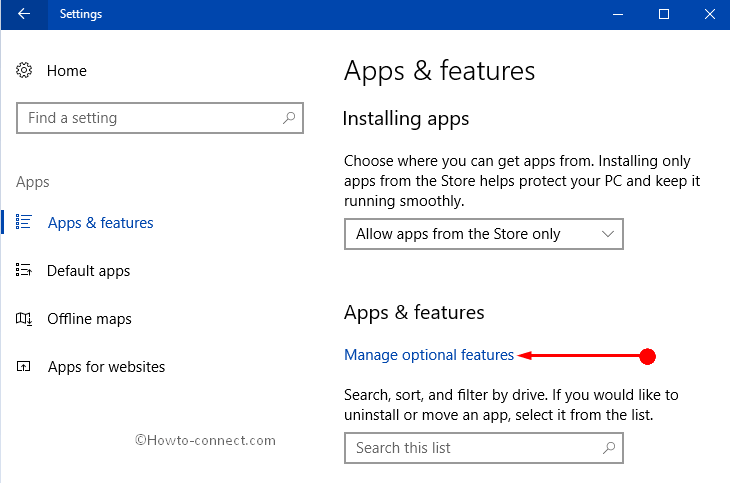
Step 2 – Now, by default, Apps & features settings will open. Shift to the right-hand side and you will notice various apps and few other options, however, select Manage optional features.
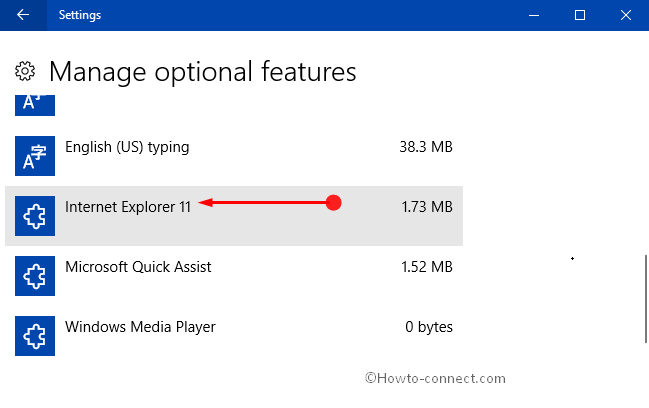
Step 3 – Next, find Internet Explorer 11 underneath the heading Optional features.
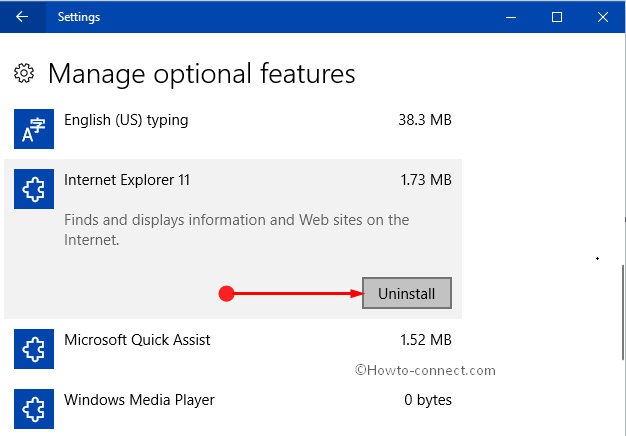
Step 4 – When you see it, select it and one Uninstall button will become visible. Click on the Uninstall button and instantly the browser will be uninstalled.
Note – You will not receive any confirmation about the uninstallation of the browser. However, you can check whether the browser is uninstalled from your Windows 10. Simply, type IE11 on Cortana and try to open the web browser. You will notice that nothing happens even you perform multiple clicks on the result, Internet Explorer (Desktop app). Moreover, you cannot do a right-click on the result to view related options.
Install Internet Explorer (IE11)
Step 1 – Well, first follow the first 2 steps of the above section and open Manage optional features page.
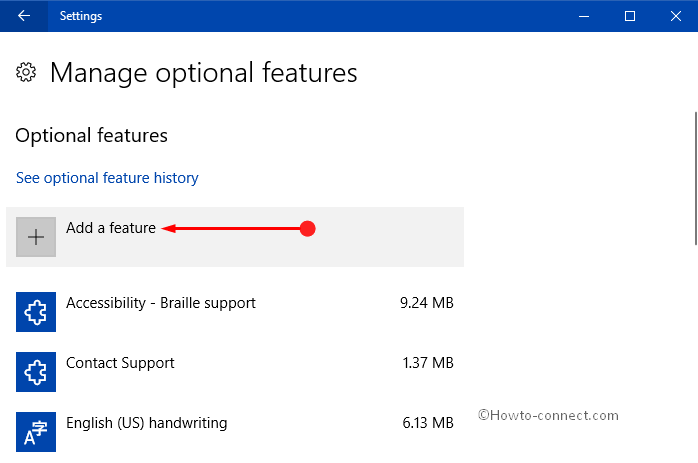
Step 2 – Now, you will notice one Add a feature button. So, click on Add a feature button to proceed further.
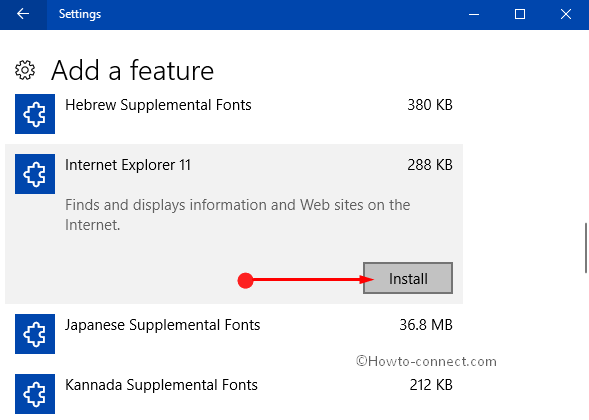
Step 3 – Next, Add a feature page will open up with various options, so, find Internet Explorer 11. Select that feature and click Install.
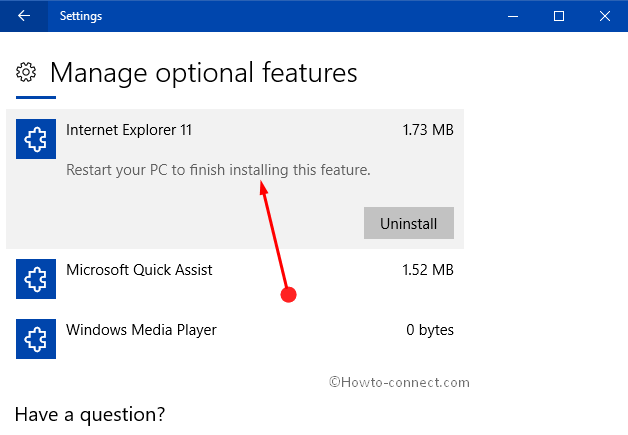
Step 4 – Now, get back to Manage optional features and when you select Internet Explorer 11, you will see a note that commands you to Restart your PC to finish installing this feature.
Step 5 – That’s it and you are finally able to Install Internet Explorer (IE11) on Windows 10.
Wrapping Up
So, if there is no need for this old browser, you can get rid of it. However, you can install Internet Explorer (IE11) anytime as per your requirement. Hence, pursuing the above-mentioned steps will definitely and effortlessly Uninstall/Install Internet Explorer 11 (IE11) on Windows 10 through the Settings application. Well, if you have more on the removal or addition of Internet Explorer, do share with us in the comments form below.