ActiveX Installer Service is one of the important services of Windows 10 and 11. AxInstSV provides UAC validation to Install ActiveX controls and enables management of the same following Group Policy settings. You can easily start or stop this service but the installation of this component program will behave according to default browser settings. So, in this article, we will discuss the way to disable and enable ActiveX Installer Service Windows 11 or 10.
AxInstSV runs as LocalSystem in a shared svchost.exe process. However, other services might also run in the same process. But during the procedure, if ActiveX Installer Service fails to start, ensure that Remote Procedure Call (RPC) service is not stopped or disabled. So, let us walk through the steps in details.
Ways to Disable or Enable ActiveX Installer Service Windows 11 and 10
Here is how to Disable / Enable ActiveX Installer Service Windows 11 or 10 [AxInstSV] –
Step-1: Press “Windows key + R” hotkeys in order to open Run dialog box. Once it pops up, type services.msc and click the OK button or hit Enter key.
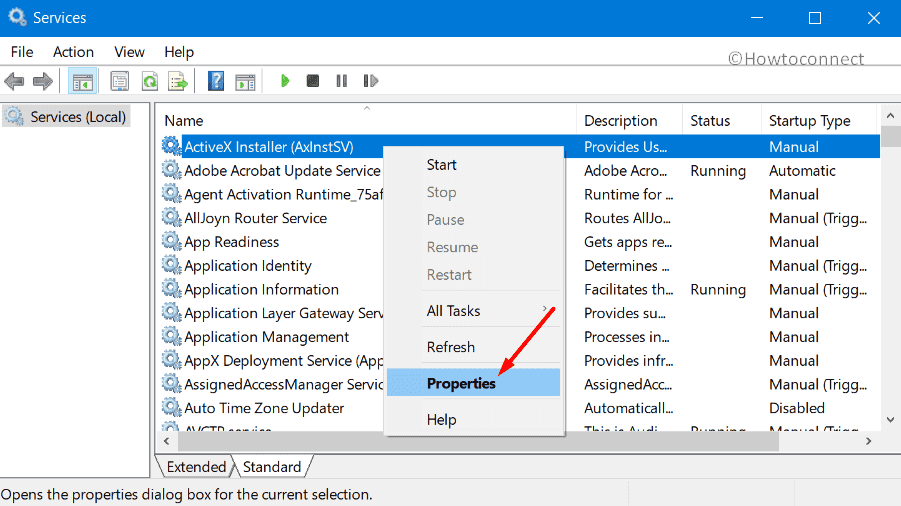
Step-2: In the Services window, you will notice that the first entry is ActiveX Installer (AxInstSV) mostly in the first row. Right click on this service and select Properties.
Enable ActiveX Installer Service
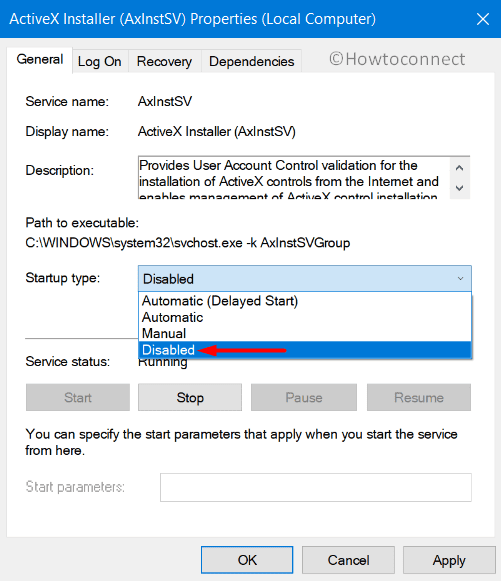
Step-3: To Enable AxInstSV in Windows 11 or 10, be into the General tab and click the dropdown against the option Startup type. Choose Manual or Automatic depending on your requirement.
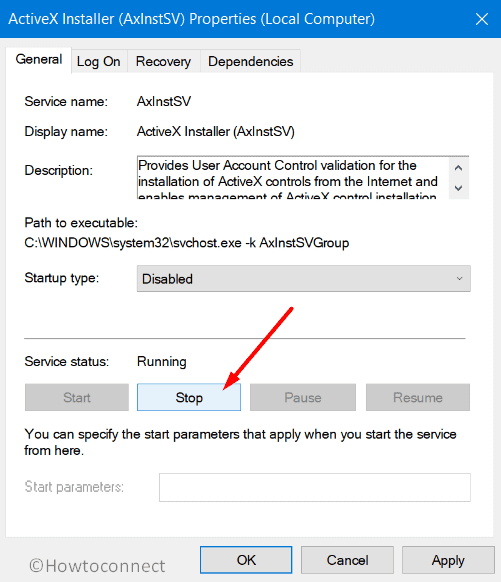
Step-4: Click Start button under the Service status section (see Screenshot below).

Step-5: Finally, hit the OK button to make the modifications effective right away.
Note – If the service fails to start, locate another service entitled Remote Procedure Call (RPC). Make sure it is running otherwise you will receive error messages.
Disable ActiveX Installer Service
Step-6: Follow the above first three steps to access the ActiveX Installer properties. Click the dropdown next to the option Startup type and select Disabled.
Step-7: Finally, click the Stop button beneath the Service status section as shown in the below figure. Lastly, click the OK button to disable ActiveX Installer Service Windows 11 or 10 (AxInstSV).
That’s all!!!