Windows 10 allows connecting a camera to computer in a very easy way. For this, the insider version of the operating system adds Cameras on the Settings page. Furthermore, the Settings allow you to configure a webcam, adjust brightness and contrast, troubleshoot the device, and restore all the changes to default mode.
You can add a Network Camera to Windows 10 PC quickly with a few clicks. After turning on the webcam the Win10 will automatically detect the device and provide you an option to connect the same.
Add a Network Camera to Windows 10 Computer
Here is How to Add a Network Camera to Windows 10 Computer –
Before starting the method, make sure you have turned on the camera you are going to connect. Now follow –
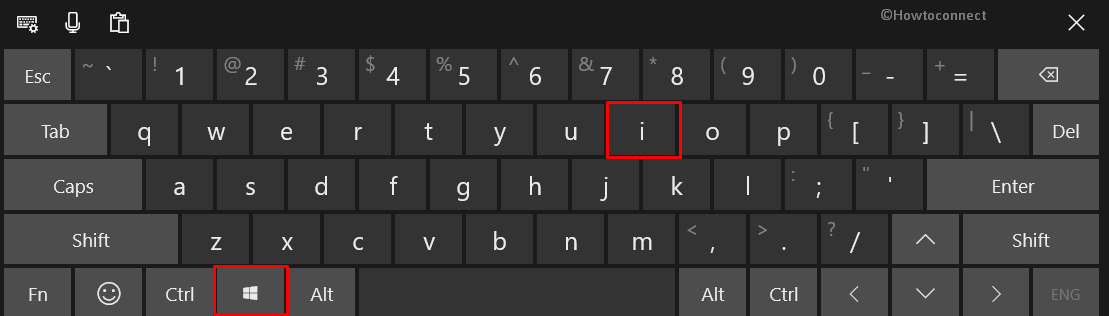
- Press – Winkey + I.
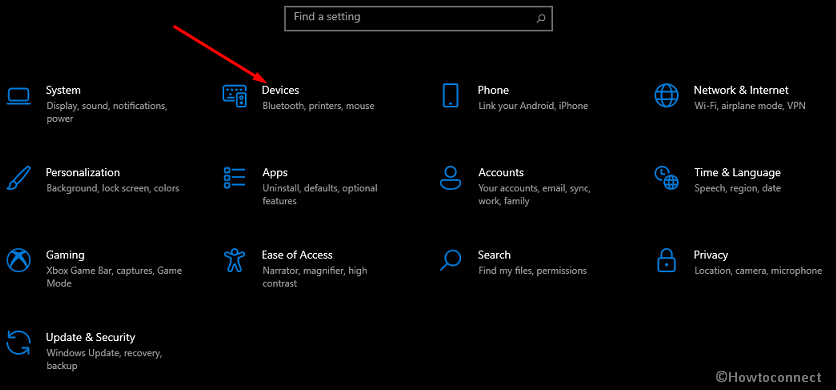
- Click – Devices.
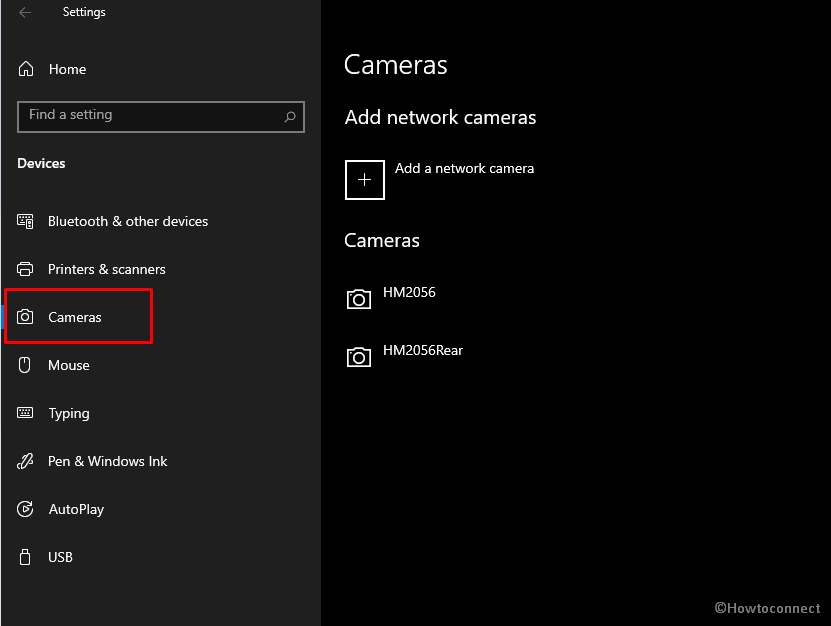
- Select – Cameras.
- Go to the right side and click – +Add a network camera.
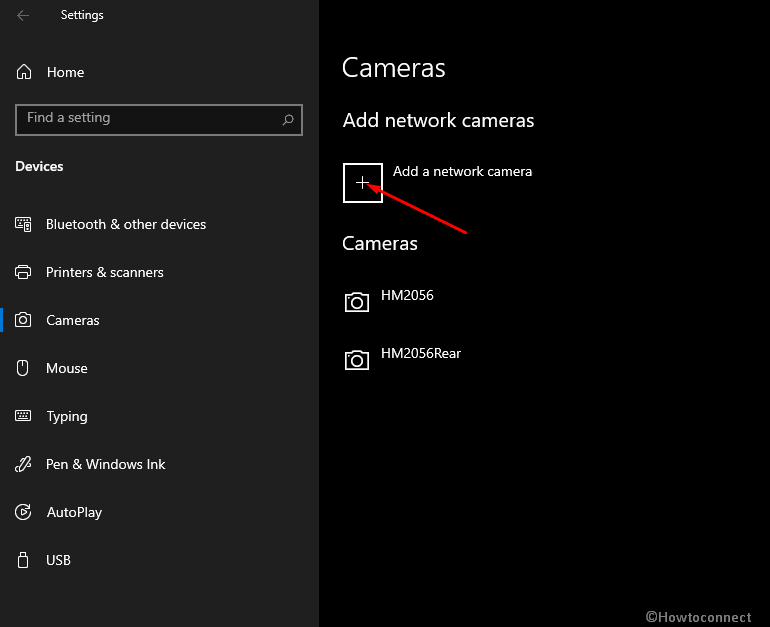
- Windows 10 will start detecting the camera and so you in a while.
- Select to add it.
See more on camera –
1] How to Change Location to Save Photos by Camera App in Windows 10
2] Everything You Can Do with Windows 10 Camera app
3] How to Turn On / Off Time Lapse in Camera App on Windows 10
4] How to Reset Camera App in Windows 10
That’s all!!