Whenever some strange or unusual incident occurs in your system, you examine here and there to dig out the cause. But the Event Viewer is the ideal location for this purpose which keeps the details of any occurrence on a machine. To detect the genuine reason for the specific events, you need to make a few modifications within it. In this consequence, to add or remove columns in the Event Viewer may be helpful for you.
Adding or removing columns in Event viewer helps you to get in-depth information concerned with an event. You can normally observe the level, date & time, source, event ID and task category, but if other properties like the logs, processor ID, Processor Time, User time and so many things can be seen or omitted. We are illustrating the steps to Add or Remove Columns in Event Viewer Windows 10 so that you can customize the properties to detect the reason of a mess in a system at your convenience.
How to Add or Remove Columns in Event Viewer Windows 10
Add Columns in Event Viewer
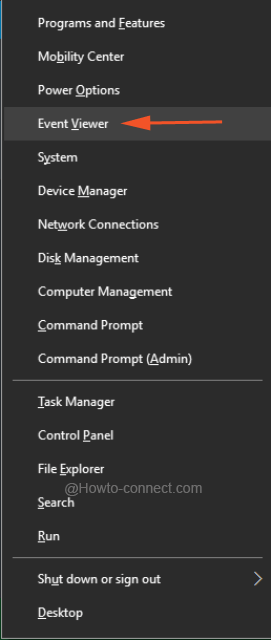
- Hit the combination of Win and X keys to permit the bar, emerge and from the visible list, click Event Viewer.
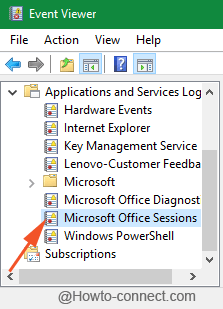
- The output window will be of Event Viewer, go to the event log of your requirement and choose it.
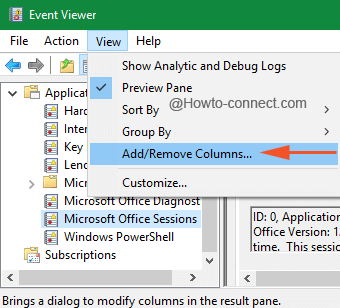
- Now, hit on View, and thereafter click Add/Remove Columns in the drop down menu.
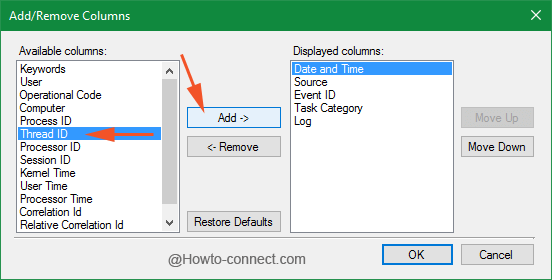
- A medium sized window of Add/Remove Columns will be visible comprising two boxes Available Columns and Display columns on alternate sides. Add and Remove buttons are positioned in the middle.
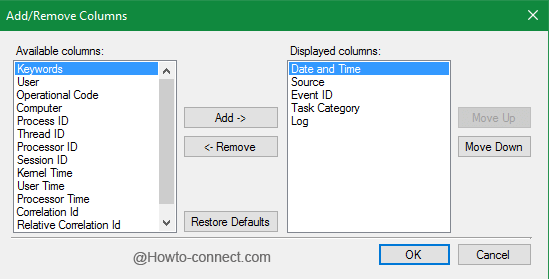
- First spot out and then select your required property from the Available properties list and thereupon tap Add -> button, apparent in the middle of the window.
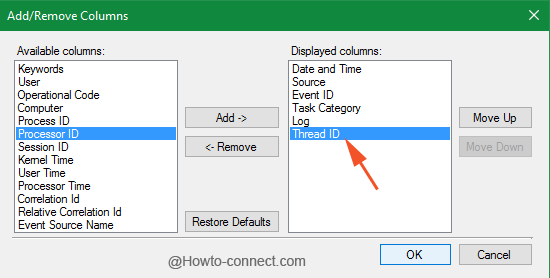
- Soon you will see the added property underneath the Displayed columns list and thereafter to conclude the procedure, tap Ok button.
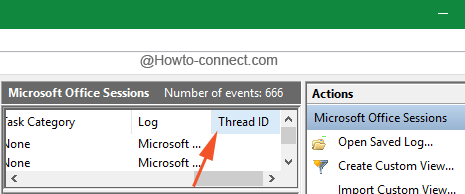
- Now the selected property will be listed and it will display its necessary information.
To Remove Columns in Event Viewer
- Observe the above steps until the Add/Remove Columns window is noticeable on screen.
- Decide which column you wish to delete from the Displayed column list of the selected event and thereupon click <- Remove button.
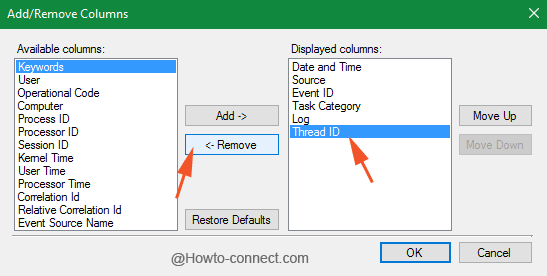
- The column will be terminated from the Displayed columns list, tap Ok.
Adding or removing columns in Event Viewer is not a tedious task but the properties are bit technical to understand, so advanced users are more efficient to read it. This functionality can also be seen from the point of view of exhibiting and hiding the columns. The information that you feel comfortable in exhibiting will be added and rest will be kept hidden.