If you want to Add or Remove Share From Context Menu in Windows 10 after Creators Update this is the right location. Share is the new option that you will see in the File Explorer context menu. This option will immediately let you share files through installed UWP apps such as Facebook, People, Cortana and so on. Follow the guidelines in the article to Get Rid of ‘Edit With Paint 3D’ From Context Menu on Windows 10.
So, to Add and Remove Share From Context Menu for all users you will need to manipulate certain registry keys. So we recommend taking a backup of the keys before starting to follow the steps. And make sure to be signed in with admin rights. You may like to read Windows 10 Tips – Enable Administrator, Guest Account. Well, let us now look at the instructions and see how to add or remove this newly added option from the context menu.

Add or Remove Share From Context Menu Windows 10 Creators Update
Step 1 – To Add or Remove Share From Context Menu, first, open Registry Editor. Hence, type regedit on the Cortana search and click the same on the top.
In addition, you can also Access Registry Editor in Windows 10 – 5 Simple Tips.
Step 2 – You may see a UAC (User account control) prompt seeking for your consent on your PC screen, click Yes.
Step 3 – Browse to the following mentioned key on the left sidebar of the Registry window.
HKEY_CLASSES_ROOT => * => shellex => ContextMenuHandlers => ModernSharing
Note – Please Import Registry Editor before making any change.
To Add Share
Note – To Add Share is the default setting as the Share option already appears in the context menu. But in case, you cannot see the Share option, Add it manually.
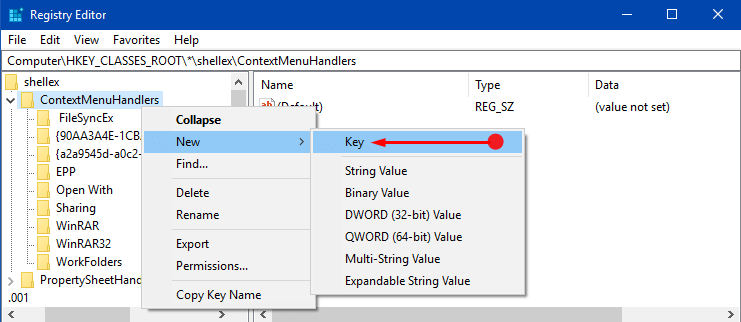
Step 1 – Navigate to the above path and reach out to the ContextMenuHandlers folder. Now, right-click on ContextMenuHandlers and hover on New followed by a click on Key. Name this key as ModernSharing.
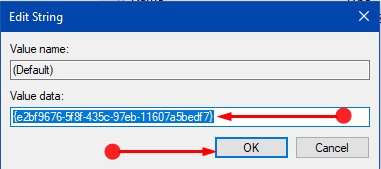
Step 2 – Shift to the right pane of ModernSharing and double-click the Default string name. Copy-paste the below value as it is in the Value data field as shown below and click OK to save changes.
{e2bf9676-5f8f-435c-97eb-11607a5bedf7}
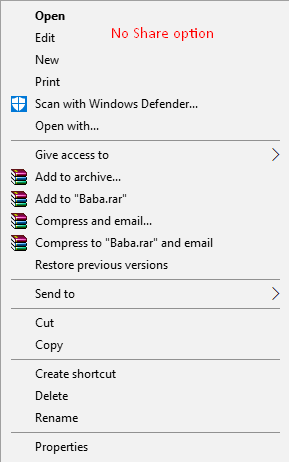
Step 3 – Finally, confirm it by right-clicking any item in File Explorer and you will see Share option in the context menu.
To Remove Share
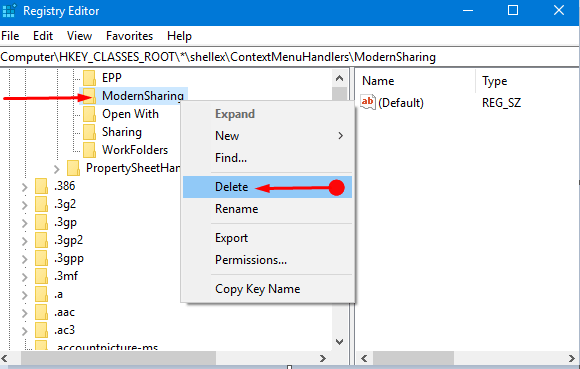
Step 1 – Right-click ModernSharing key and click Delete option. This will throw a pop-up.
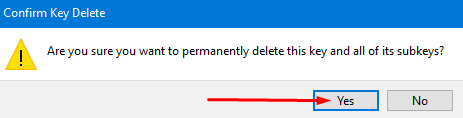
Step 2 – A confirmation dialog will come into view, click Yes to permanently delete the ModernSharing key.
Step 3 – Now, open any item in File Explorer and conduct a right-click on it. The Share option will no more be visible in the context menu.
Conclusion
Hopefully, you will be able to Add Remove Share From Context Menu by completing the above series of steps. But we highly suggest you take a backup of the Registry before deleting the string value. However, with this new development, sharing any item directly from File Explorer has become simpler. If you have more tips or ways to manage the Share option in context menu, write them to us.