Methods and Steps to Fix BlueStacks not Working on Windows 10 – Are you encountering troubles along launching BlueStacks on the newest Windows OS? Many users face lots of similar problems after they upgraded their computers to the latest edition. They complain about BlueStacks Windows 10 crash, gray screen, not loading like problems.
If you are confronting the same issues then you are on the right page since here is the guide to settle all issues belonging to this application on Windows 10.
BlueStacks not Working on Windows 10
When you find this error the first thing you should ensure that you have downloaded the application from its authoritative website. And the second is once Uninstall and reinstall so that you can avoid extra hassle. Despite this, you experience the issues then follow the fix Step by step carefully.
Step 1 –
Ensure Accurate System Requirement
Before starting any fix confirm that you fulfill Requirements of System. Your computer must be equipped with
1. At least 2 GB of RAM,
2. Not lower than 4 Gigabyte volume in Hard Disk,
3. Fully updated Graphics Card,
4. Running with Administrator Privilege.
Step 2 –
Update Graphics Card
Graphics card plays a great role in running run this emulator so here we are writing the way to update it.
Right click on the NVIDIA icon residing in the system tray and choose the option Check for updates on the menu.
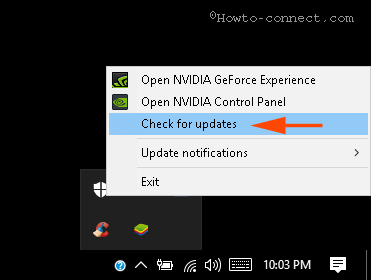
Wait until the card is perfectly updated and restart the system after it is finished.
Step 3 –
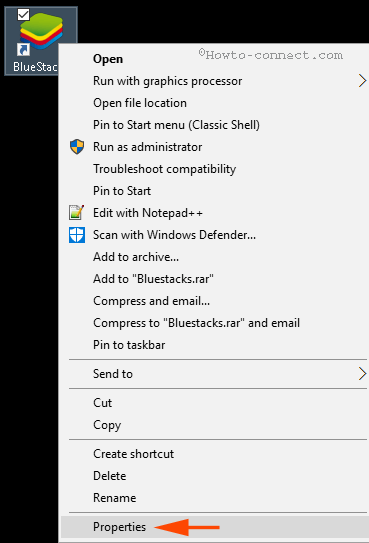
Start in Compatibility mode
If BlueStacks Windows 10 not loading issue occurs then the finest solution is running it in Compatibility mode.
Right click on the Shortcut of the app and select Properties from the list of options.
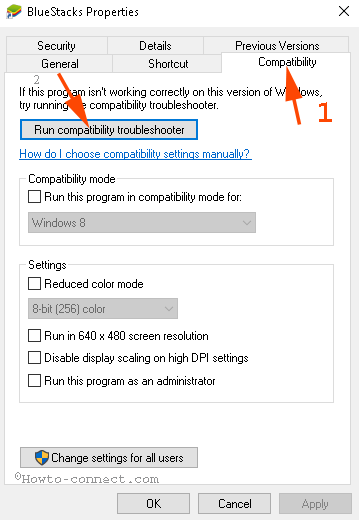
Now switch to Compatibility tab afterward click Run compatibility troubleshooter.
Pick Try recommended settings within two choices.
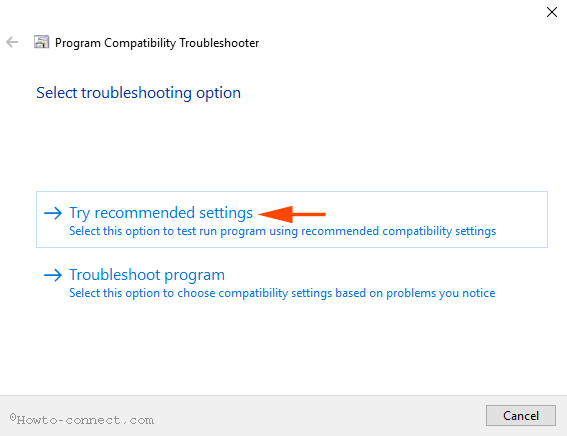
Click Test the program… and check whether you have solved BlueStacks not Working on Windows 10.
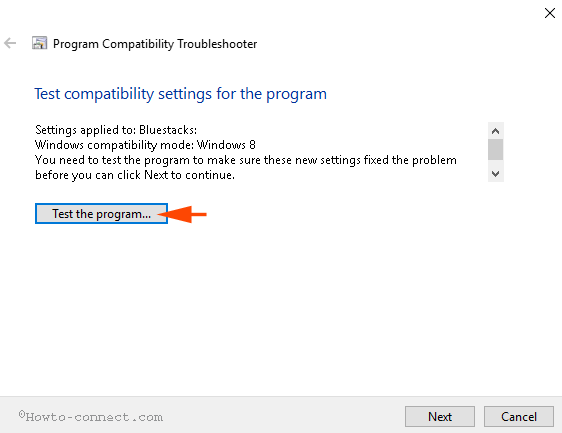
If not then click Next and select Try Using different settings to launch the emulator.
Step 4 – Make sure if you have proper Permission to run BlueStacks
Several times lack of correct security settings prevents this application from running on Windows 10. So check it.
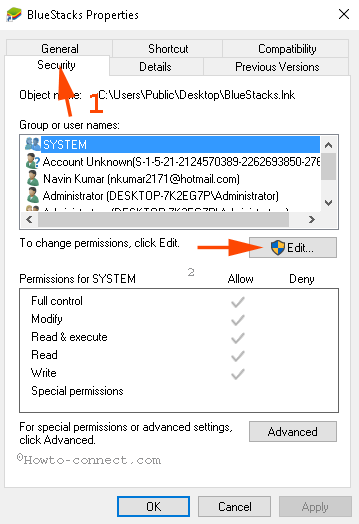
Again right-click on this emulator shortcut and choose Properties option.
Switch to the Security tab and click Edit.
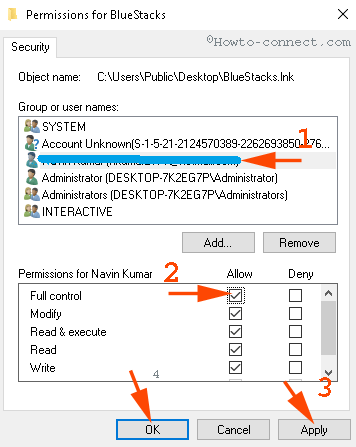
Select your username in Group or user names block and tick Full control box in Allow column in the lower section. At last, click Apply and then OK.
Close and Start the application freshly and see whether it is loading.
Step 5 – Uninstall and Reinstall BlueStacks
If these steps stay imperfect to Fix BlueStacks not Working on Windows 10 then uninstall and reinstall it.
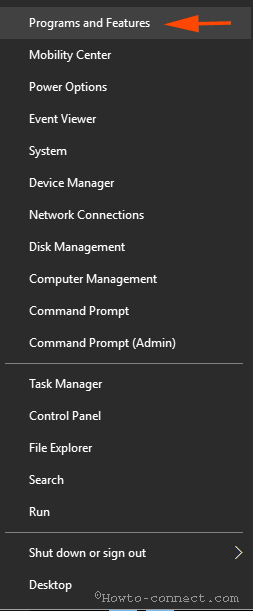
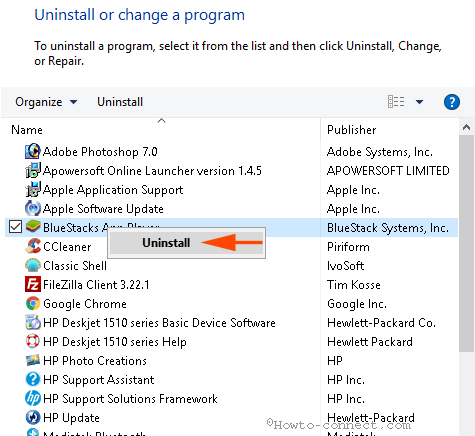
To uninstall BlueStacks, click Win+X altogether and select Programs and Features on the list of options.
Right click on BlueStacks App Player and choose Uninstall on an extra small pop up.
An Uninstaller Dialog box appears questioning Are you sure you want to uninstall BlueStacks App Player, select Yes.
One more dialog box opens after a short time and asks Do you want to keep all your apps and data? select No.
Instantly the Applications are removed from your computer.
To completely remove Bluestacks from Windows 10 you need to put some more effort.
1. Navigate to C => Program Data and delete BlueStacks Setup.
2. In a similar way, go to C:\Program Files (x86)\BlueStacks, C:\Program Files\BlueStacks, C:\ProgramData\BlueStacks and Delete items if present.
3. Type BST in File Explorer search box (Local Disk C in the Quick access navigation pane) and press Enter.
4. Open run dialog box, type %temp%, and click Enter. Select all the items in the Window and Delete.
5. Run Ccleaner to wipe out registry clutter caused by the Application.
6. Click this link to download the cleaner and run both Batch files under it one by one.
Finally, Install the latest version of BlueStacks from the official website.
Conclusion
So these are the procedures and steps for How to fix BlueStacks not Working on Windows 10. One thing worth remembrance is that always grabs the application from the official website to avoid unnecessary issues. Still, you face any problem do inform through commenting.
I had the same issue after updating NVidia drivers while Bluestacks was running. I got it resolved by updating bluestacks from the settings menu in bluestacks, to the latest version. This saved me from reinstalling it and losing my setup 🙂