Windows users are repeatedly asking about the solution of CDPUserSvc has Stopped Working on their computers. This error started to show in their devices after the Anniversary Update of Windows 10. While looking for the root cause of this problem, experts are failed to find much information about CDPUserSvc as well as why it has stopped working suddenly. To be very honest, it is a very elusive module.
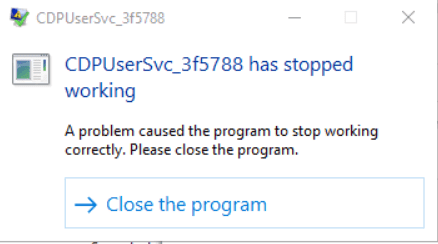
CDPUserSvc is a service that belongs to Connected Devices Platform Service (in short CDPSvc) which has been introduced in Windows 10 only. This is actually a short form of Microsoft (R) CDP User Components. The purpose of this service is basically to sync OneDrive, emails as well as live tiles. Being so evasive, so many people searched for it on the internet but could find much. However, for many, the following error occurs on every restart or log in. Fortunately, you can ignore this error safely and easily and this doesn’t affect much to the operating system by any means.
“CDPUserSvc_abc has stopped working. A problem caused the program to stop working correctly. Close the Program”.
CDPUserSvc has Stopped Working in Windows 10 Solutions
Solution 1: Disable Service Through Registry
As you have come to know that this problem is completely intangible, the best way to fix this is to deactivate the service using Registry Editor.
Step-1: Go to the WinX menu from your computer and choose the Run option. Alternatively, pressing Windows and R also launches the same dialog.
Step-2: In the text box, type regedit and to proceed forward click OK.
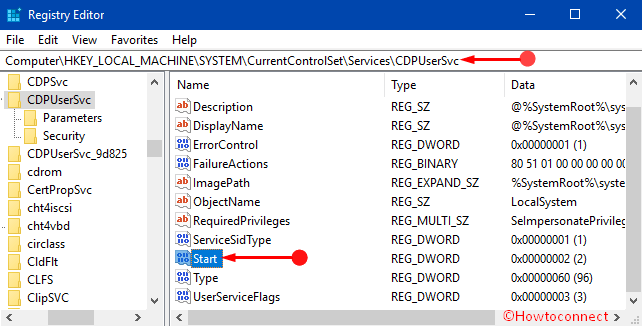
Step-3: When UAC evokes up, click Yes. In the Registry Editor, navigate to the following path:
HKEY_LOCAL_MACHINE\SYSTEM\CurrentControlSet\Services\CDPUserSvc
Step-4: Once you reach CDPUserSvc key, shift to the right-pane and locate the DWORD Start. Double-click the Start DWORD.
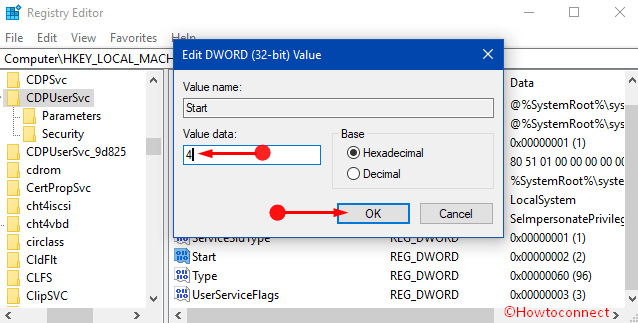
Step-5: On its edit box, change its Value data from 2 to 4 and click OK to make the modifications effective.
Step-6: Lastly, restart your computer and when it starts again, you can notice that the number is different. It shows CDPUserSvc_35375 which confirms that the module is already disabled.
Setting value to 4 will disable the service. Sometimes, Windows 10 attempts to reset the value again from time to time. Additionally, as you have disabled a service, certain functions can be found missing from the operating system too.
Solution 2: Isolate the process
Some of the experts came up with another solution. You can fix CDPUserSvc has Stopped Working in Windows 10 by isolating the process too.
Step-1: Type cmd Cortana text field and from the suggestion, put a right-click on Command Prompt. From the options that pop-up, click “Run as administrator“.
Step-2: Moving ahead, type the following command:
sc config cdpusersvc type=own
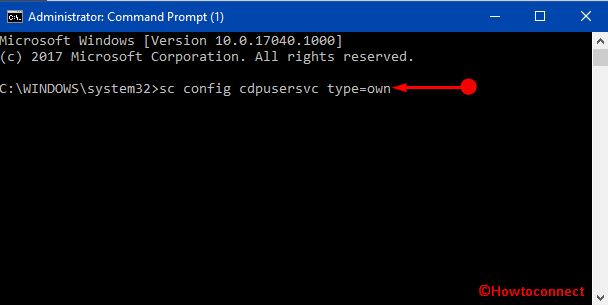
With this command, Windows will isolate this module forcibly. We know that isolation of any process is a default activity for that service. As a result, Microsoft will find another correct way to run CDPuserSvc service in another mode by default. This might be an effective way to fix CDPUserSvc has Stopped Working.
Conclusion
CDPUserSvc is one of the top hit searches in search engines. However, there is no perfect information in any of the places. Being so mysterious, if it starts making a problem, the best way is to ignore. Paying no attention will not affect much to Windows also. Additionally, we have discussed two different ways to fix CDPUserSvc has Stopped Working. Hopefully, you can put them on your side and get an effective result.