Change Execution Policy for PowerShell – Sometimes you experience that you execute a right script in PowerShell but resultant is red color codes. The red color codes indicate that the deployment of the script has gone fail. In multiple circumstances, the reason behind this failure is incorrect Execution Policy. But Windows 10 has simplified to Change Execution Policy of PowerShell and you can do it through For Developers Settings in Update & Security.
To confine the execution of a script on PowerShell, total 4 Policies are available. These policies decide whether a kind of scripts should be allowed to run or not. For instance, If a script is downloaded from a third party website, the policy will decide to let it execute or not.
Prior to moving ahead, we should know about the 4 different Policies of Powershell:
Restricted – This policy admits none of the scripts to be executed. Suppose a user is in urgent he seeks to run PowerShell in interactive mode.
AllSigned – This policy permits only those scripts to be executed which are signed by particularly trusted publishers.
Unrestricted – All the scripts are freely executed and no confinement is implemented.
RemoteSigned – This policy allows only those Downloaded scripts to be executed on PowerShell which are signed by trusted publishers.
If you recall about Signing settings to run PowerShell script, earlier you required particular commands for alteration in Execution Policy. But from Windows 10, like other settings, this has gone easy and now a button is sufficient to Change Execution Policy for PowerShell in Windows 10. Let’s see –
How to Change Execution Policy for PowerShell in Windows 10
Step 1 – Hit the combination of Win & I keys to expand the Settings program.
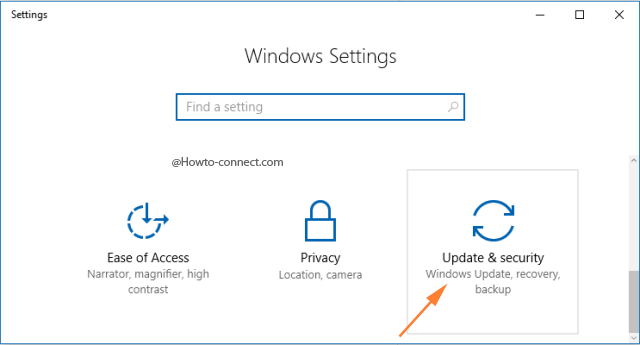
Step 2 – When the Settings program spreads out on the screen, click on Update & Security block.
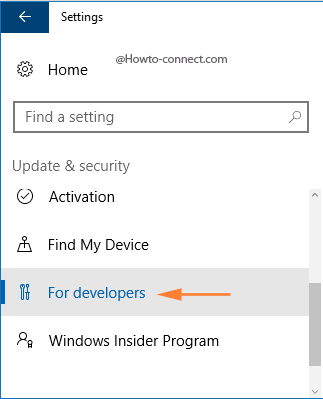
Step 3 – In the left sidebar, scroll down until you reach For Developers and click on it.
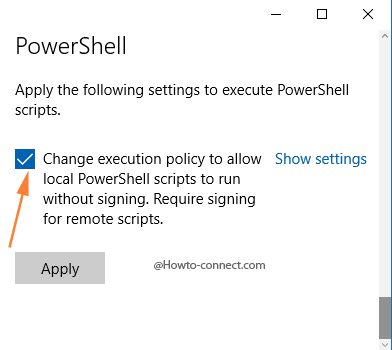
Step 4 – Move to the right side and locate PowerShell at the bottom.
Step 5 – In the PowerShell segment, you see Apply the following settings to execute PowerShell script. Check the box just prior to Change execution policy to allow local Powershell script to run without signing.
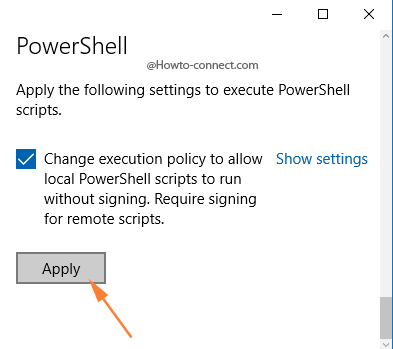
Step 6 – Click Apply to implement the changed settings to Powershell.
After you Change Execution Policy for PowerShell in Windows 10 you will conveniently run various scripts on a system.