Windows 10 has simplified the access to the locations where you find laptop specifications such as RAM, hard disk, motherboard, CPU, BIOS, etc. You need to check hardware, its capability, and compatibility to make sure that they satisfy your requirements before purchasing a PC. There are multiple ways that help you to explore the full details of all System information of your machine.
You can see brief particulars of processor, RAM, and the installed OS on Settings app while DirectX diagnostic tool can show you every minute info of the attached resources and components. Furthermore, advanced users can get the system specifications using CMD Command and PowerShell cmdlet. Some third party utilities are also much effective to find the information you are trying.
Ways for How to Check PC Specs in Windows 10
Here is How to Check PC Specs in Windows 10 –
Way-1: Using Settings App
Settings app is a hub to configure the OS, at the same time, you can know a brief of the system info of a laptop or PC from here. About section of this application will show the details of Processor, installed RAM, System type (x86 or x64), and Pen and touch support. Follow the method –
- Press – Winkey + I.
- Select – System.
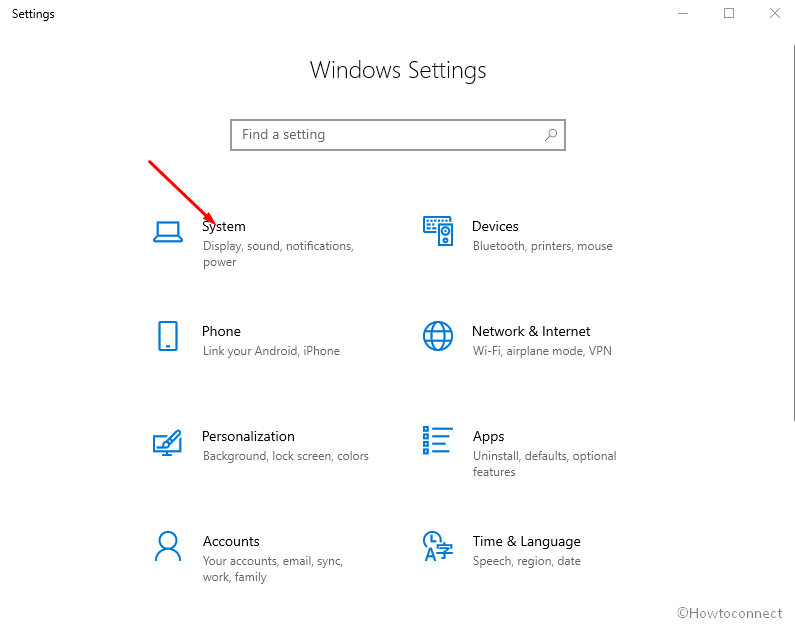
- Click – About.
- Go to the right pane and see under – Device specifications.
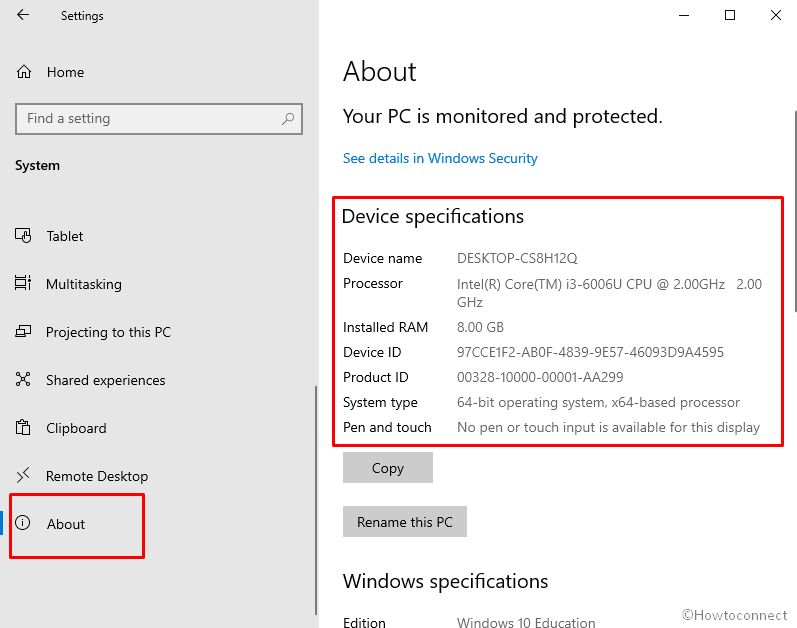
- You can copy the basic information using the button there.
Way-2: Through System Information
If you’re trying to acquire a detailed knowledge of every single component and resource of a laptop then this method is super easy. The built-in tool will present system summary that comprises Total, physical, and virtual memory, processor, model, plus other. Moreover, you can view the facts of GPU, Input devices, network adapter, driver, disk, multimedia, printer, etc.
- Click the – Search icon
- Type – system info or msinfo32.
- Press – Enter.
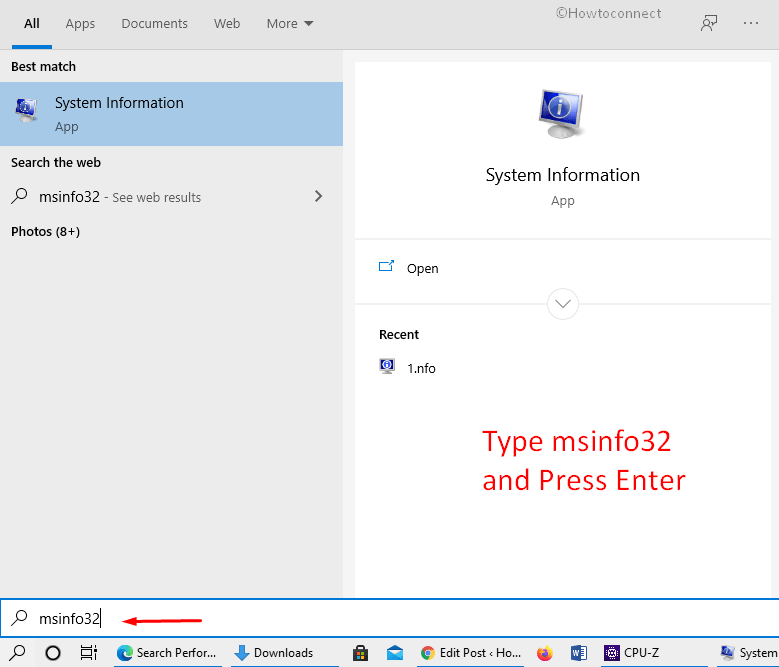
- See the details on the right side of the Window.
- Additionally, type the information you want to search in the box at the bottom and click Find.
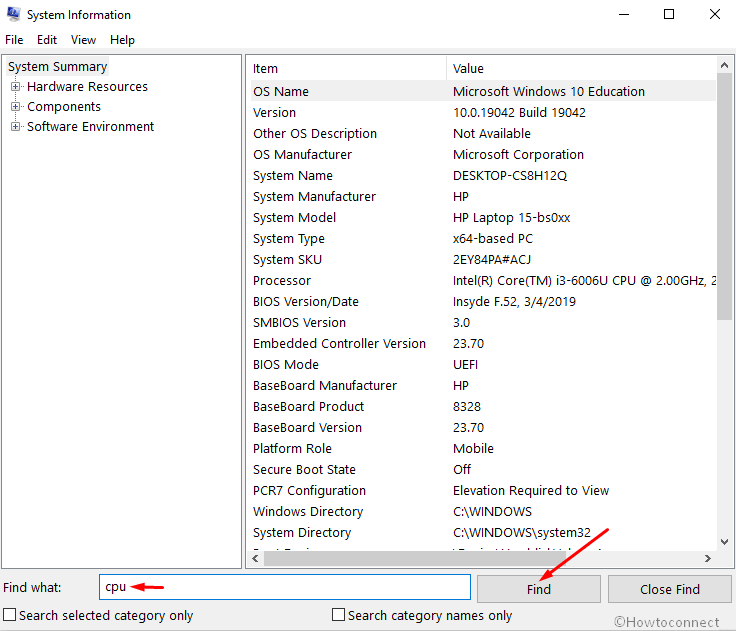
- Options for Filtering the result are also provided.
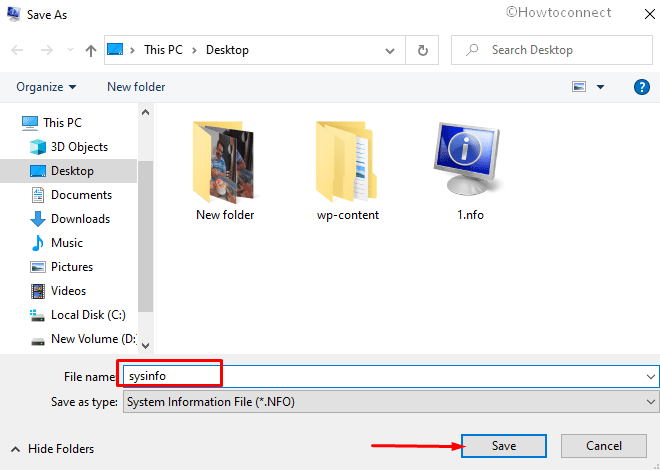
- If you want to save the report on your desktop or mail somewhere then click – File.
- Choose – “Save”.

- Write a file name and click – Save.
Way-3: Via DirectX Diagnostic Tool
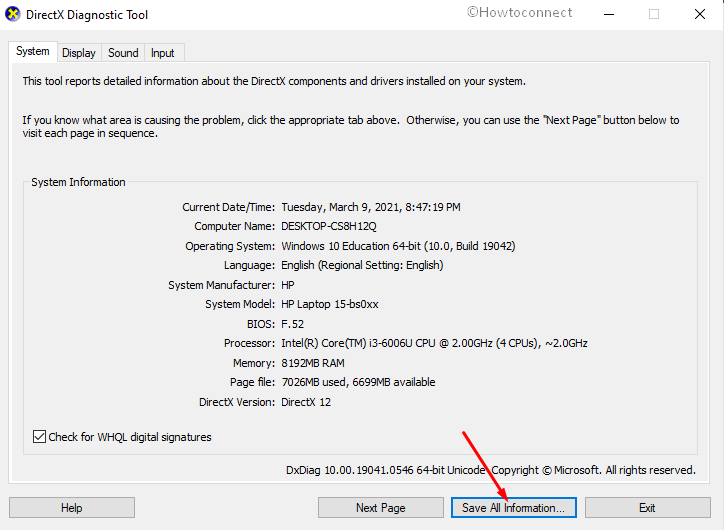
This utility basically provides extensive information about the DirectX components and drivers installed on your system in a few clicks. This report reveals devices and drivers under System, Display, Sound, and Input menus.
- Press – Win logo.
- Type – dxdiag.
- Hit – Enter.
- Under the System tab, see the information.
- To store the report, click – Save all information…
- Click ‘Save’ to see the file in .txt.

Way-4: By CMD Command Prompt
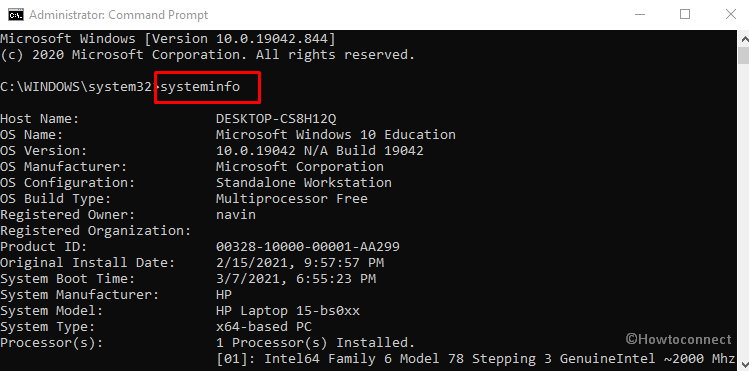
If you are a bit techie or advanced user and trying to check PC specs in Windows 10 cmd command may be of your use. systeminfo is the syntax the easily displays the details of each piece of information about a computer or laptop device.
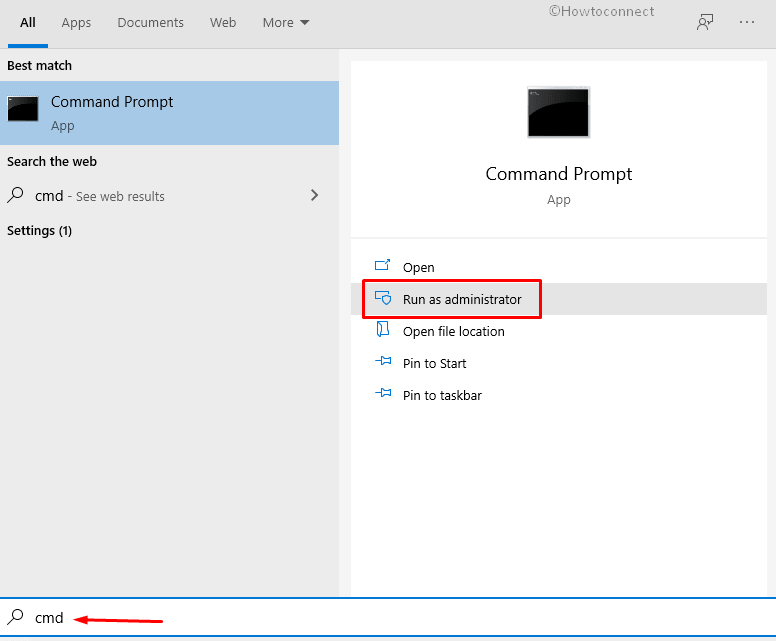
- Click the – Start.
- Type – cmd.
- Select – Run as administrator.
- On the User account control prompt, click – Yes.
- On the administrative cmd, type – systeminfo.
- Hit – Enter.
- The command will quickly start Loading the information, and the system specs will be before you in moments.
Way-5: Through Windows PowerShell
You can figure out the system specifications details through PowerShell using the same command you have run in cmd. Follow the instructions –
- Right click on the – Start icon.
- Select – Windows PowerShell (Admin).
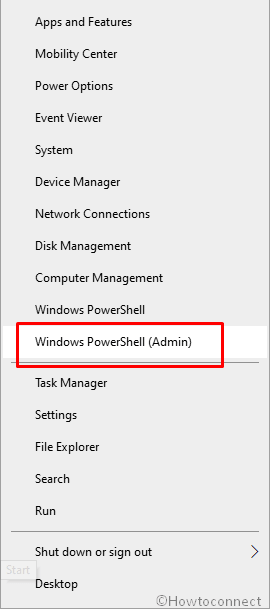
- When UAC dialog appears, click – Yes.
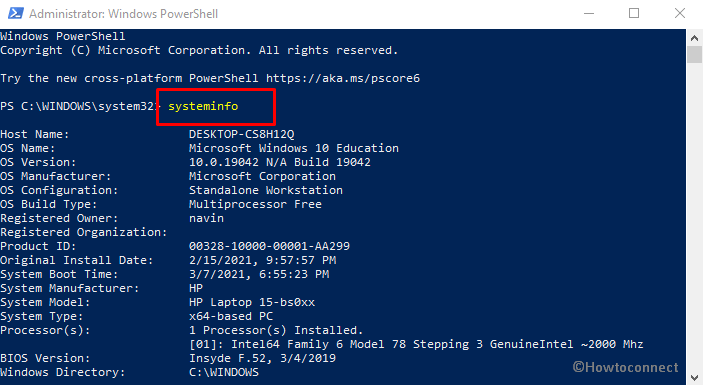
- On PowerShell Window, type – systeminfo.
- Hit the – Enter key.
See – Get Basic Computer Information in Browser with PowerShell in Windows
Way-6: Using Third party tool
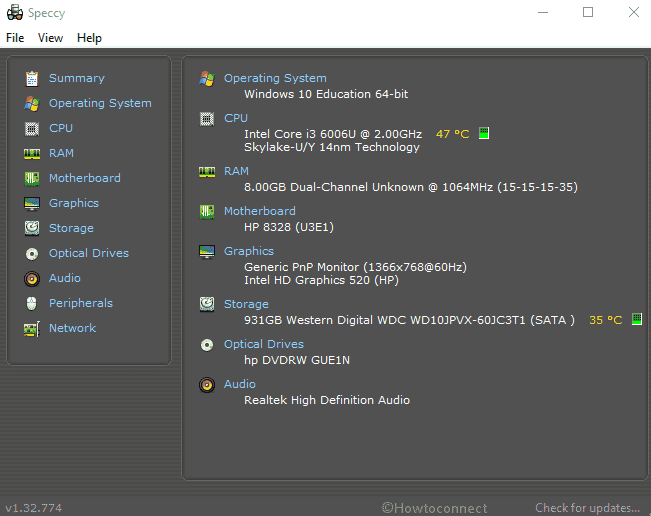
A. Speccy
If you are looking for the procedures for How to Check PC Specs in Windows 10 then a third party tool Speccy will be standing ahead of all other. This will present you the Summary, CPU, RAM, Motherboard, graphics, storage, optical drive, audio, peripherals, and network details.
- Click this – link and download the free or professional version which one suits you.
- Double click on spsetup132.exe and select Yes upon the appearance of the User account control dialog.
- Select – Install.
- Finally, click – Run Speccy.
- Choose the different tabs and check the system info.
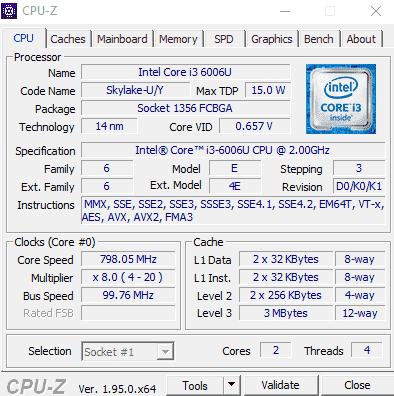
B. CPU-Z
This is another handy small utility when you are viewing system specifications. CPU-Z is a PC specs checker that displays the particulars of CPU as its name, including cache, mainboard, memory, SPD, and Graphics of your system.
- Download the tool using this – link.
- Check the radio box for – I accept the agreement and click – Next.
- Again select – “Next” 3 times on successive windows.
- Click on – Install.
- Lastly, click – Finish.
- Go to the Start menu list view and click – CPU-Z.
Methods list
Way-1: Using Settings App
Way-2: Through System Information
Way-3: Via DirectX Diagnostic Tool
Way-4: By Command Prompt
Way-5: Through Windows PowerShell
Way-6: Using Third party tool
That’s all!!