Guide to Configure Game Bar From Settings App in Windows 10. – You all know about the multiple facilities of the Game Bar in Windows 10. Some of the important features are recording, broadcasting, screenshots, and so on. Previously, to configure any of these features, you used to launch Game bar Settings interface. You can see this article Customize Game Bar Settings on Windows 10 in this concern. But do you know that you can now change every option of the Game Bar directly from Settings app?
Microsoft includes a new category in the Settings application – Gaming. You can directly identify this category as it represents an Xbox logo. This category incorporates four important sections – Game Bar, Game DVR, Broadcasting and Game Mode. In the Settings application, you will see all the concerned options of Game Bar at a place and so, this guide will assist you to configure Game Bar from Settings app in Windows 10. Hence, let us now begin the guide and see the configuration details
Configure Game Bar From Settings App in Windows 10
Step 1 – To begin with, open the Start Menu by clicking on the Windows logo icon. You will see it at the lower left corner of the taskbar.
Step 2 – Now, select Settings, the one with the gear icon. Alternatively, the combination of Win + I will also launch Settings program.

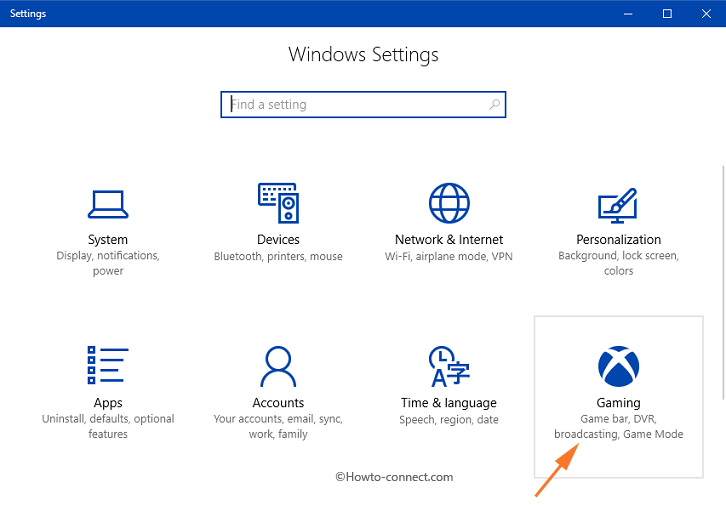
Step 3 – On the homepage of Settings, find and select the category Gaming.
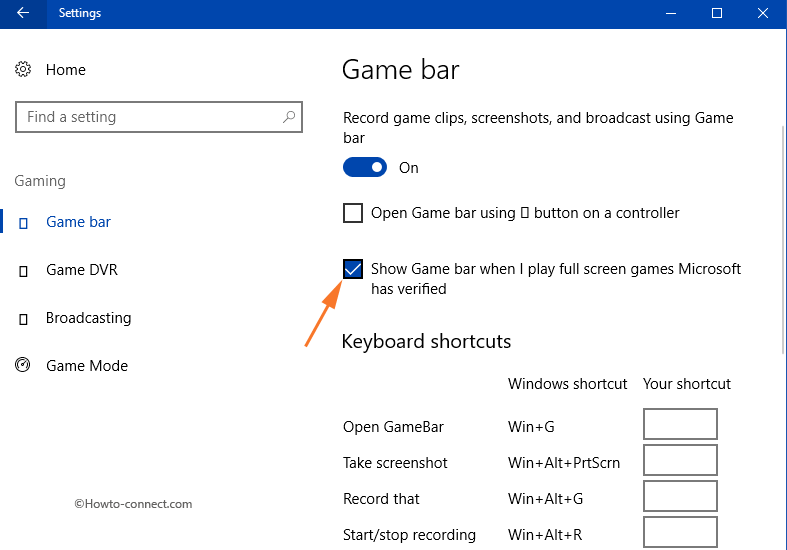
Step 4 – Next, on the left pane, Game bar section will open by default. Move to the right hand side and locate the slide Record game clips, screenshots, and broadcast using Game bar.
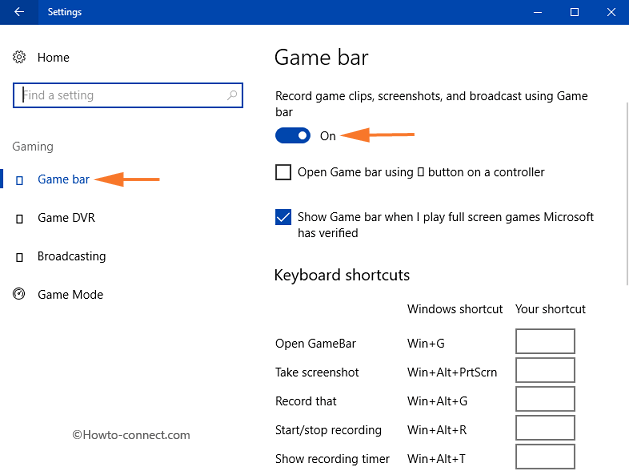
If you keep this On, you will able to capture screen contents or record video clips and many more things. But, you can also turn Off the option as keeping it enable results in slow gaming performance.
Step 5 – Moving ahead, tick mark the next option Open Game bar using button on controller if you to launch Game bar directly from the controller.
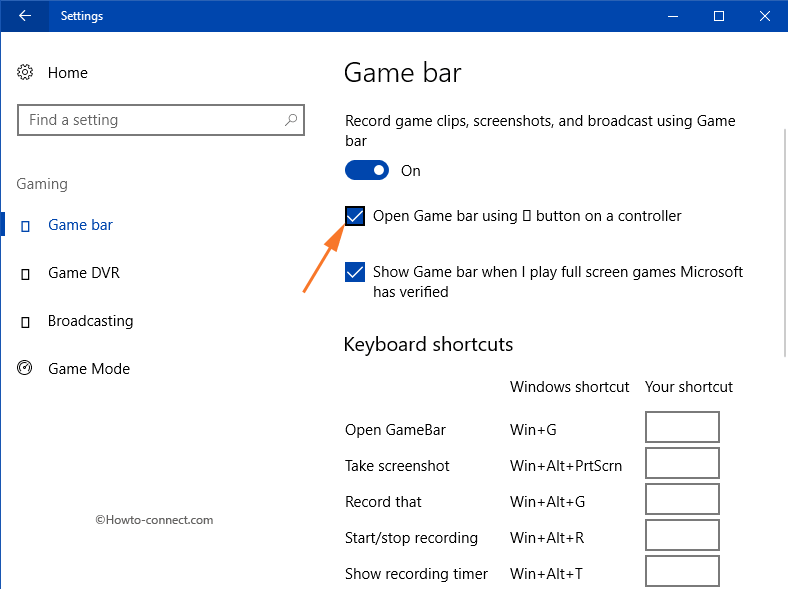
Step 6 – Now, Check the option “Show Game bar when I play full screen games Microsoft has verified“. Microsoft brings forward this feature for 17 additional games. They are –
a) Battlefield 3
b) Call of Duty: Black Ops 2
c) Call of Duty: Black Ops 2 – Zombies
d) FIFA 14
e) FIFA 17
f) FIFA Manager 14
g) Grim Dawn
h) Guild Wars 2
i) Left 4 Dead 2
j) MapleStory
k) Paragon
l) Payday 2
m) Rocket League
n) The Elder Scrolls Online
o) The Sims 4
p) Tom Clancy’s Rainbow Six Siege
q) Warface.
Step 7 – The last thing you see inside Game Bar Settings page is Keyboard shortcuts. All the hotkeys related to Game Bar are available in a list. But, the boxes below your shortcut let you assign your own shortcut keys for the features listed out there. So type your preferable shortcuts to Game bar.
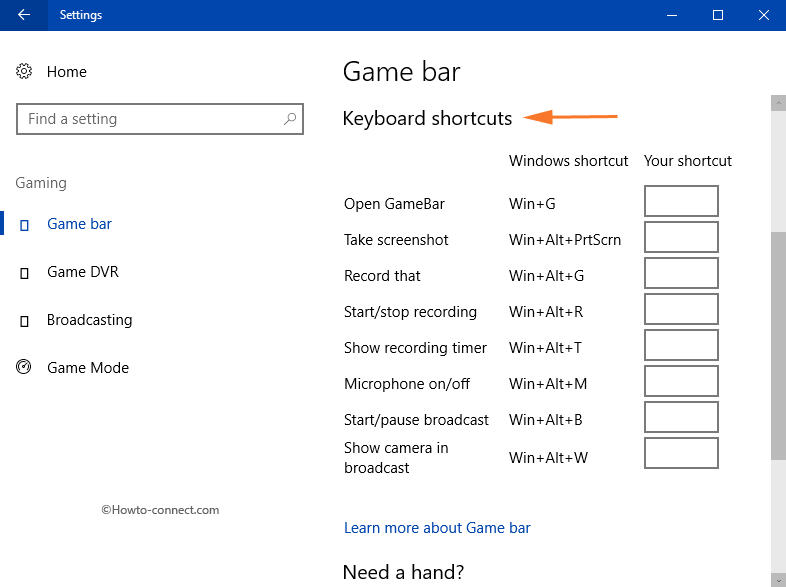
Note – You can only use Ctrl, Alt, or Shift and at least one other key.
Conclusion
If you frequently use Game Bar and its settings, then you might be knowing that all the settings that we covered here were located at different places. So, in the due course of time, everything related to Gaming will become simple. So, easily configure Game Bar from Settings App in Windows 10 and write to us if there is anything more into it.