Methods to Delete Data Usage on Windows 10 for WiFi and Ethernet with steps. – Windows 10 has a provision to keep a check on the network data consumed by the PC in the Network & Internet Settings. Calculating data consumption of WiFi and Ethernet separately helps you to control the expense. Users with metered connection find this application very useful. See a very similar article – How to Check Monthly Data Usage in Windows 10.
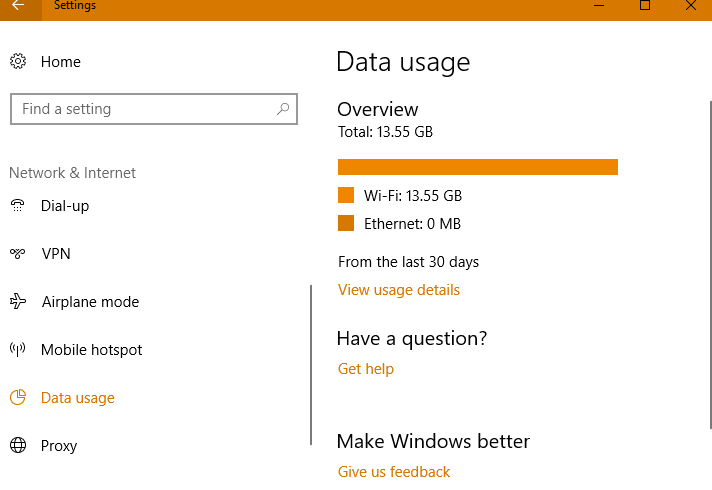
But Windows 10 does not offer any tool to Delete Data Usage in Windows 10 for WiFi and Ethernet in the Settings app. But luckily you can do the same in the safe mode. So if you want to reset the info under overview then follow this guide. This can also assist you to hide the information from others. Follow the instructions for How to Show and Hide WiFi Networks in Windows 10. See the data usage for both types of networks in the screenshot below –
Way to Delete Data Usage in Windows 10 for WiFi and Ethernet
Step 1 – Type msconfig in Start search to boot Windows 10 in the safe mode. Click on System Configuration under the Best Match section.
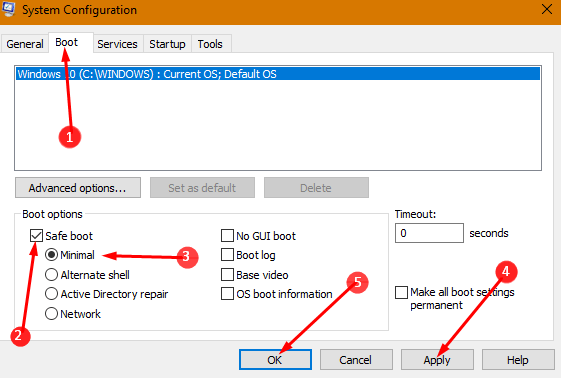
Step 2 – This will now take you to the System Configuration dialog box. Here move on to the Boot tab at the top of the window.
Step 3 – Under the heading Boot, choose and tap the option Safe mode. Here you need to ensure if the Minimal option is selected. After that select Apply and OK options one after the other.
It is worth paying heed here that many times a system may have dual boot. If this is the case, select the current Windows 10 version of boot before checking the Safe mode option.
Step 4 – Now click the Restart button in the next appearing box to start your PC again in the safe mode.
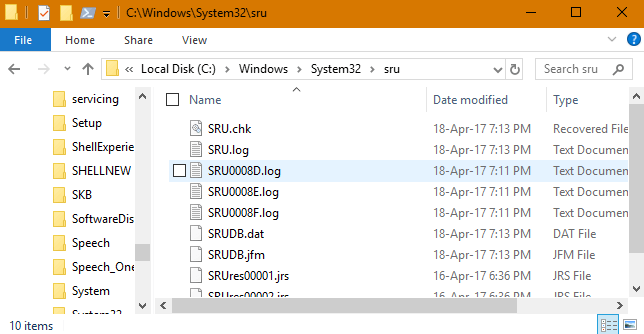
Step 5 – After your device is in the safe mode, move to the given location:
C:\Windows\System32\sru
The alphabet C denotes the location of Windows 10 on your PC.
Step 6 – Now reach the sru folder, select the entire files, and then delete them. This will help you in resetting and clearing all the data consumption figures.
Step 7: Again type Msconfig in the Windows search box. Here select the Enter button to launch the System Configuration box.
Step 8 – Under the Boot tab heading, deselect the previously selected Safe boot option. Once it is over tap on the Apply and OK buttons.
Step 9 – When you see the confirmation dialog box, click Restart button to start the PC in the normal mode.
Now when you check your data usage then it would be 0 for both Wifi and Ethernet.
Conclusion
Using these steps you can Delete Data Usage in Windows 10 for WiFi and Ethernet. It generally allows the users using metered connection as the can keep a track of their data usage. So erase the old network data usage and stay with us.