Generally, when you have been experiencing performance issues with your Windows 10 or any unexpected errors, you may go for a special Command-Line named System File Checker to scan and fix.
Unfortunately, if the error is caused in Windows 10 Images, SFC won’t be the best choice to go for. This is where an interesting approach and a command-line DISM comes into the picture.
What is DISM
Well, DISM has been considered to be the most essential tool or utility that helps to repair the Windows Image or a virtual hard disk (.vhd or .vhdx).
Deployment Image Servicing and Management (“abbreviation DISM”) is brought into play to service and develop Windows images, furthermore Windows PE, Windows RE, and Windows Setup. This tool is in-built on Windows and can be executed through Command-Line or PowerShell.
DISM utility is handy to service or mount the Windows Image from a .wim file and .ffu file along with the virtual hard disk i.e. .vhd file, or a .vhdx file. This command-line tool is located in the c:\windows\system32 folder in Windows 10.
How to run DISM to repair an image of Windows 10?
Once you have known What is DISM, let’s focus on procedures. There are multiple ways associated with DISM to repair an image in your system. However, you can even provide service options using tons of other syntax or commands on the command prompt to carry out the process. As of now, to repair an image you will have to carry out three major processes in the same order i.e. CheckHealth, ScanHealth, and RestoreHealth.
1] Using CheckHealth Command
We use the CheckHealth command to determine the corruption if any on the Local image file.
- Click on Start, and type CMD.
- Select Run as Administrator from right pane of the flyout.
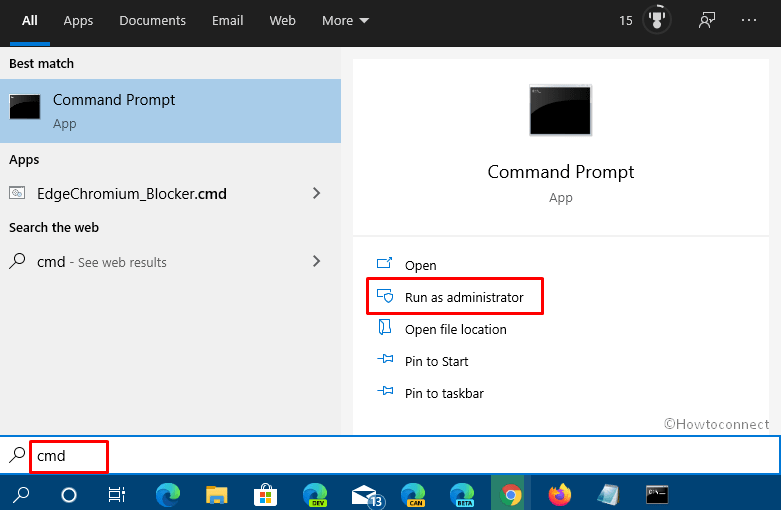
- Choose Yes on User account dialog.
- Type the following command “
DISM /Online /Cleanup-Image /CheckHealth”
and press Enter.
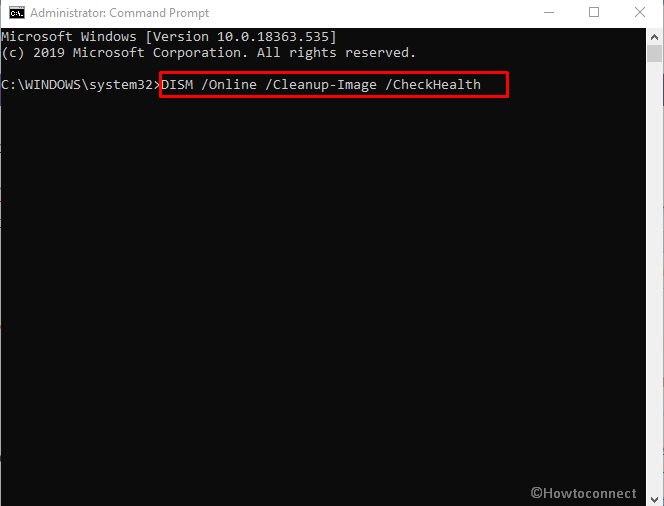
The system will now look for any corruptions in the Images
2] Using DISM ScanHealth Command
We use the ScanHealth Command to determine any further issues with the local Image once done with the CheckHealth option.
- Copy and Paste the following command “
DISM /Online /Cleanup-Image /ScanHealth” and press Enter.
This command will perform the advanced scan on the Image file.
3] Using RestoreHealth Command
RestoreHealth command or option will lead you to restore the corrupted Image if found by any of the above commands that you had performed earlier.
- Copy “
DISM /Online /Cleanup-Image /RestoreHealth” (without quote) and paste it on the command prompt. Press ENTER.
This RestoreHealth command along with DISM will connect to the Windows 10 Update servers and try to restore the corrupted Image file back to its location.