Computer screens, whether they are LED, LCD, TFT, or other, throw blue light which is not good for the health of eyes. Therefore, Windows 11 comprises a setting to control the emission to help minimize the damage to vision. However, there are a bunch of third-party tools are available on the web this built-in setting to manage blue light filter for PC is rather better and easier to use. This is called Night light and placed in the Display section of System Settings just similar to its location in Windows 10. Here, we are with the best ways to enable blue light filter in Windows 11.
Besides the settings, users, having a good knowledge of registry, are able to turn on and off night light in Windows 11 by modifying some keys on regedit. If you want to enable the functionality without leaving your task action center will allow you to do so. You can see a similar one – How to change brightness on Windows 11.
Enable blue light filter for laptop in Windows 11
Here is how to enable blue light filter in Windows 11 –
Way-1: Through Action center
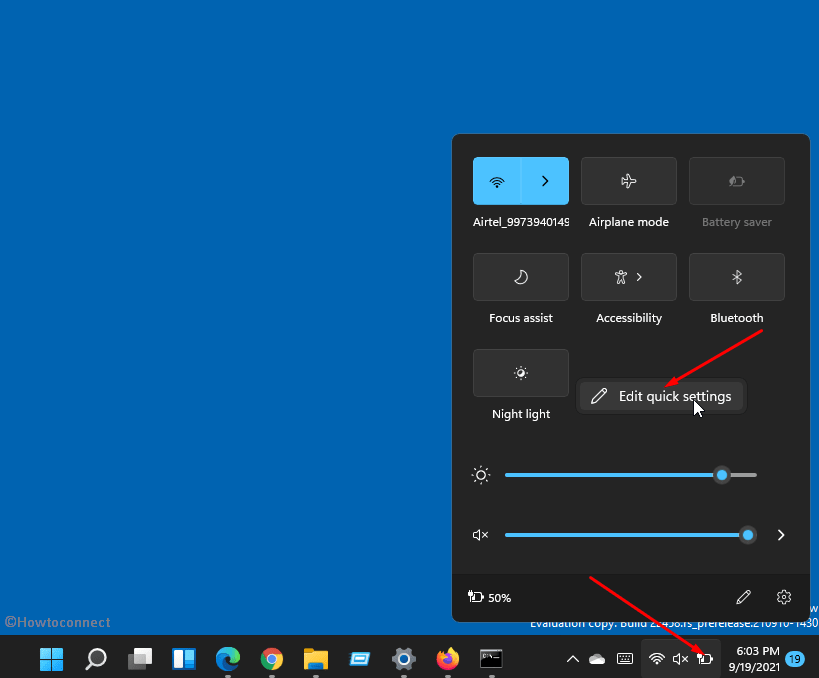
- Click on the Battery icon from the right part of the taskbar.
- This will open Quick settings; right-click anywhere on the pane
- Select – Edit quick settings.
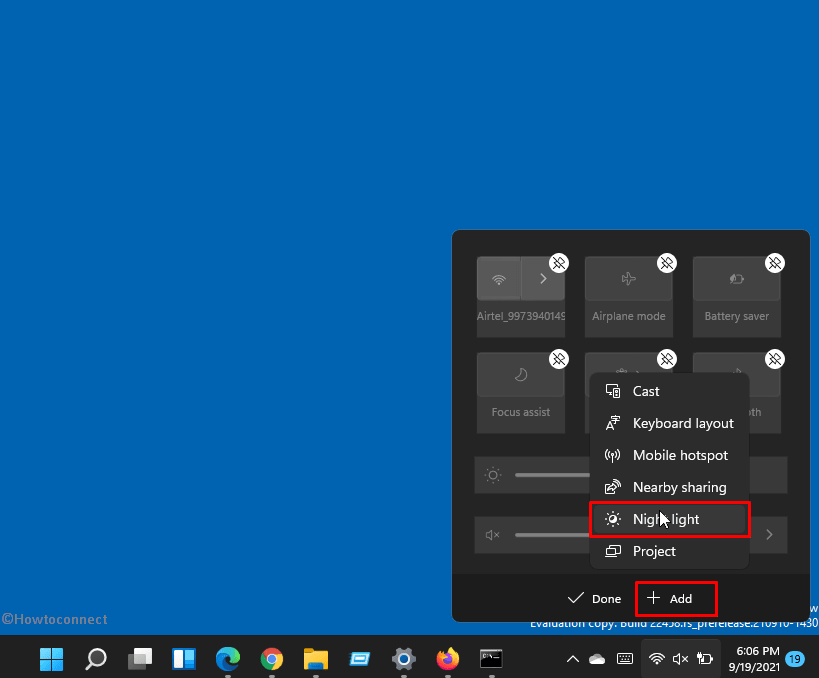
- Click on +Add.
- Select Night light.
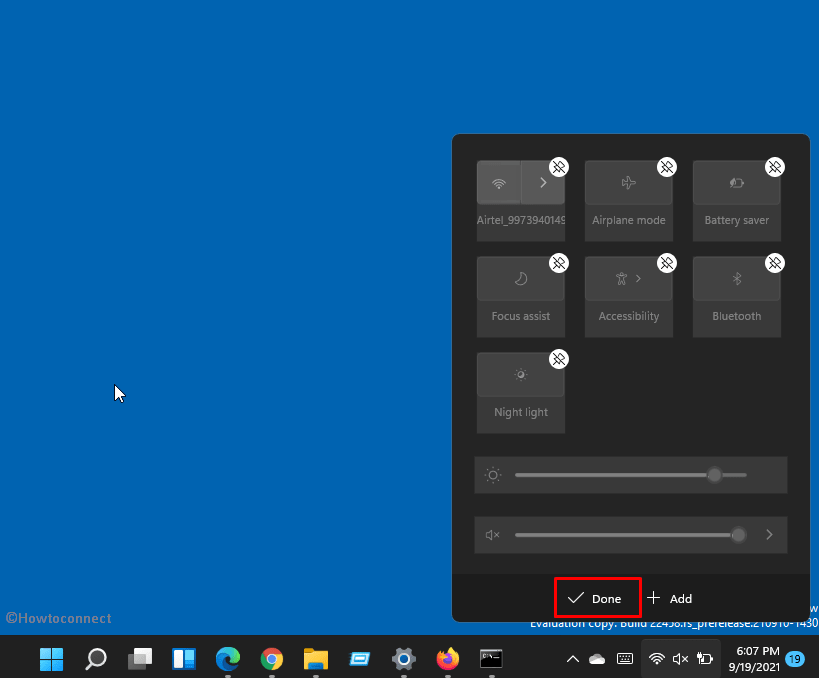
- Click on Done.
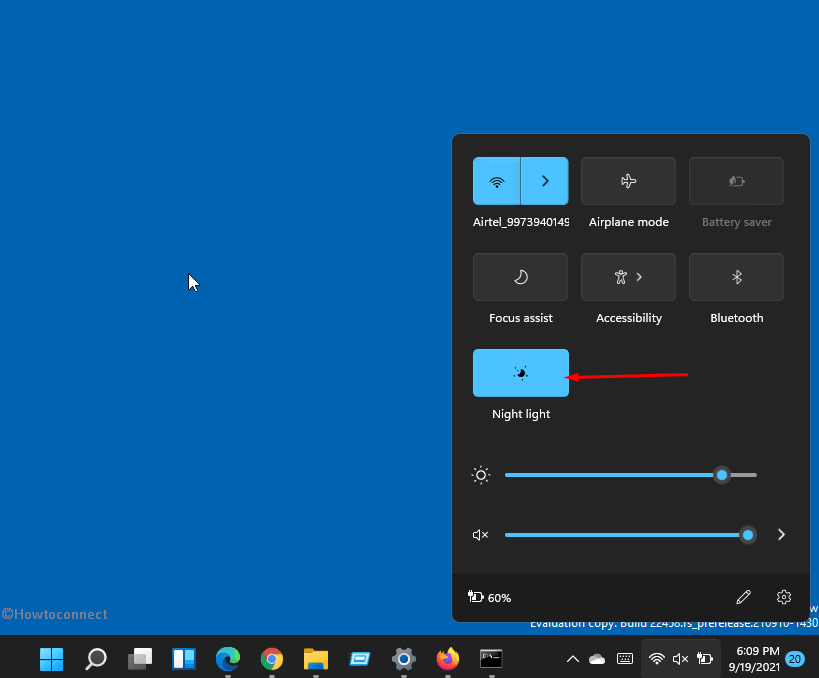
- You can see a Night light pallet on the pane.
- A single click on this Quick edit setting will disable or enable night light in Windows 11 laptop.
Way-2: From Settings
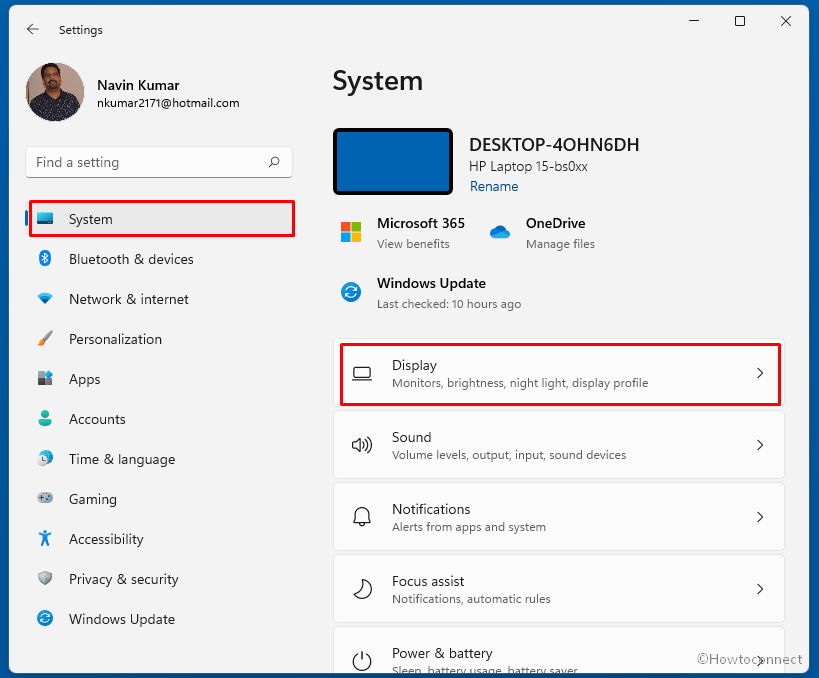
- Press Windows and I keys on the keyboard.
- When the Settings app appears, System settings will be shown.
- Click on – Display.
- Now click the toggle switch for Night light to turn it on.
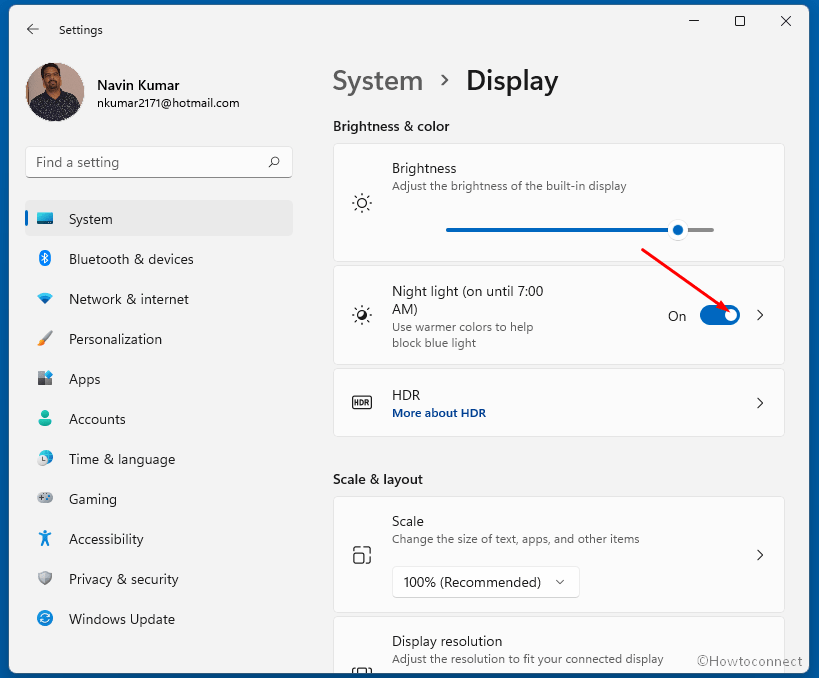
- You can see a Setting – Show warmer colors on your display to help you sleep. Use this option as per your preference.
- Drag the slider or controller to adjust the strength of Night light.
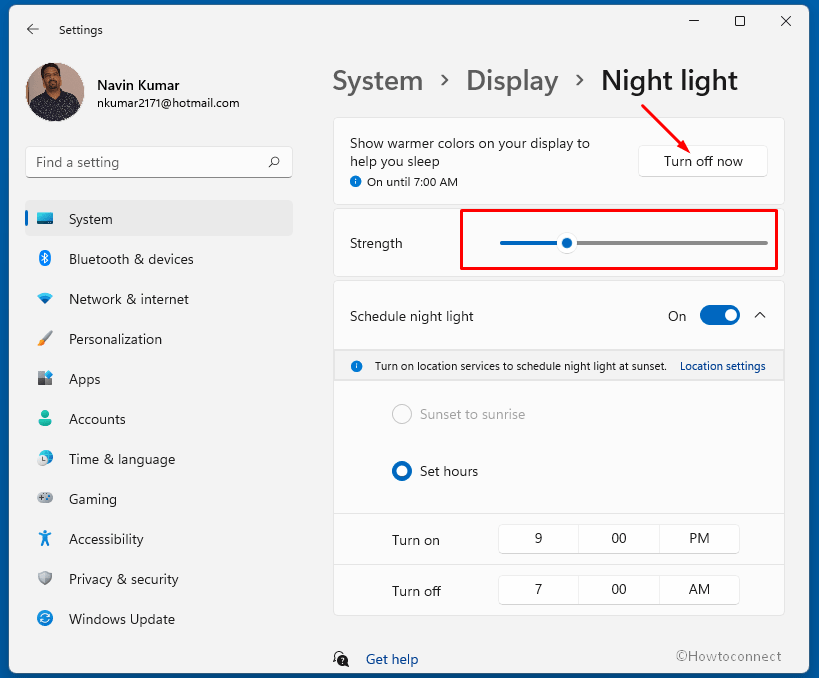
Next, you need to schedule Night light –
- Click on the toggle for Schedule Night light to enable or disable it. Sunset to sunrise will be automatically selected.
- When location services are disabled schedule of the night light will not work. But you will see a location settings link there to enable them. This will help Windows 11 trace out your location and then sunset or sunrise times to turn on and on the night light automatically at the times.
- In this case, click on – Location settings link.
- You will be taken to Privacy > Location.
- Click on the toggle button for Location services to turn it on.
- Now return back to the Night light settings page.
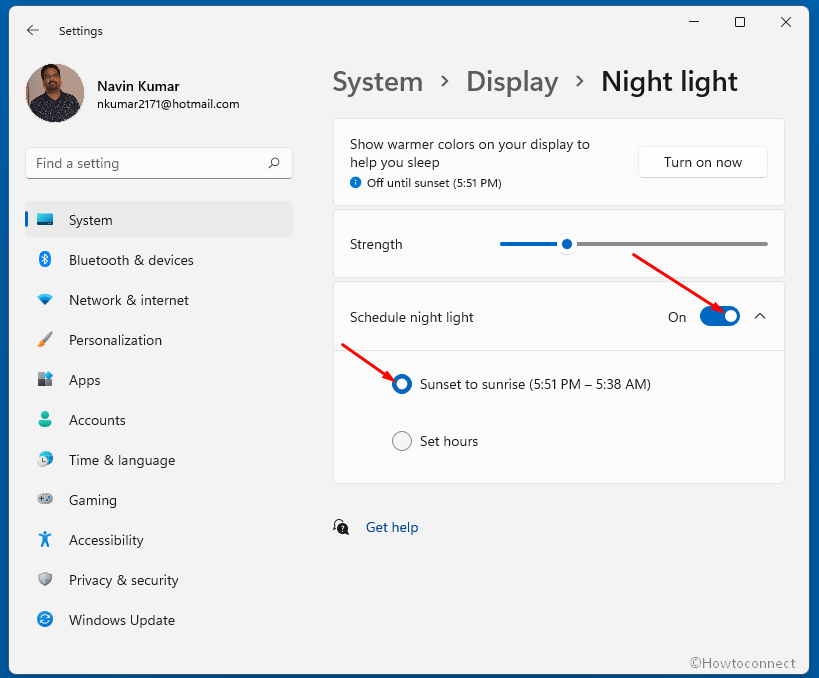
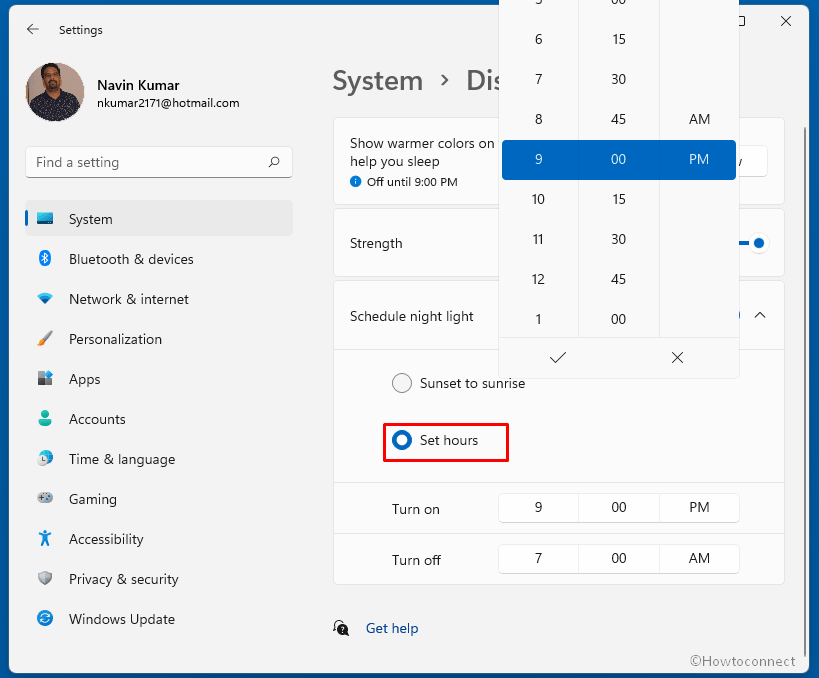
- Check Sunset to sunrise.
- Otherwise, check – Set hours.
- Choose times for turn on and turn off to Night light.
Way-3: By modifying Registry Settings
- Press the Windows + S.
- Type – regedit.exe.
- Hit the Enter key.
- Select Yes when UAC prompts up.
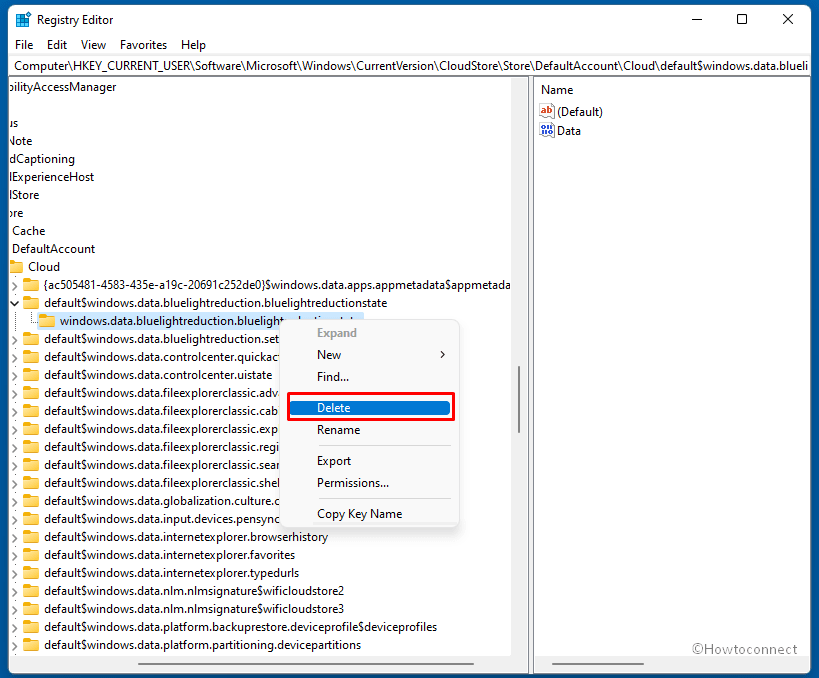
- Once the Registry Editor opens up, go to the following entry –
HKEY_CURRENT_USER\Software\Microsoft\Windows\CurrentVersion\CloudStore\Store\DefaultAccount\Cloud- Find the keys –
$$windows.data.bluelightreduction.bluelightreductionstateand
$$windows.data.bluelightreduction.settings- Delete these keys to disable Night light and add them to enable.
Methods list:
Way-1: Through Action center
Way-2: From Settings
Way-3: By modifying Registry Settings
That’s all!!