How to Enable Limited Periodic Scanning in Windows Defender Windows 10 – Microsoft is experimenting to simplify protection and malware detection and make it more seamless. You may recall Scan offline feature was added few months ago. In continuation, a new tool is added to Windows defender providing you to scanning your system after a certain length of time periodically.
When Periodic Scanning is turned on, Windows 10 will instruct Windows Defender scanning engine to scan your PC for threats and eradicate them after every certain Width of time. Periodic scans will draw the schedule of Automatic Maintenance to ensure the system chooses suited times based on least impact to the user, PC performance, and energy efficiency. Even users can also schedule these scans. Limited Periodic Scanning is purporting to offer an extra line of defense to your current antivirus real-time protection.
Way to Enable Limited Periodic Scanning in Windows Defender
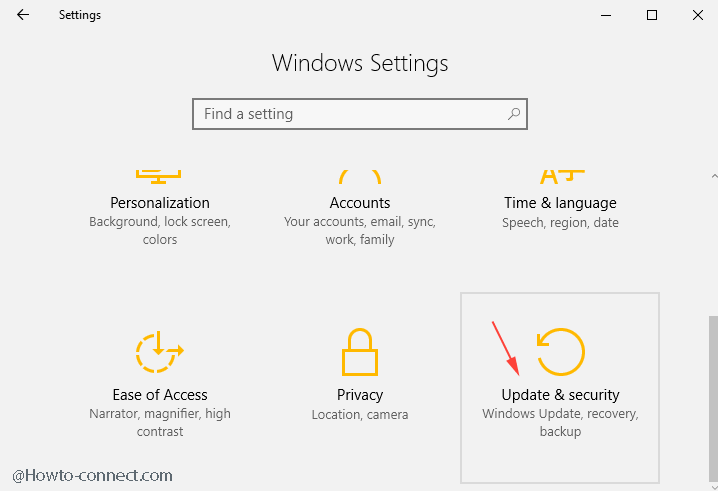
Step 1 – Jointly press the combination of Win & I and upon the emergence of Settings, application hit Update & Security block.
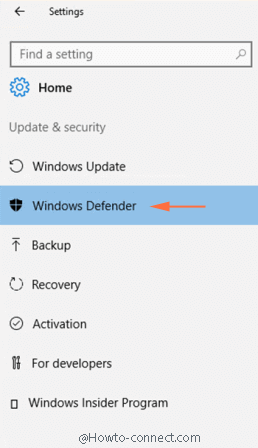
Step 2 -Hit Windows Defender located in the left flank of the Settings program.
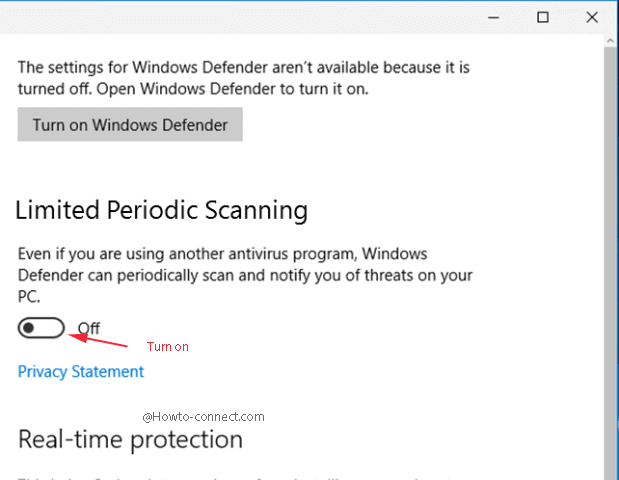
Step – 3 – Move towards the right flank and locate Limited Periodic Scanning. Draw the slider of the toggle under Limited Periodic Scanning towards On position.
Change the Schedule for Windows Defender Limited Periodic Scanning
Since Limited Periodic Scanning pulls the time to start scanning the from Automatic Maintenance schedule, so you can enforce a variation in it from there. However, in future, a toggle will be affixed underneath Limited Periodic Scanning and you will be able to directly increase or decrease.
Because the change would be made from Automatic Maintenance schedule, so you will have to navigate through Cortana search.
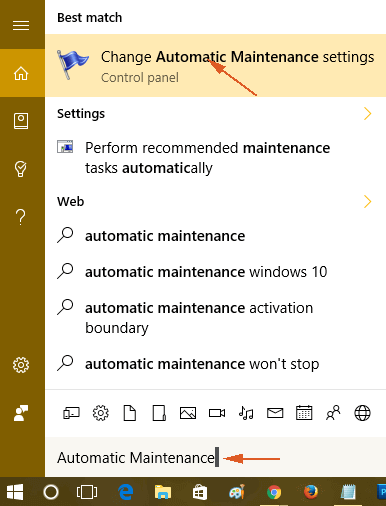
Step 1 – Type Automatic Maintenance in Cortana search field and see at the top. Promptly you notice Change Automatic Maintenance settings under best match on Cortana, perform a click on it.
Step 2 – Automatic maintenance window spreads out on the screen. Execute a Click on the drop down adjacent to Run Maintenance tasks daily at ….. and choose your suitable time (especially between the period when your computer runs in routined way everyday).
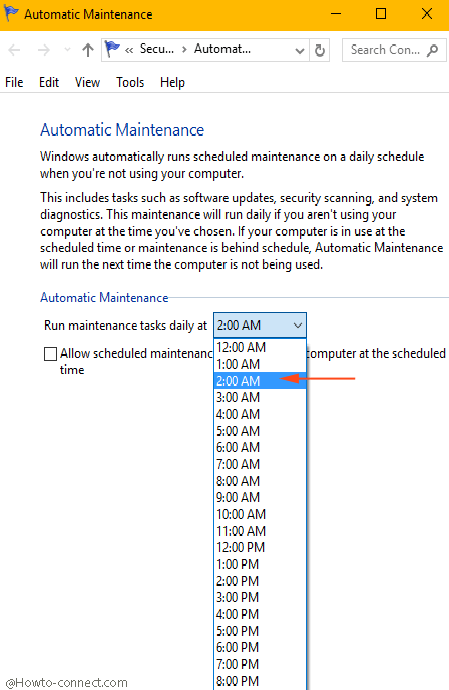
Step 3 – Keep in mind to click OK button lastly.
It’s time to cheer up because when you Enable Limited Periodic Scanning in Windows Defender with the assistance of this method, you are capable of witnessing the disruption and infection identifications if it is encountered via the History menu positioned on its interface even without activating real time protection.