Microsoft has included a setting to Enable Recommended Troubleshooting in Windows 10. You get several types of updates on a regular interval to keep your computer threat free and intact. The patches also carry new features and improvements, fixes to add awesome attributes in Windows 10. Bugs and problems are the part of parcel of the updates that Microsoft treats and rectifies in time. Recommended Troubleshooting will automatically try to fix the issues to maintain your device health. In addition, you can see the history to know what the tool has done.
Windows 10 provides a collection of tools to find and fix problems if something isn’t working correctly. For instance, Playing Audio, Internet Connections, Printer, Windows update, Bluetooth, Keyboard, Network Adapter, Power, Shared Folder. These troubleshooters diagnose and repair by checking log files and drivers and different components as needed. Every build has its known issue and the users may not find any inconvenience is the target of Microsoft. So the Recommended Troubleshooting will automatically check a problem occurs then will fix the same.
Enable Recommended Troubleshooting in Windows 10
Here is how to enable Recommended Troubleshooting in Windows 10 –
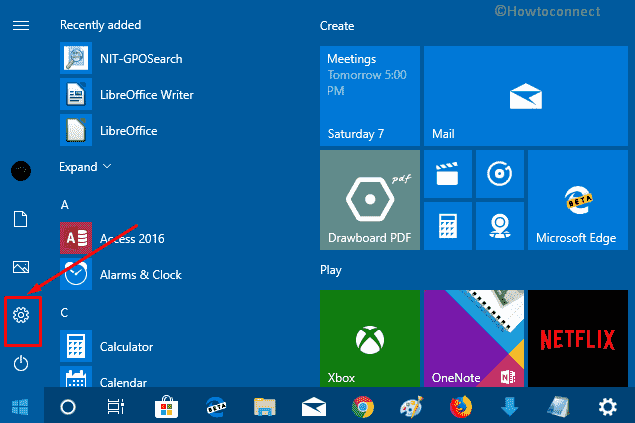
Step-1: Click on Start icon from the left edge of the taskbar and Settings gear symbol.
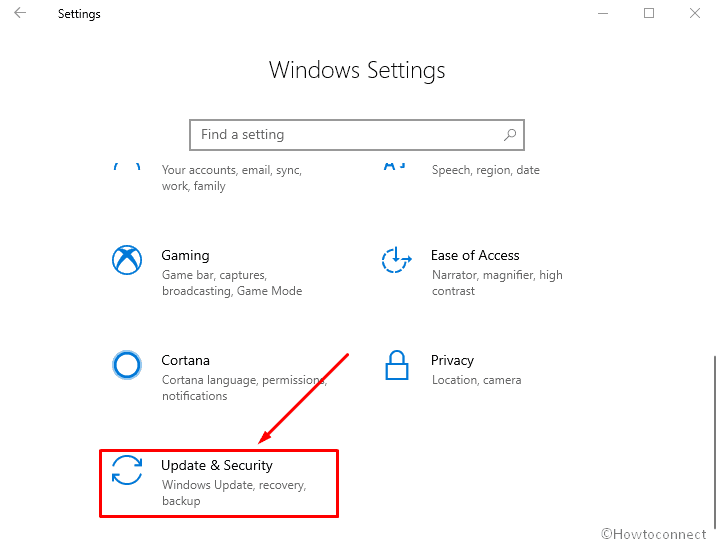
Step-2: Choose Update & Security from the built-in Windows Settings application.
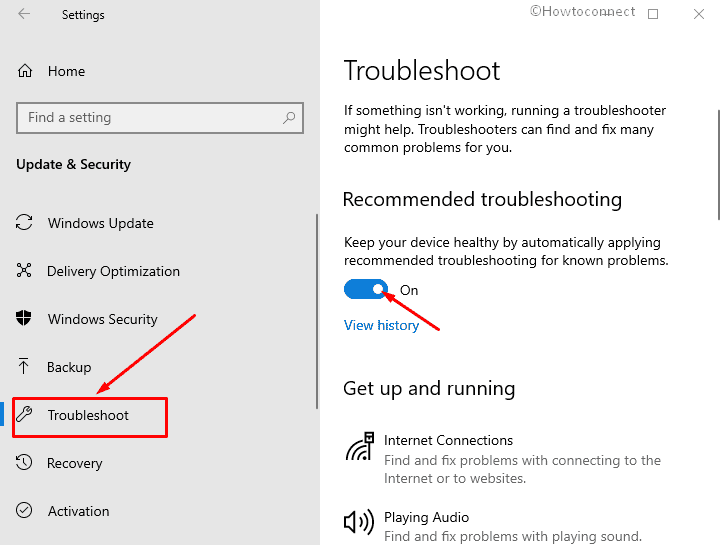
Step-3: When a new page appears, click on Troubleshoot from the left pane. Go to the right and turn on the toggle the Setting under Recommended troubleshooting.
How to see Recommended Troubleshooting history
Step-5: Click on View history just that is below the toggle switch.
On the next page, see the history of Recommended troubleshooting.
This will show the time and date when the troubleshooter applied including reports showing Detection and Publishers details. The Detection detail will provide Collection information such as Computer Name: name of your system, Windows Version, and Architecture.
Previously the solvers were the part of Control panel where you could open them to find and fix any issue. You can find an article in this concern – How To Open Troubleshooting In Windows 10.
Now Windows Settings application has grabbed all the tools located in the Updates & Security Category. The Get up and running section comprises 4 troubleshooters – Internet Connections, Playing Audio, Printer, and Windows update. Moreover, Find and fix other problems part contains 13 more. But now you don’t need to manually run these tools for unknown problems as Windows 10 will apply Recommended troubleshooting to solve them.
You can get the instructions to run to use some of the tools from the following articles –
How to Run Keyboard Troubleshooter in Windows 10
To fix problems in the network a separate troubleshooter is kept which you can apply to incoming connections.
In the same way, if you encounter battery or charging related issue, run Power Troubleshooter.
To get rid of problems in opening an app you can go with Program Compatibility Troubleshooter.
If you want to troubleshoot Bluetooth issue there is again a tool at the same location. See the guide here – How to Run Bluetooth Troubleshooter in Windows 10.
That’s all.