Bluetooth is wireless technology that lets Windows 10 connect peripherals that are away from the device staying at certain distance to establish a wire-free environment. Previously, the process of pairing Bluetooth was a little bit lengthy as the system used to scan for available devices first and then asked to enter pair code in order to complete the whole process. To make the procedure faster, Microsoft came up with a new feature named Swift Pair. Once you enable Swift Pair, Bluetooth gadgets closer to your PC will get connected with the system in the earliest opportunity if they are in pairing mode.
Swift Pair was first introduced in Windows 10 1803 and modified later. This feature basically minimizes the steps that were needed earlier to pair a Bluetooth device. After enabling it, when a supported wireless gadget is nearer, a notification will prompt from where you need to click connect button only. However, the pair mode of Bluetooth peripheral must be switched one and that can be easily done by pressing the physical button of the gadget for around ten seconds.
Enable Swift Pair in Bluetooth Windows 10
Here is how to how to enable Swift Pair in Bluetooth Windows 10 –
1] Using Windows Settings app
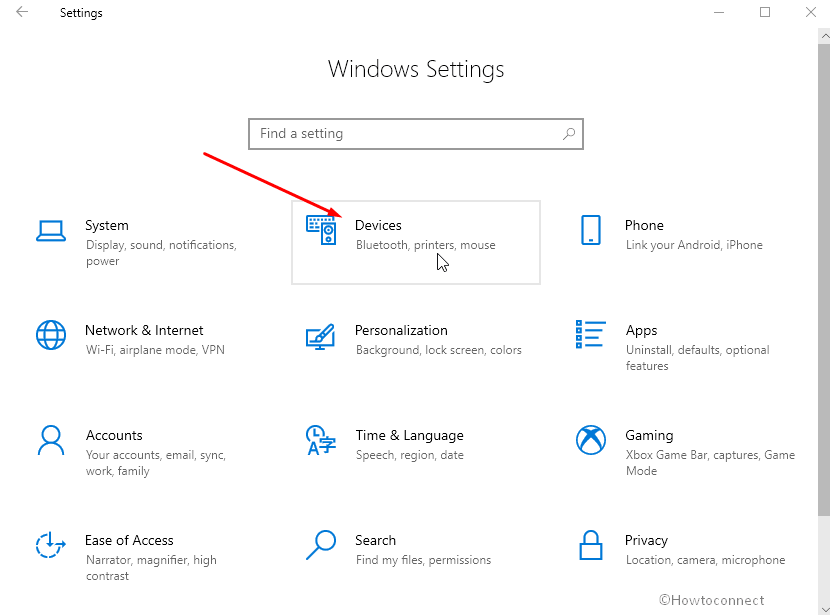
- Press Win+I.
- Click Devices.
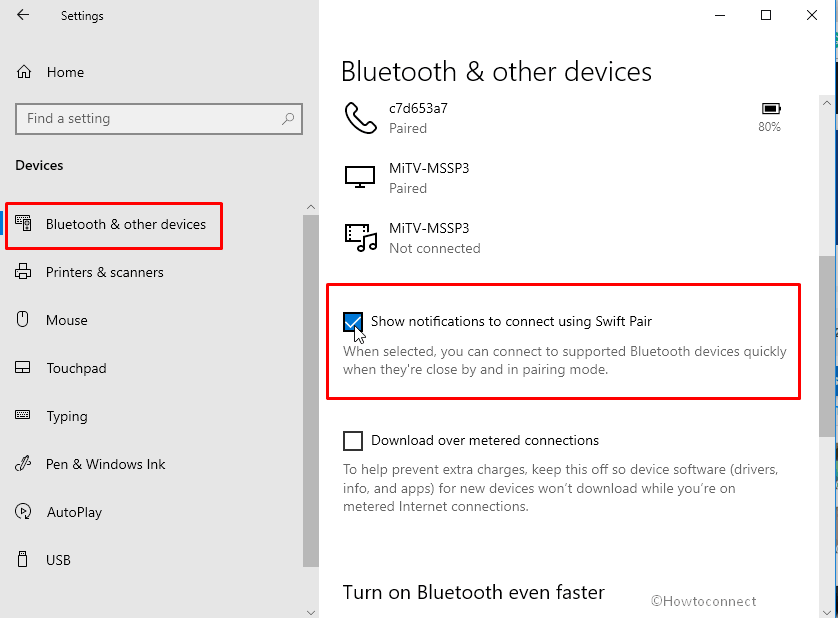
- Go to the right side of Bluetooth & other devices page.
- Click the checkbox set for Show notifications to connect using Swift Pair.
2] Enable Swift Pair through Registry Editor
If Swift pair windows 10 is not available or showing you can use this method –
- Hit Windows logo key and R both at the same time.
- Type Regedit and press OK.
- Click the Yes when a User account control dialog prompts.
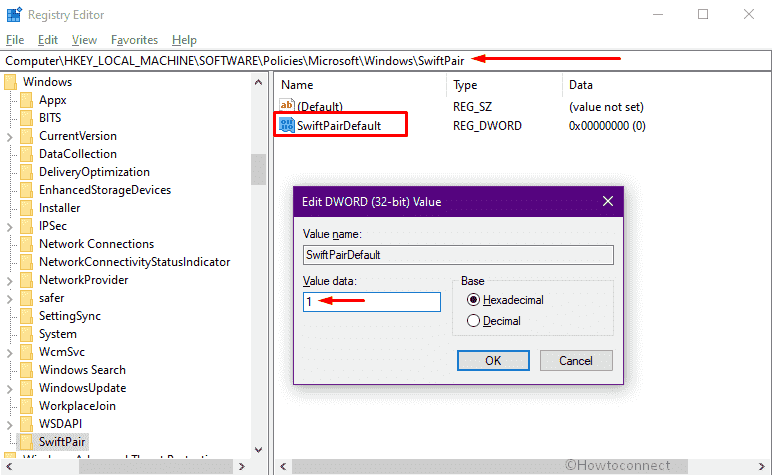
- Navigate the following directory from Registry Editor –
HKEY_LOCAL_MACHINE\Software\Policies\Microsoft\Windows\SwiftPair
- Double-click the DWORD SwiftPairDefault.
- Put 1 in the Value data box and click OK.
- In case, SwiftPair is not available then create a new key.
- For this, right click on Windows and select New > Key.
- Name it SwiftPair.
- Go to the right pane, right-click, and select New > DWORD (32 bit) value.
- Name this “SwiftPairDefault”.
- Double click on the DWORD value and enter Value data 1.
- Click OK.
- Restart computer or Windows explorer to make Swift Pair working.
Methods:
1] Using Windows Settings app
2] Turn on Swift Pair through Registry Editor
That’s all!!