Today we are going to discuss How to Fix Fluent Design Not Working in Windows 10. In a short time, this feature becomes popular as it provides a modern and attractive look to your device. Effects like acrylic transparency and animations make it more majestic. But recently, many users are reporting that Fluent Design is not working properly on their device. Usually, it happens when you unintentionally turn off the transparency feature. Furthermore, Battery saver mode often causes the same issue too.
There is no doubt that Fluent Design in Windows 10 is a pretty enchanting feature that enhances the user’s experience. It completely changes the look of your screen components by adding physical texture and depth with its acrylic effect and highlighting. And unlike other programs, it never strains your GPU and other system resources.
Fluent Design Not Working in Windows 10 Solutions
Here is How to Fix Fluent Design Not Working in Windows 10 –
Restart your PC
This may sound silly but many users found the method helpful. When Fluent design stops working on your system, Restart the PC immediately.
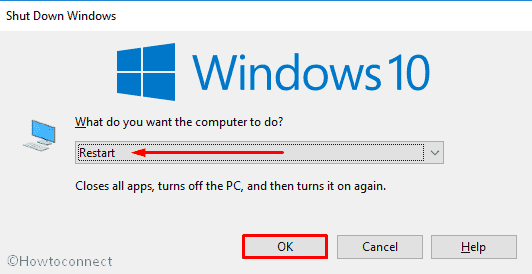
Step-1: Press Alt+f4 hotkey in order to bring up the Shut Down Windows.
Step-2: Now, select Restart by using the drop-down menu and then click on OK.
Turn on the Transparency effect
Often, the Fluent design doesn’t work because transparency effects are turned off. Check out the below options to know about every possible way –
Through Personalization Setting
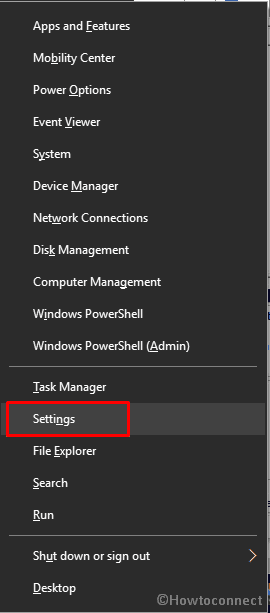
Do a right-click on Start button and select Settings from the list.
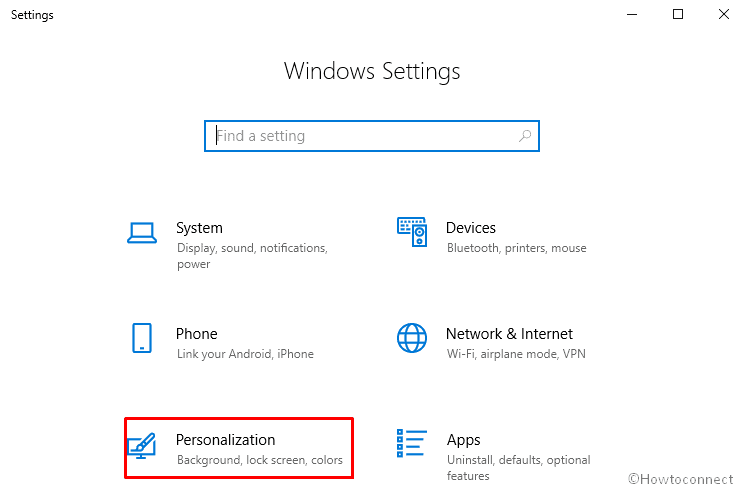
When it comes into the view, click on Personalization.
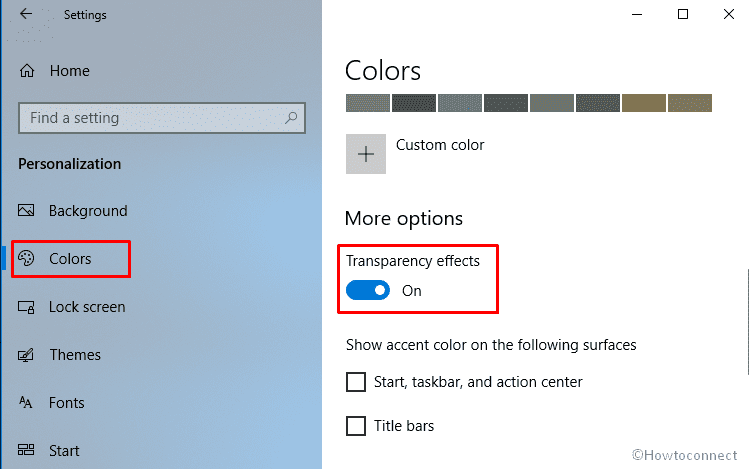
Now, Select Colors from the left column and shift to the right pane. Pull the toggle switch of Transparency effects to right to turn it on.
Though Ease of Access Setting
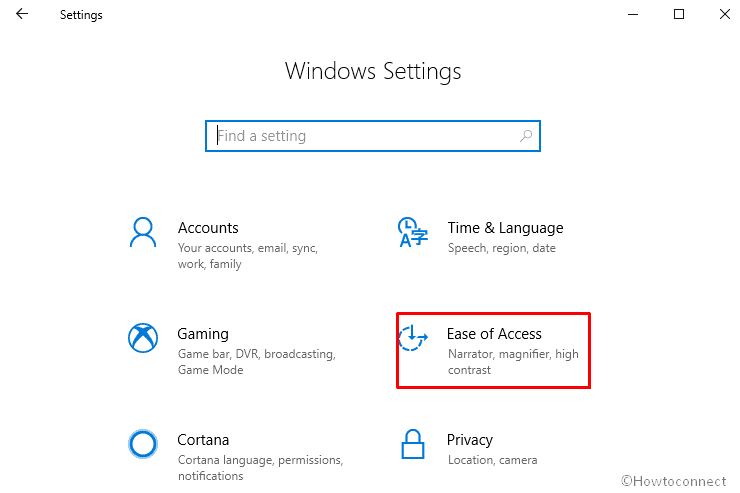
Perform a simultaneous Press on Win+I in order to open the Settings app. Once it appears, click on Ease of Access.
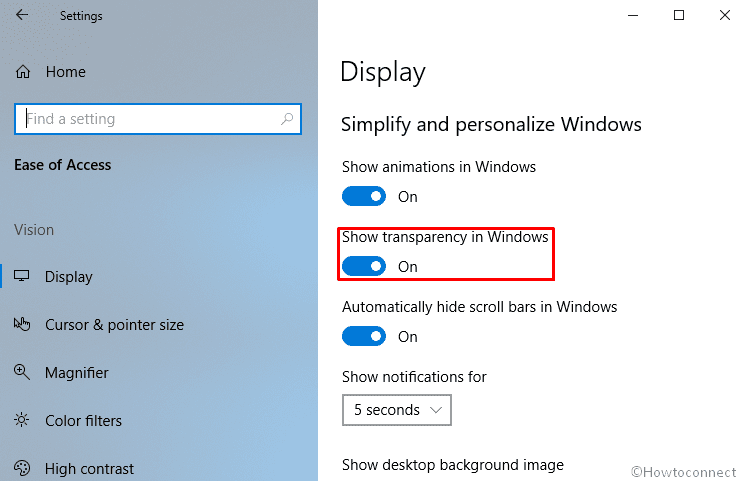
On the following window, switch to the right pane and turn on the toggle button of Show transparency in Windows.
VIA Registry Editor
Make a click on Taskbar search and type regedit.exe. When the result shows up, Hit Enter.
When a UAC prompts up, click on Yes to access Registry Editor.
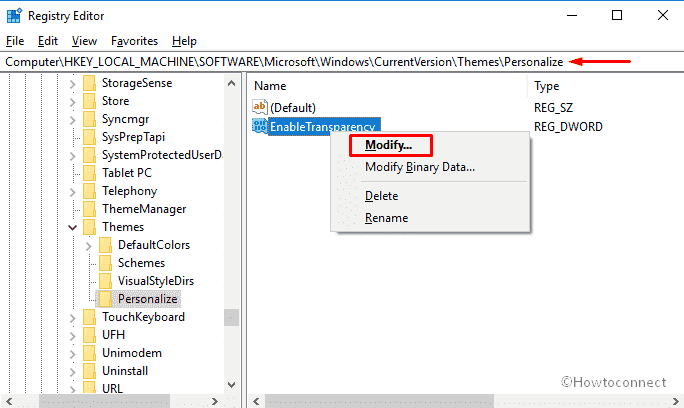
Now, navigate the following path by using strings in the left column –
HKEY_LOCAL_MACHINE\SOFTWARE\Microsoft\Windows\CurrentVersion\Themes\Personalize
Right click on EnableTransparency DWORD value and select Modify in the right pane.
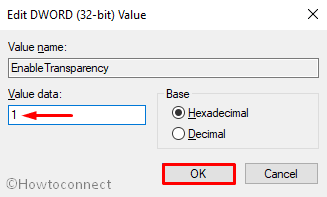
Put 1 in the value data box and click on OK to save the changes.
After turning on the feature, you may still experience the issue. In that case, follow the workaround to Fix Fluent Design Not Working in Windows 10.
Disable the Battery Saver
When Battery Saver is turned on, the Windows automatically disable Fluent Design to save power. So, if you turn it off –
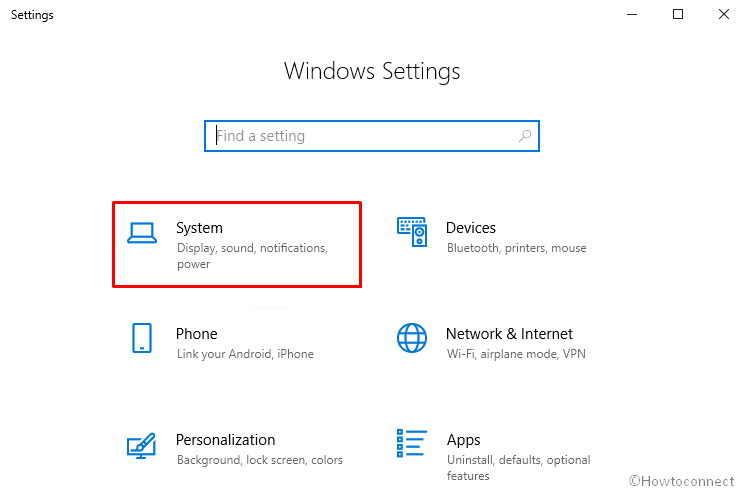
Firstly, open Windows Settings app.
When it is visible in the display, do a click on System.
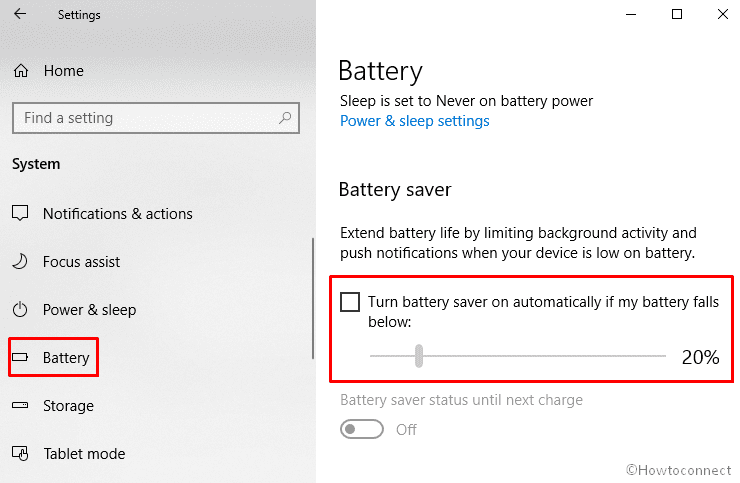
On the subsequent page, select Battery from the left pane and then move to the right.
Deselect the box for “Turn battery saver on automatically if my battery falls below”.
That’s All!