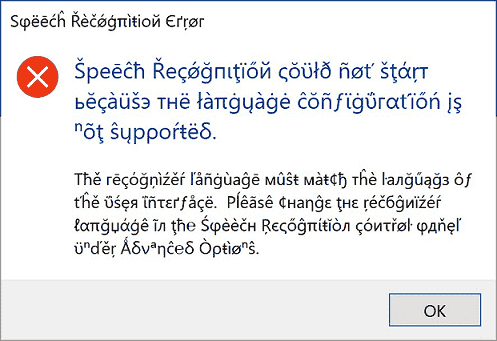
Many users are complaining that they are receiving Speech Recognition could not start cryptic error in Windows 10 when they try to start the feature. This problem mostly occurs when ctfmon.exe is not set to automatically start with Windows. However, there are other causes such as a change in the recognizer language that lead to this error.
This issue is not new in Windows as users are experiencing this since Vista edition. Whenever they make an attempt to initiate the Speech Recognition, the following error note shows up on the PC screen. To bypass this problem, there are few solutions like starting ctfmon.exe during Startup, changing Speech settings, adding new recognition profile and so on. Let us move on to the workarounds one by one and see which one fixes your problem.
Fix: Speech Recognition could not start Cryptic Error in Windows 10
Here is how to fix Speech Recognition could not start Cryptic Error in Windows 10 –
Add ctfmon.exe to Startup
Step-1: First of all, press “Windows + R” hotkeys to open Run dialog box. When the box shows up, type regedit and click OK or press Enter to start the process.
See How to Access Registry Editor in Windows 10.
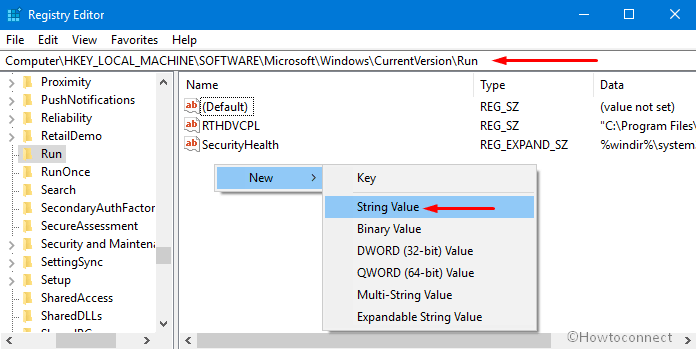
Step-2: When the Registry Editor opens, navigate to the below-given path on the left column.
HKEY_LOCAL_MACHINE\SOFTWARE\Microsoft\Windows\CurrentVersion\Run
Step-3: Shift to the corresponding pane of Run and make a right-click on an empty space. Hover over New and from the submenu choose String Value.
Step-4: Name it as ctfmon and double-click on it to change its value. On its Value data field, assign its value as ctfmon.exe.
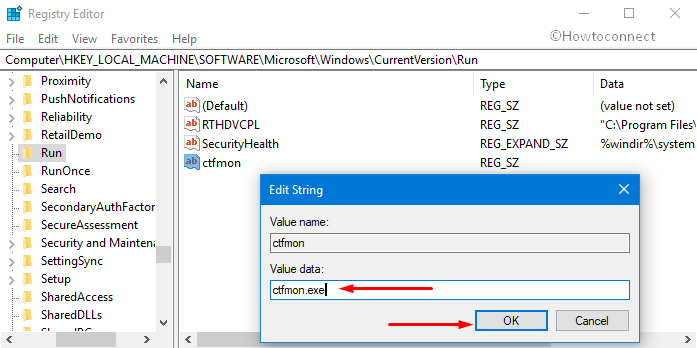
Step-5: Now, you just need to close Registry Editor and restart Windows 10 PC to check how it fixes.
After adding ctfmon.exe to the Startup, if the system still shows Speech Recognition could not start, go ahead with other solutions.
Using Speech Recognition Settings
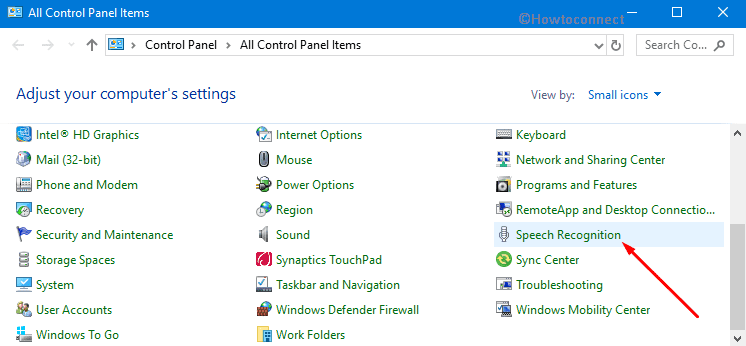
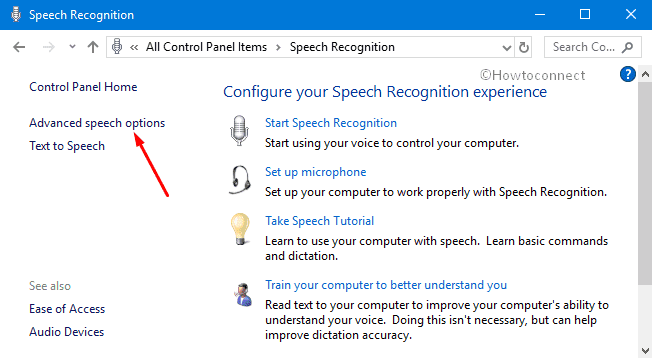
Open Start Menu, type cp, and press Enter. Choose Speech Recognition applet when Control Panel comes into view.
Click Advanced Speech Options on the left side of the following screen (see snapshot).
When the Speech Properties screen displays, ensure to set the Language in the correct locale. Moving ahead, also uncheck the option namely “Review Documents and mail to improve accuracy”.
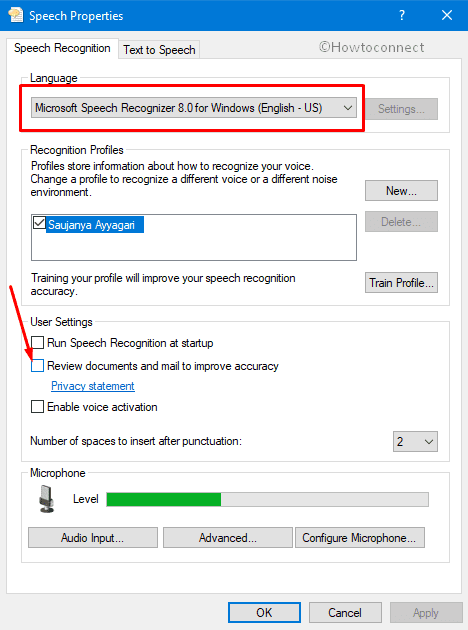
Simply click OK and reboot your computer.
It is done, you can check how is the speech recognition feature. If it is still not fixed, you continue to try the solution 3.
By Regional Settings
Press “Win + I” shortcut keys simultaneously in order to open Windows Settings app.
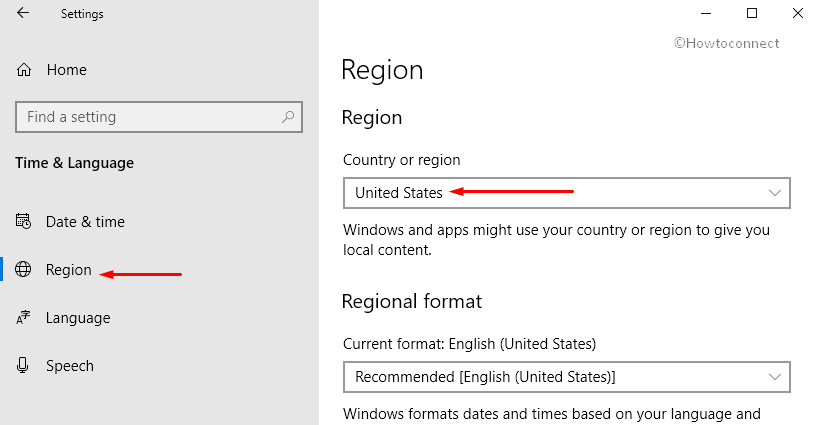
When the main interface of the application comes into view, go to Time & Language category.
Select the Region tab on the left column of the following page. Switch to its right pane and click the drop-down underneath the option Country or region. From the list, choose another location.
Now, reboot the computer and again head towards the Region settings and this time set the correct location of your choice.
Finally, again make an attempt to restart your PC and this time Speech Recognition will work wonder. Doing this will eventually clear out any settings on your system that are may be corrupted by other updates or software that you might have installed.
Train Profile
In case you are still encountering Speech Recognition could not start, give an attempt to Train profile.
First, open Control Panel by using any of your preferred procedures.
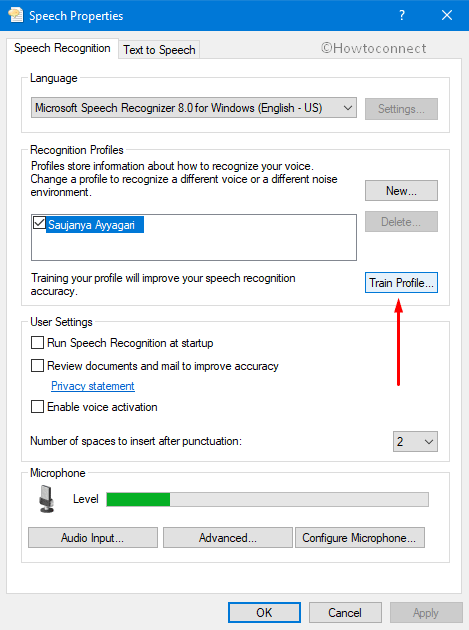
Go to Speech Recognition and perform a hit on Advanced speech options on the top left side.
On the Speech Properties dialog, click the button namely Train Profile.
Now, follow the on-screen guidelines of the wizard and complete the training.
Create New Recognition Profile
If the training process and other workarounds fail to bypass Speech Recognition could not start Cryptic Error in Windows 10, you should create a new recognition profile.
Go to Control Panel and get access to Speech Recognition applet.
Make a click on “Advanced speech options“.
In the Speech Properties dialog, click the New button under the ‘Recognition Profiles‘ section as indicated in the below snapshot.
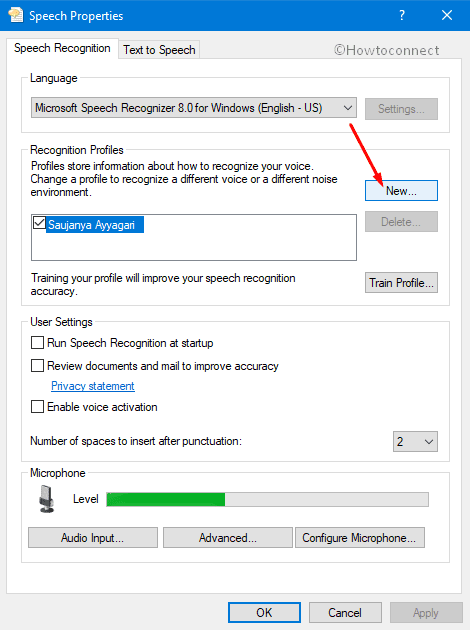
Provide a new name to the profile and when you successfully create it, delete the old one.
Lots of experienced users said that they have tried the above-mentioned methods, and it works effectively. So, you also give a shot to these workarounds and let us know which one helped you out. If you have more tips to solve this trouble, don’t forget to drop them in the comments below.