Microsoft included a few great personalization features in the recent build and Transparent Start menu is one of the most popular things. Unfortunately, some users notice Windows 10 transparency not working issue. Well if you are here for the same problem, we can guide you to solve this issue in a much easier way.
Start Menu Transparency not working in Windows 10 may happen temporarily sometimes and end with a simple restart. However in a few cases, the same may also be generated from invalid Registry entries, corrupted system resources or defective Windows image files too. Fixing the error will be easier if you just try out the below methods to the point.
Start Menu Transparency not working
Here is how to fix Start Menu Transparency not working in Windows 10 –
1] Shut down and Startup Windows 10
Mostly, Start Menu Transparency not working in Windows 10 issue occurs temporarily and will be fixed just by shutting down the system once. After you Power Up, there would be no problem with the transparent Start menu in Windows 10.
Follow the below instructions to proceed –
- Press the – Windows key.
- Click the – Power icon.
- Select the – Shut down.
- Wait for a couple of minutes.
- Start the computer again.
2] Use Regedit to Fix Start Menu Transparency not working
Using a registry entry modification you can easily enable Transparency in Windows 10 Start menu. Reciprocally, when the DWORD gets corrupted you become unable to see the transparent start menu. In most cases, some unauthorized third party applications may change the data.
A registry entry works as a Windows 10 transparency tool. Therefore, make the changes in Regedit to fix this issue –
- Click the Start, type regedit and then hit Enter.
- Select the Yes when the User account control prompts.
- Copy the below string simply, paste in the address bar of the Registry Editor, and hit the Enter –
HKEY_CURRENT_USER\SOFTWARE\Microsoft\Windows\CurrentVersion\Themes\Personalize
- Look for the EnableTransparency in the right.
- Double click this DWORD and change the value data from 0 to 1.
- Click the Ok.

- Restart the computer to make changes effective.
Note – If EnableTransparency is unavailable there, right click and select New => DWORD (32-bit) Value. Name this New Value #1 – EnableTransparency.
3] Use the SFC command tool
If changing the DWORD in Registry doesn’t fix the Windows 10 transparency effects, there might be some problems with system files. Sometimes, critical System files may appear as unreadable after being subjected to corruption because of threats, updating issues, or sudden power surge.
Windows has a built-in utility i.e. SFC to repair the corrupted components and recover critical .dll files. Follow the below steps for running the tool –
- Press the Win+S and type – cmd.
- Select the Run as Administrator from the right result pane.
- Click the Yes on UAC prompts.
- Type the following command –
Sfc /scannow
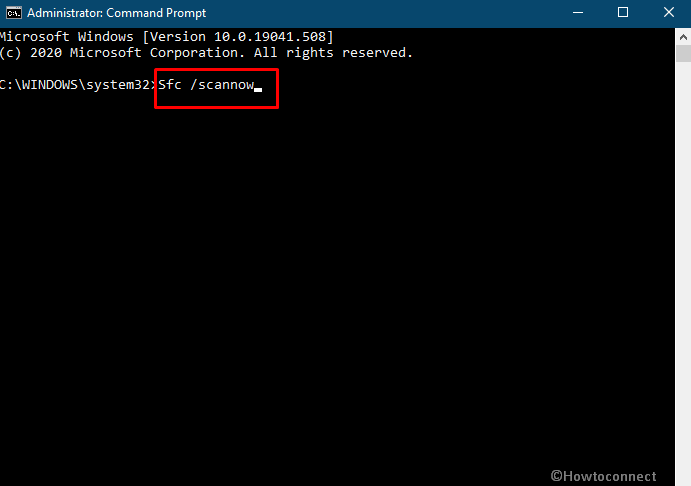
- Press the Enter.
- Once the fixing is done, restart the computer.
4] Reinstall Start Menu using PowerShell
If you fail to see the transparency on the start menu there is an option to reinstall this. A PowerShell cmdlet works to easily uninstall and reinstall the same by following the steps –
- Press the Windows key and X together.
- Select the – Windows PowerShell (Admin).
- Click the Yes when a User Account Control dialog appears.
- Copy the below cmdlet paste, and then press the Enter –
Get-AppXPackage -Name Microsoft.Windows.ShellExperienceHost | Foreach {Add-AppxPackage -DisableDevelopmentMode -Register "$($_.InstallLocation)\AppXManifest.xml"}
- Press Enter key to execute this.
- Once the process ends, restart Windows 10.
- Hope the transparent Start Menu will reappear without trouble.
5] Run the DISM Tool
Oftentimes corrupted Windows image files can also be another reason to cause the Start Menu Transparency not working in Windows 10. To fix these components try running the DISM tool following the below steps –
- Launch Elevated Command Prompt using the steps in the 3rd method.
- Enter the following command –
DISM.exe /Online /Cleanup-image /Restorehealth
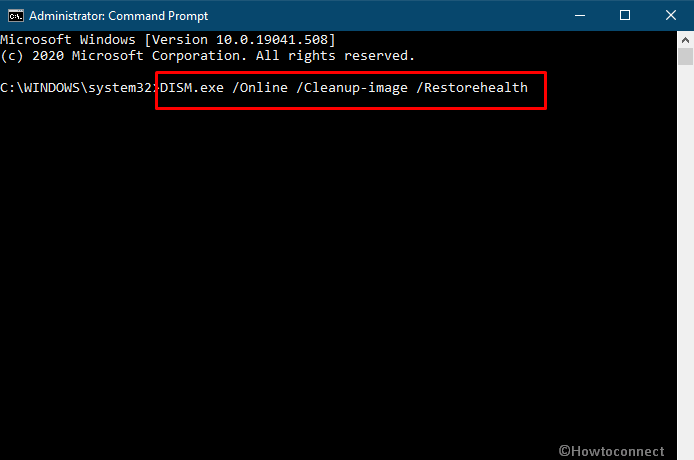
- After finishing the repair, Restart the computer.
- Check if the problem is fixed now.
Methods:
1] Shut down and Startup Windows 10
2] Use Regedit to Fix Start Menu Transparency not working
3] Use the SFC command tool
4] Reinstall Start Menu using PowerShell
5] Run the DISM Tool
That’s all!!