Sometimes, you may experience error codes related to WMIADAP.exe in Windows 10. Do you know what WMIADAP stands for? It is the short form of Windows Management Instrumentation Auto Discovery Auto Purge. When .exe is added to it in the end, it becomes an executable file which ultimately is a vital part of Microsoft Corporation’s WMI (Windows Management Instrumentation).
WMI is the database which stores definitions and meta-information for WMI classes. And, WMIADAP.exe in Windows 10 is an application related to the WMI’s ADAP (AutoDiscovery/AutoPurge) process. In the WMI repository, it updates the performance information which helps the IT Administrators and developers to make scripts that can access performance information like the memory an application uses. The most important thing is that the original WMIADAP.exe file is in no manner a threat to any computer.
WMIADAP.exe in Windows 10 Solutions
Before we explore the possible workarounds, it is important to get some idea about WMIADAP.exe in Windows 10.
Why you should be careful about WMIADAP.exe?
WMIADAP.exe in Windows 10, not to remind you is an executable file. Some developers create harmful malware or virus with this name and send them to your computer. You need to be careful while removing WMIADAP.exe so that only the harmful Trojan/ virus should move out of your PC.
Symptoms of WMIADAP.exe Malware
The following are the symptoms:
- If your computer freezes every now and then.
- When the fluctuation of your internet connection is quite high.
- If the WMIADAP.exe file is consuming more CPU memory.
- Performance of your system is quite low.
- When the system redirects to unknown websites.
- Pop-up of annoying ads.
- When it brings other malware to damage and infect the system.
- When it singularly or with other malware exploits your computer to collect your private information.
How to find that WMIADAP.exe is dangerous?
Normally, you should not delete WMIADAP.exe in Windows 10 but if you find that it is infected or harmful, then do not hesitate to remove it from the system. In most of the Operating Systems, WMIADAP.exe is present by default. You can easily find whether it is dangerous or not.
Step-1: Open Task Manager and click on the Details tab. While you scroll down the list of processes, you will find WMIADAP.exe. Now, you should right-click on it and select the Open file location option. If you find that it is located in the following directory then it is not a malware and the system is safe.
C:\Windows\System32\wbem\files
If some other place is the location, be cautious because it can be a malware.
When WMIADAP.exe is Dangerous?
As mentioned earlier, if WMIADAP.exe is present in the subfolder of C:\Windows\System32, it is least harmful (security rating – 2% dangerous). This is a Windows 10 file and has no evident window.
When WMIADAP.exe is present in the C:\Windows subfolder, it can be or can’t be harmful (security rating – 80% dangerous). This file is invisible but mostly certified by some reliable company. It uses ports for connecting to the internet or a LAN. In this case, WMIADAP.exe isn’t a core file of Windows 10.
When WMIADAP.exe is present in the subfolder of a user’s profile folder such as:
C:\Users\YOUR_USERNAME
OR
C:\Documents and Settings\YOUR_USERNAME
it is very harmful (security rating – 78% dangerous). It can be some malware camouflaged as WMIADAP.exe. So, before you make an attempt to fix, ensure that to remove the malware only.
When WMIADAP.exe is faulty, you might also see several error messages on your computer screen. In case it is a malware or corrupted, the methods to fix WMIADAP.exe in Windows 10 are same. In order to avoid any manual methods to fix WMIADAP.exe issues, it is vital to keep your antivirus updated and scan your computer regularly. However, the recommended manual steps are:
Restore your PC
Firstly, you need to restore the system to its latest restore point or the “Backup Image” prior to the occurrence of the error.
Click on the Start button. You will see Cortana box, type “System Restore” and hit Enter.
Now, if you are asked to fill the Administrator Password, type it.
The System Properties wizard will open. Click System Restore button and follow the guidelines to reach an appropriate restore point.
Run SFC (System File Checker)
This above solution will fix the WMIADAP.exe error on your system. However, if the issue is not resolved, move to this next workaround. You should run “System File Checker” (in short SFC) in order to restore the faulty WMIADAP.exe file. This built-in Windows 10 tool detects moreover restores the corrupt system files pretty efficiently.
Press “Win logo + R” keys in one go to open Run dialog box on the screen. Here, type CMD. Now, hit three keys simultaneously “Ctrl + Shift + Enter“.
Click Yes to give consent to the UAC prompt.
Once you access elevated Command Prompt, type in or copy-paste the given code and hit Enter to initiate the scan.
sfc /scannow
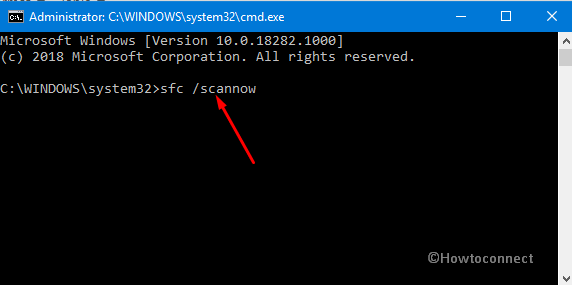
SFC is a timely process and hence you need to be patient enough for it to complete. Once the scan is over, restart Windows 10 PC and see whether you still get errors related to WMIADAP.exe.
See SFC /Scannow, DISM.Exe, CHKDSK Windows 10.
Update Windows 10
If the above workaround also fails to bring the desired result, it’s time to update your operating system. Yes, you should run the “Windows Update”. Most of the WMIADAP.exe in Windows 10 issues are because of the old version of the OS.
Click on the Start icon and select the cog icon to open Windows Settings. Go to Update & Security category.
Click Check for updates button on the following page (see snapshot).
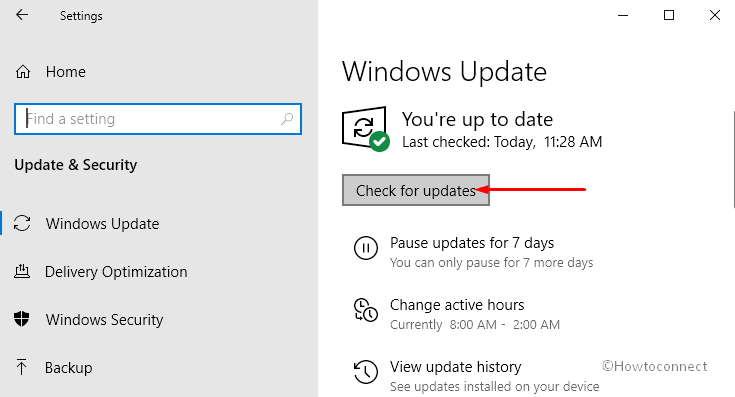
If any updates are available, download as well as install them right away. Lastly, reboot the system to complete the installation of the new updates.
You can also follow the instructions here – 4 Ways to Update Windows 10.
If this also fails to resolve the WMIADAP.exe issue, you should move to the next and final solution.
Download and Replace WMIADAP.exe
If all the above three solutions fail to resolve the WMIADAP.exe in Windows 10 issue(s), you should try this last attempt. So, give an attempt to download moreover replace the latest WMIADAP.exe file.
Search on the internet and find a relevant source that contains a downloadable WMIADAP.exe file. Note that you need to be extra careful while finding the genuine file and its source otherwise in trying to remove a malware, you might end up with another malware in your PC.
Download the appropriate file for your Operating System, i.e. for Windows 10.
After downloading it, copy this file to the relevant directory in your computer. As you are running Windows 10, so copy this file to:
C:\WINDOWS\system32\wbem\
Finally, restart the system. The maximum chances are that you are no longer affected by any WMIADAP.exe in Windows 10 issue. In case, if everything fails to resolve the issue, try to do Windows 10 clean installation.
That’s all!!!