Multiple ways on these OS versions allow you to sign in to Windows including a common one, using PIN. But while logging in with PIN, you definitely want to make it stronger with a view to keep services, apps, and account more secure. So, Windows 10 includes an extra setting that allows adding special characters to the PIN.
The Group Policy Editor comes with a new policy in the OS – PIN Complexity. This policy has many settings which can make PIN more stronger and complex. One such special setting of PIN Complexity is Require special characters. After you enable this specific setting, at least one special character must be there in your PIN. The special characters can be ! ” # $ % & ‘ ( ) * + , – . / : ; < = > ? @ [ \ ] ^ _ ` { | } ~ . However, in order to configure this setting, your Windows 11 or 10 must be shipped with Group Policy Editor. Well, Group Policy Editor is accessible in all the editions, except for Windows 10 Home but you can bring the same using the method in – How to Activate Local Group Policy Editor / Gpedit.msc in Windows 10 Home.
How to Add Special Character Requirement in PIN on Windows 11 and 10
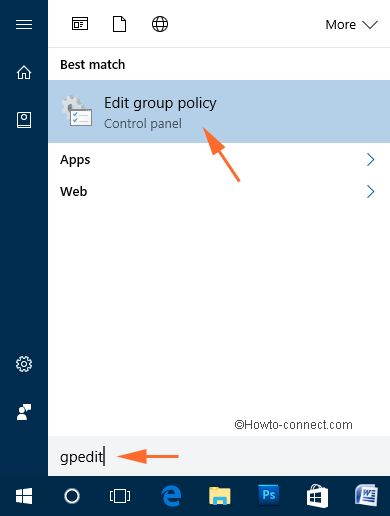
Step 1 – To begin with, click Windows icon on the taskbar and start typing gpedit. Search will show up Edit group policy as the Best match, click it.
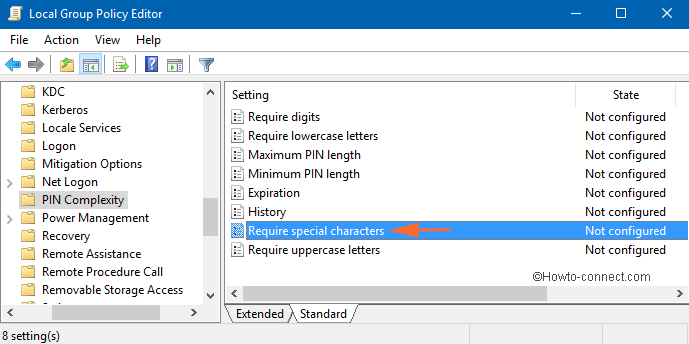
Step 2 – This will make the Local Group Policy Editor appear on the screen. Navigate to the following on the left sidebar – Administrative Templates => System => PIN Complexity.
Step 3 – On the right side of PIN Complexity, you will see various settings. Locate the setting Require special characters.
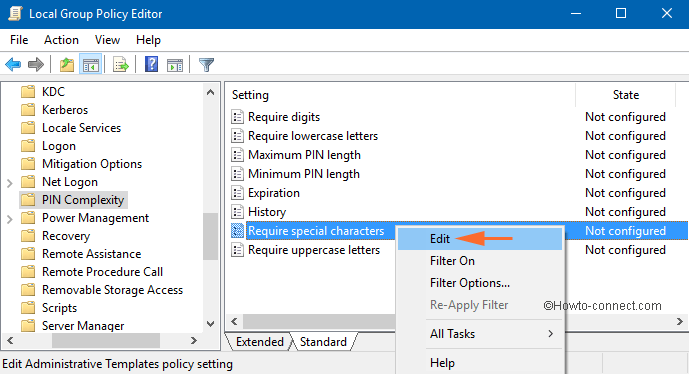
Step 4 – Once you see the setting, right-click on it. A few options will pop-up, select Edit.
Step 5 – This will open up another window of Require special characters. Three different options on the left side are – Not configured, Enabled and Disabled.
Not Configured – This option will not allow you to add special characters in the PIN.
Enabled – The PIN must have at least 1 special character in it.
Disabled – This option is similar to Not Configured. You cannot add special characters in the PIN.
Step 6 – So, choose the radio button Enabled.
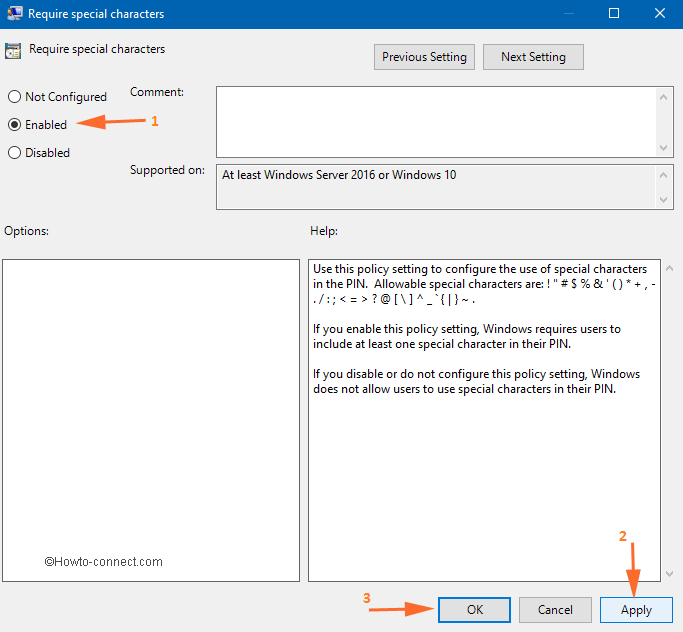
Step 6 – Finally, to Add Special Character Requirement in PIN on Windows 11 or 10, click Apply and OK.
The exact explanation that Requires special character gives about the setting is –
Use this policy setting to configure the use of special characters in the PIN. Allowable special characters are: ! " # $ % & ' ( ) * + , - . / : ; < = > ? @ [ \ ] ^ _ ` { | } ~ .
If you enable this policy setting, Windows requires users to include at least one special character in their PIN.
If you disable or do not configure this policy setting, Windows does not allow users to use special characters in their PIN.
Add a New PIN in Windows 10
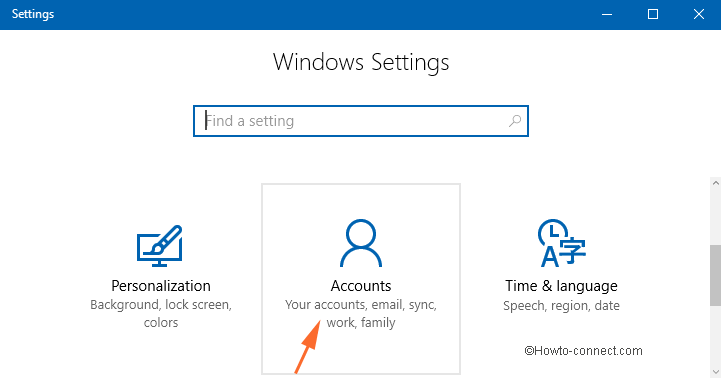
Step 1 – Now, launch Settings app by pressing Win + I combination of keys. Next, make a click on Accounts category.
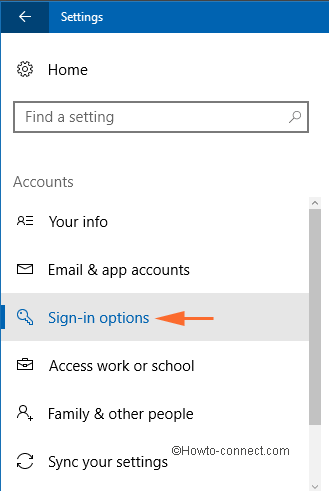
Step 2 – Moving on, select Sign-in tab on the left sidebar of Accounts page.
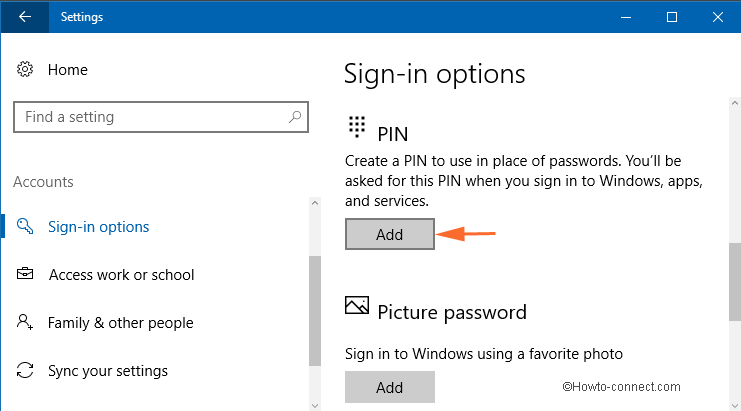
Step 3 – On the Sign-in page, locate PIN section. Select the Add button.
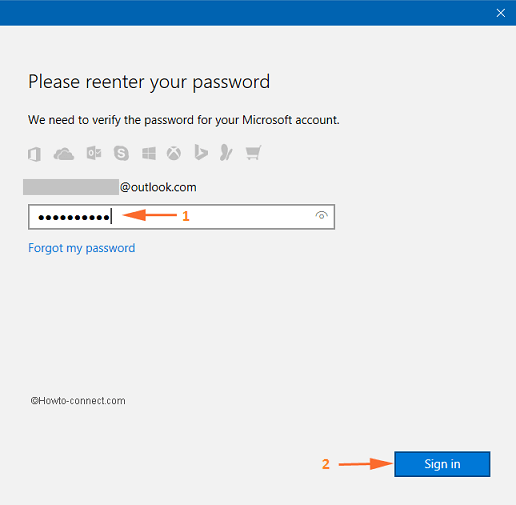
Step 4 – First of all, Windows will confirm your identity through a pop-up. So, type your password and click Sign in.
Step 5 – A small box of Set up a PIN will show up on the screen. Before you set any PIN, we recommend you to see the requirements. To do so, click PIN requirement option on the box.
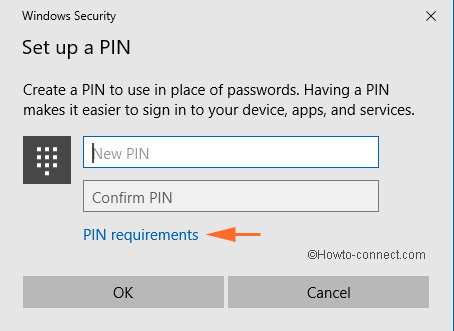
Note – You will see this option only after changing any setting of PIN Complexity policy.
Step 6 – Now, you will see the requirements for the PIN. Go through them carefully and then type your PIN on the first box.
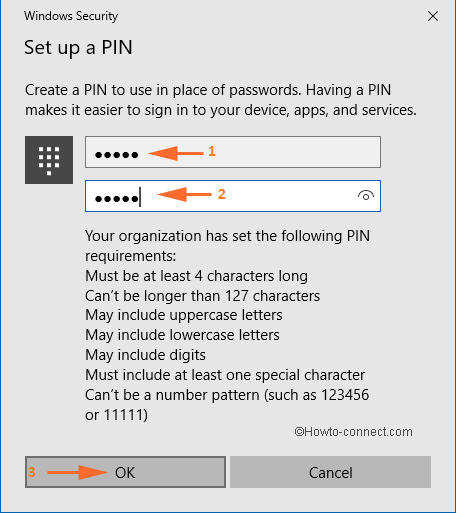
Step 7 – Again type the same PIN on the second box and finally, click OK.
Note – Windows will notify if you don’t meet the PIN Complexity requirements. For reference, take a look at the below screenshot.

Change a PIN
Step 1 – Here also, you need to launch Settings. You can do it by pressing Windows & I keys.
Step 2 – Moving ahead, select Accounts => Sign-in.
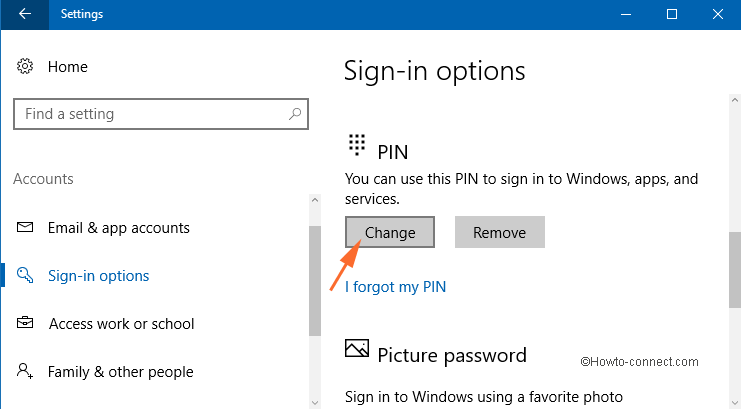
Step 3 – Locate PIN section on the right-side of Sign-in. Click Change button.
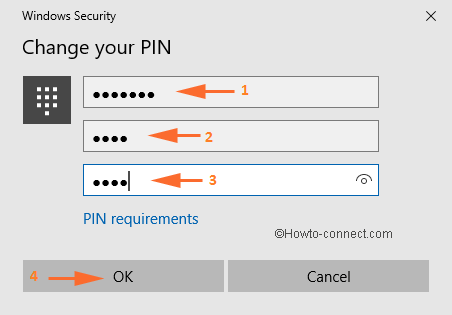
Step 4 – Now, in the Set up a PIN box, type the old PIN in the first box.
Step 5 – Next, enter the new PIN in the other two boxes respectively. Lastly, to implement the new PIN, click OK.
Note – To check the new PIN, press Win & L and lock the screen. Now, enter into Windows by typing the new PIN.
Final note
This is a good feature which most of the users are accepting as it allows to make the PIN stronger and complex for anyone to crack. Well, PIN Complexity includes many more settings for making PIN more complex. However, to Add Special Character Requirement in PIN on Windows 10 is very simple. Try it for yourself and tell us how much secure your account is after making the PIN more complex.