Windows 11/10 receives updates quite regularly and maybe this fast pushing of patches from Microsoft is the reason for the superfluity of errors. Though most of the packages include new improvements and bug fixes sadly they fail to get installed. Error 0x800f080a is one such code that appears when the PC attempts to install a cumulative update. In most cases, it makes some progress and then gets stuck at a certain percentage and then fails.
Windows 11 or 10 Update Error Code 0x800f080a doesn’t prevent all updates from being installed; mostly it appears for a specific KB version. Such issues usually originate from corrupted Windows update components broken or misplaced system files and stopped update services may cause the same too.
Windows 11 and 10 Update Error Code 0x800f080a
Here is how to fix Windows 11 or 10 Update Error Code 0x800f080a –
Way-1: Run Windows Update troubleshooter
Update errors are pretty common in Windows OS and that is the reason why the operating system bestows a troubleshooter dedicated to deal with these issues. This Fixit tool helps users in resolving most of the fatal codes they conflict while installing updates. To run the utility –
- Press – Windows + S.
- Type in – troubleshoot.
- Hit – Enter.
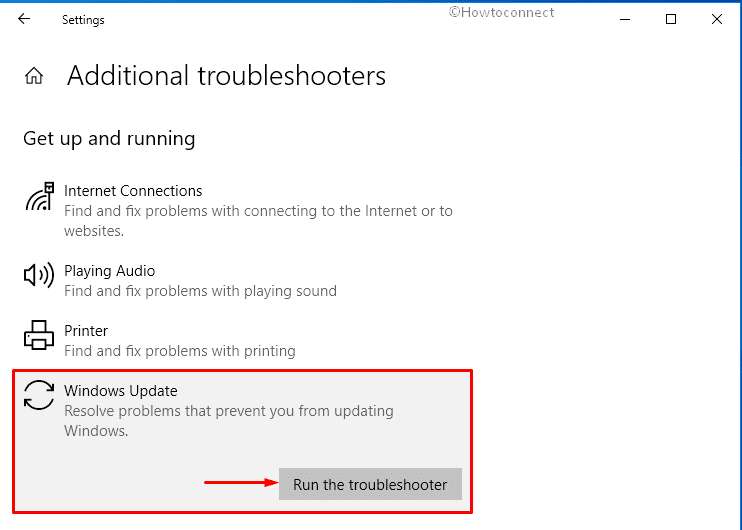
- From the right-pane, click the link that says – Additional troubleshooters. In case of Windows 11, click – Other troubleshooters.
- Select – Windows update.
- Click – Run the troubleshooter. Windows 11 users need to click Run straightaway.
- Follow on-screen guidelines if any.
- When the utility detects any issue and suggests a fix, click – Apply this fix.
- Close the troubleshooter.
- Reboot Windows PC.
Way-2: Reset update components to fix 0x800f080a
Windows 11/10 Update Error Code 0x800f080a may rise up if the update agent related components are corrupted and purging the components work immediately in this case. This way is extremely handy in repairing almost every issue that occurs while downloading or installing patches or builds. Let’s check out the steps straightway –
- Click search icon present on the taskbar.
- Type in – cmd.
- Press – Ctrl + Shift + Enter.
- When User Account Control prompts for your consent, click – Yes.
- In the elevated Command Prompt, insert the following commands successively and hit Enter after each –
net stop wuauserv
net stop bits
net stop appidsvc
ren %systemroot%\SoftwareDistribution SoftwareDistribution.bak
ren %systemroot%\system32\catroot2 catroot2.bak
The above commands will stop services that have relations with Windows update right away, rename the existing SoftwareDistribution and Catroot2 folder, and create a fresh one. SoftwareDistribution folder stores all temporary update files in it and helps the system in carrying out the updating process when needed.
On the other hand, catroot2 folder reserves the signatures of the update patches which helps the installation process. Both folders play a significant role to ensure a smooth process of an automatic Windows update. That’s why resetting them often works like a tweak for update errors. However, you need to start the update services again that you stopped earlier therefore execute below commands –
net start wuauserv
net start bits
net start appidsvc
net start cryptsvc
- Exit Command Prompt.
- Reboot the PC and check if the update error shows up anymore.
Way-3: Check Windows update services
Windows update services are set to Started status by default and they are responsible for receiving the latest patches on your PC. The process is autonomous too. When any of the services is disabled whether intentionally or accidentally, the system may trigger Update Error Code 0x800f080a. Since, these are critical components of Windows and help in keeping your PC up-to-date with vital security patches, keeping them started is necessary.
- Click – Start button.
- Type – services.
- Press – Enter key.
- When the Services console shows up, find – Windows Update.
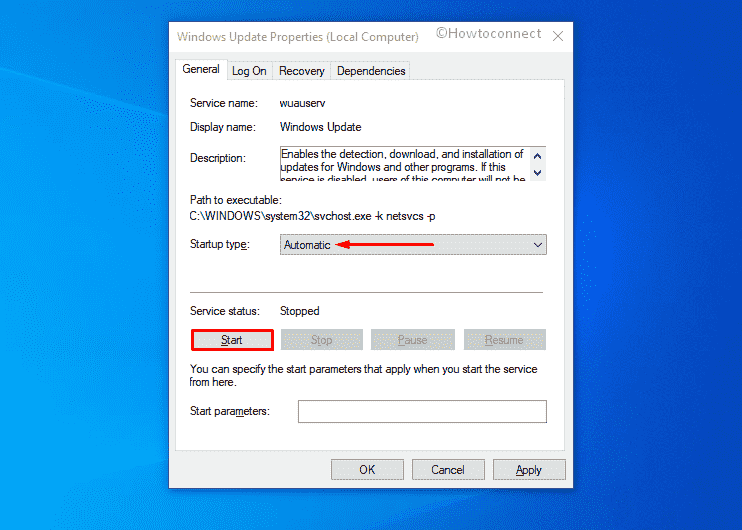
- Double-click the same to open its properties.
- Set the Startup type to Automatic.
- If the service is not running, click – Start.
- Shift to – Log on tab.
- Select the radio button set for Local System account.
- Uncheck the box present before Allow service to interact with desktop.
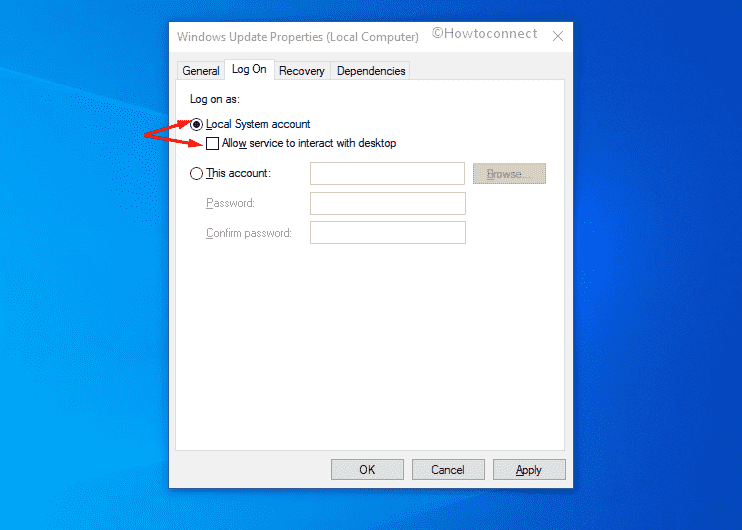
- Click Apply and then OK.
- After that, check Background Intelligent Transfer Service, Event Log, and Remote Procedure Call (RPC) services by following similar process.
Way-4: Resolve system corruption to fix 0x800f080a
System elements are required to be integrated to ensure every operation that Windows performs is correct. If any files go missing or become corrupted, various issues may rise up including update errors. Therefore, you need to make sure your system has no corruption in it. By chance, if it happens System File Checker is the best option to opt for in this concern. This command-line utility helps to resolve existing corruption and also recover the missing elements. To fix such issues, follow the way –
- Press – Windows key.
- Type in – cmd.exe.
- Select – Run as administrator.
- To approve User Account Control, click – Yes.
- In the black pane, insert – sfc /scannow.
- Hit – Enter.
- Once the scanning process hits 100%, check the report thoroughly.
- If the corruption is fixed, restart the PC.
There might be a time when System File checker won’t be able to fix the found corruption because of some unknown obstructions. In that case, you will have to employ DISM tool. Once you execute this utility in elevated Command Prompt, it scans your entire system moreover repair and make Windows image including Windows RE, Windows Setup, and Windows PE ready.
- Open Command Prompt as administrator.
- Insert DISM /Online /Cleanup-Image /RestoreHealth at the base of the winking cursor.
- Hit – Enter.
- Once the scanning process ends, run sfc /scannow command once again.
Way-5: Download and install troublesome KB version manually
Generally, Windows 10 as well as 11 downloads and installs Microsoft-created patches automatically if your PC is connected to an active internet connection. Though the process usually takes place smoothly, sudden power outages and a lost internet connection can hinder the procedure and end up causing Windows 11 or 10 Update Error Code 0x800f080a. Hence, try downloading the version that was giving the error code manually at a convenient time. Steps are as followed –
- If you already don’t know, check PC specs first.
- After that, visit the update catalog page of Microsoft.
- In its specific search bar, insert the KB number you want to get.
- Click – Search.

- Look for the version that matches your PC specs.
- Click Download present next to the desired KB number.
- Double-click the downloaded item.
- Comply with on-screen instructions to finish the installation.
Get help from – How to Download and Install Update from Microsoft update catalog on Windows 10
Methods list
Way-1:] Run Windows Update troubleshooter
Way-2:] Reset update components
Way-3:] Check Windows update services
Way-4:] Resolve system corruption
Way-5:] Download and install troublesome KB version manually
That’s all!!