Currently, you can Manage Proxy Settings in Windows 10 from Settings application rather than using Internet Explorer browser. This kind of Server works as an intermediary between a client and the main server help you to hide your identity while accessing the internet.
Windows 10 includes a Proxy tab in Network & Internet Settings providing you effortlessly enable the same using either Setup script or server address. You are able to manage the Proxy from here regardless you are running WiFi or Ethernet network on your system.
Usually, you need the proxy to hide your IP address or access restricted websites. The server ensures the protection of your online privacy by blocking some tracks while browsing the web. Once you set up the Proxy, it will be used for all the application that uses your system proxy settings like Google Chrome, Mozilla Firefox, Microsoft edge etc.
Manage Proxy Settings in Windows 10
When you are reading how to manage Proxy settings in Windows 10 it is relevant to reach the location first. Settings app hosts all the Network & Internet Settings and particularly Proxy so let’s see the way to get access –
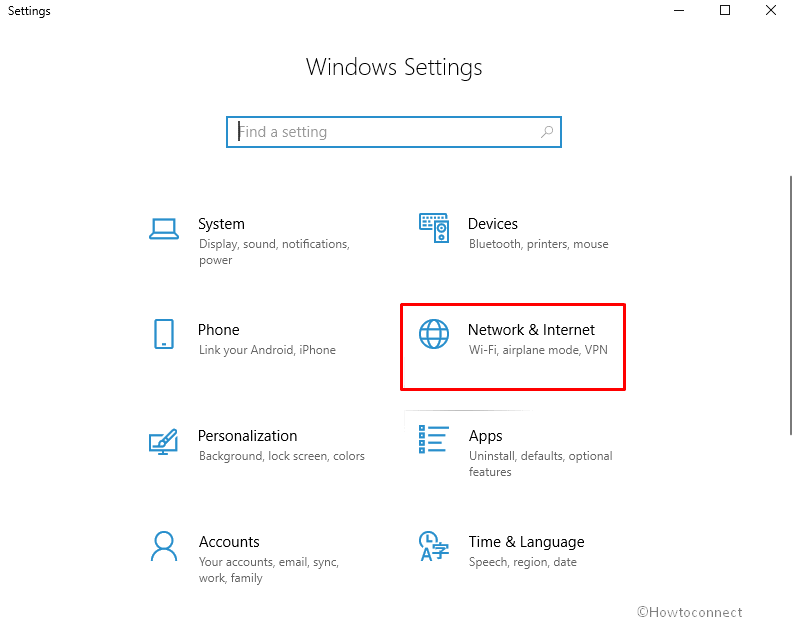
Step-1: Press Win+I to open Windows Settings.
Step-2: When the application comes to view, make a click on Network & Internet.
Step-3: On the left column, you will see an option named Proxy. Do a click on it and shift to the right.
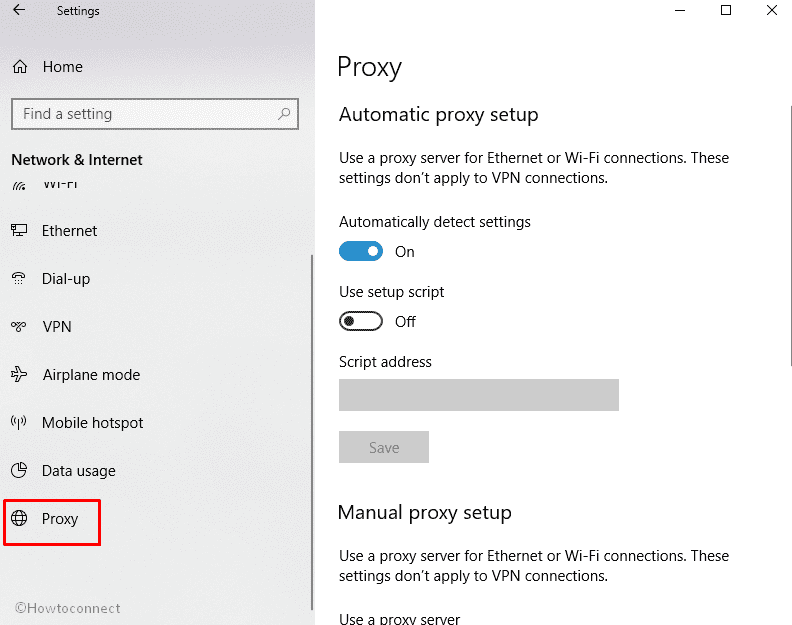
Two options are available here- Automatic proxy setup and Manual proxy setup.
Automatic Proxy Setup
Windows 10 is capable of detecting the Proxy setting on its own. With the built-in nature, it keeps the Automatically detect Settings proxy enabled. The operating uses Auto-Discovery Protocol technique to identify the proxy requirement for a system.
So if your network provider offers the feature Windows 10 automatically connects via the proxy. You only need to make sure that Automatically detect Settings is turned on. If you disable this setting Windows 10 will require a manual proxy setup to establish connection. Follow the step for checking
In the Proxy tab of Network & Internet where you reached earlier ensure that the switch is on otherwise toggle it.
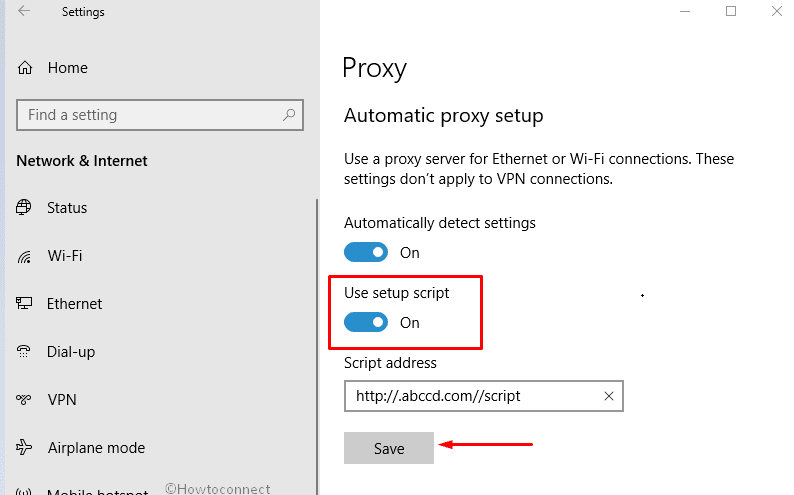
Sometimes. network providers send you a script address to make a connection with Proxy. In this situation, Turn on Use script address in this settings page.
Put down the Script address and click on Save.
Manual Proxy Setup
You can enable “manual Proxy Settings” in Windows 10 if you have a specific IP address and port for the server. Commonly, schools, colleges, and organizations provide the IP Addresses and port to the clients. Let’s see the method –
In the beginning, follow Step-1 to Step-3 and then reach out to Manual proxy setup.
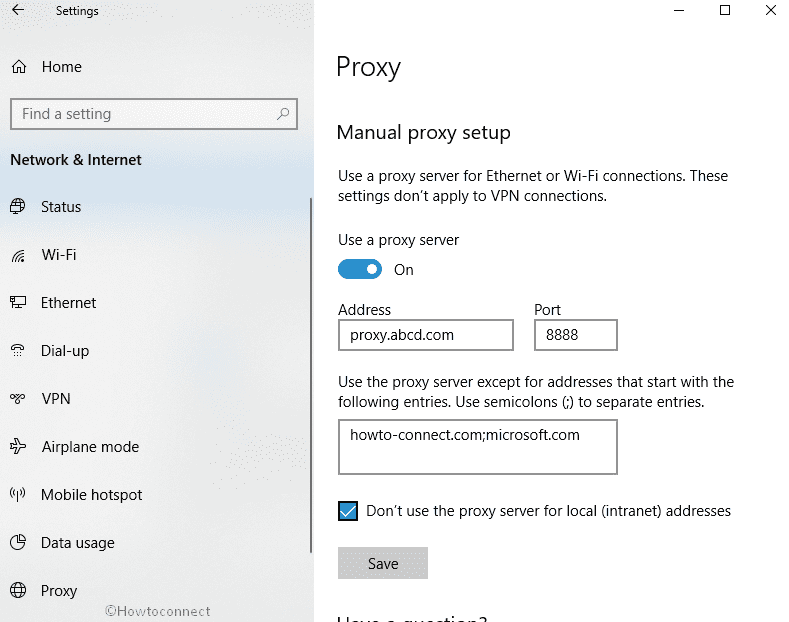
Now turn on the toggle switch under Use a proxy server. It will make the options blue.
To move ahead and write down the address and port to the specific box.
If you want to avoid a site following these proxy settings you can enter its address separated by a semicolon. In the box under Use the proxy server except for addresses that start with the following entries, type them.
When you are being connected to a corporate network, then, in the end, check the box” Don’t use the proxy server for local (intranet) addresses”.
Now do a click on Save.
That’s it. Now enjoy the Internet surfing with privacy and protection.