The instructions here guide for How to Open DirectX Diagnostic Tool in Windows 11 or 10. The built-in utility of Windows helps to troubleshoot problems related to multimedia applications. Detection of the issues associated with audio, display, and video running an advanced game is the main function of this app. Additionally, dxdiag.exe also lets you find problems that take place while using media players.
By applying the DirectX Diagnostic Tool, you can collect all necessary information about the occurred error. As a result, troubleshooting the issue doesn’t need great effort. Microsoft generally takes help of DirectX to develop Xbox games. So, whenever your video games conflict with stability and performance issues, you need to access this tool to get support. This will help you to know where the problem is coming from.
Open DirectX Diagnostic Tool
Here is How to Open DirectX Diagnostic Tool in Windows 11 or 10 –
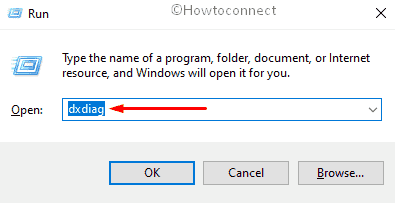
1] Use Run Dialog box
Step-1: Invoke Power user menu by pressing Win+X hotkey.
Step-2: When it becomes visible, select Run.
Step-3: Type dxdiag in the text area located next to Open and hit the Enter key.
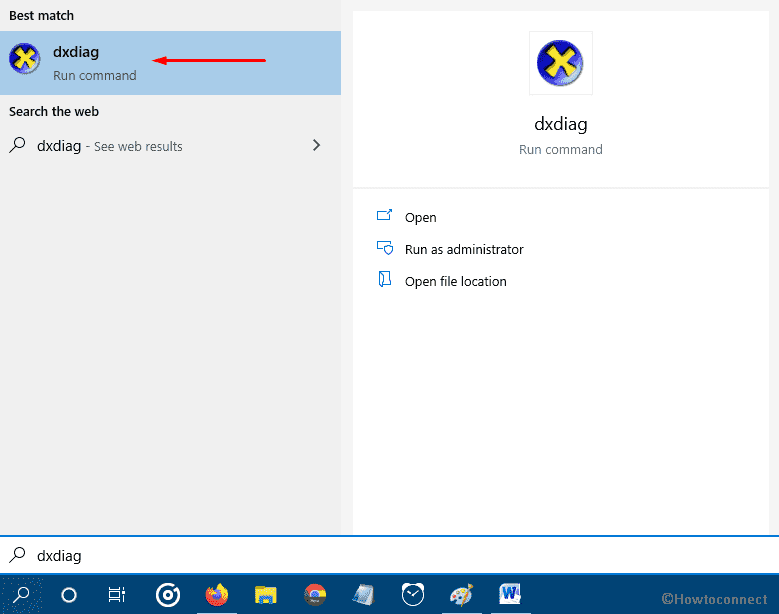
2] Open DirectX Diagnostic Tool through Windows search
- Press Windows and S keys together to bring forward search box.
- Once appears, type dxdiag in the specific field.
- When the result becomes visible, either click dxdiag from the top or hit Enter.
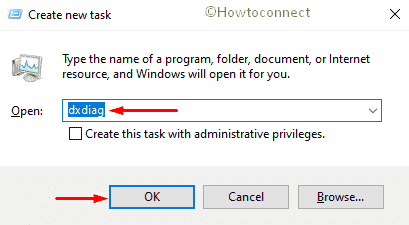
3] Access Dxdiag with Task Manager
- Right-click on any empty space of Taskbar and select Task Manager.
- Click More details if the wizard is not elongated.
- Next, click File option located in the Menu bar and then select Run new task.

- On the next wizard, write dxdiag and click the OK button to launch it.
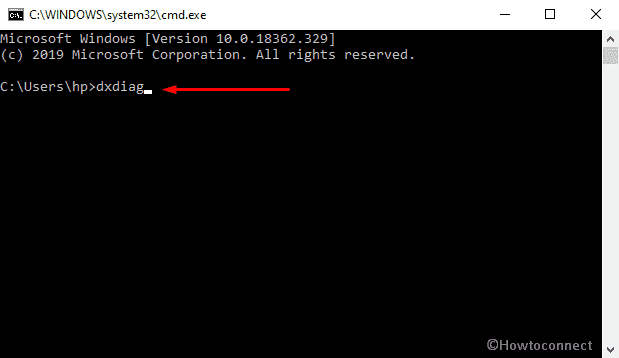
4] Open DirectX Diagnostic Tool using Command Prompt
- Press Win+R at once to open Run dialog.
- When it appears, type cmd in the given text field and then hit Enter.
- On the black panel of Command Prompt, type dxdiag followed by pressing Enter.
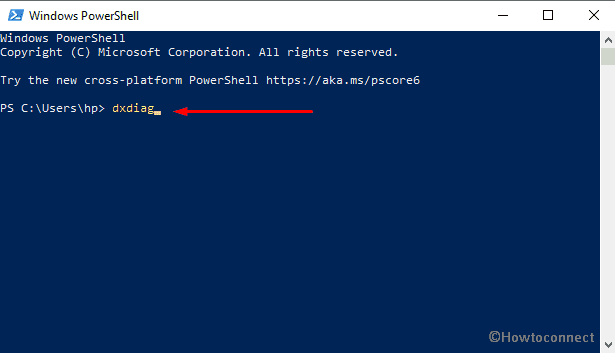
5] By means of Windows PowerShell
- Click the search icon located at the Taskbar and type powerShell.
- When you see the result, hit Enter.
- Wait for a few seconds so that Windows PowerShell becomes ready to execute the command. Thereafter, type dxdiag right after the blinking cursor and press the Enter key.
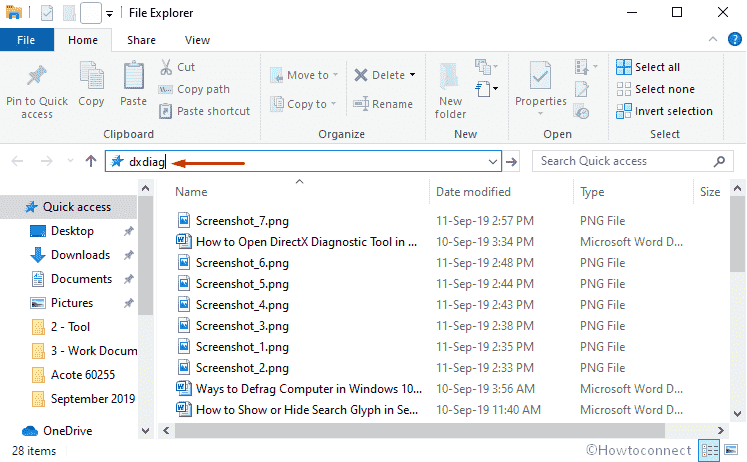
6] Go through File Explorer to open DirectX Diagnostic Tool
- Press Windows key and E simultaneously to open File Explorer.
- Once appears, move your pointer to its address bar and make a click on it.
- Write down dxdiag there and hit the Enter key to start DirectX Diagnostic Tool.
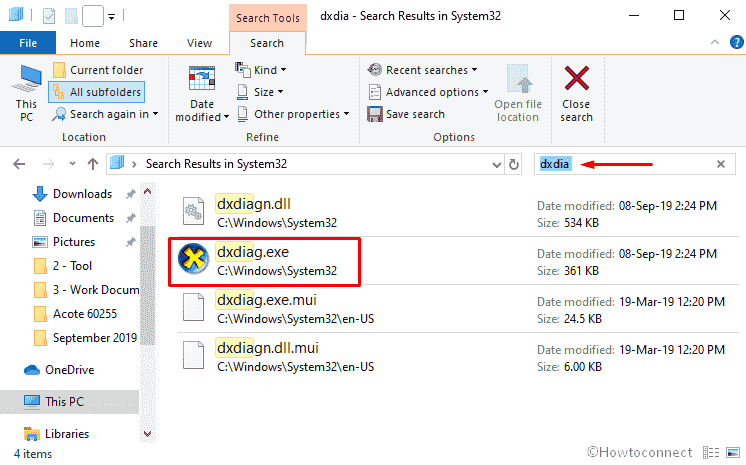
7] Explore System32 directory
Again launch File Explorer and navigate the following directory first –
C:\Windows\System32
After reaching there, press Ctrl+F and type dxdiag.
When the result shows up, select dxdiag.exe from there to access DirectX Diagnostic Tool.
8] Establish a desktop shortcut to quickly Open DirectX Diagnostic Tool
- Press Win+Q and type dxdiag in the search bar.
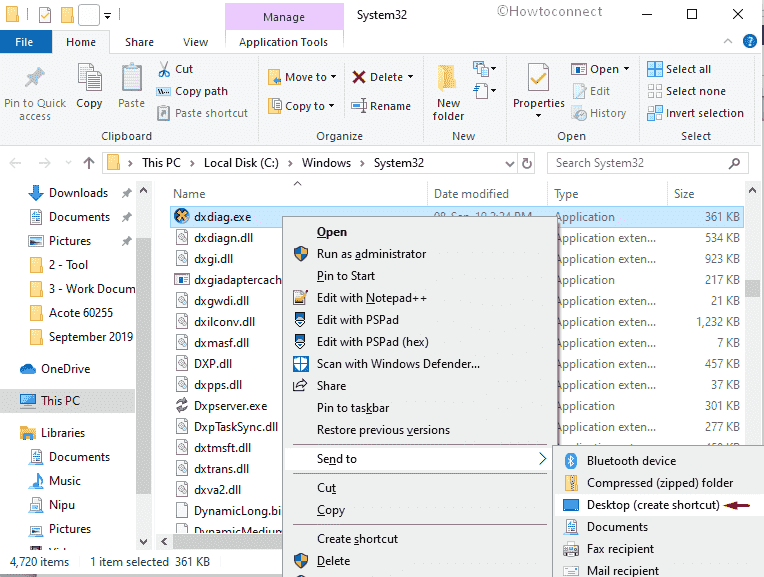
- Upon appearing the result, right-click on dxdiag and select Open file location.
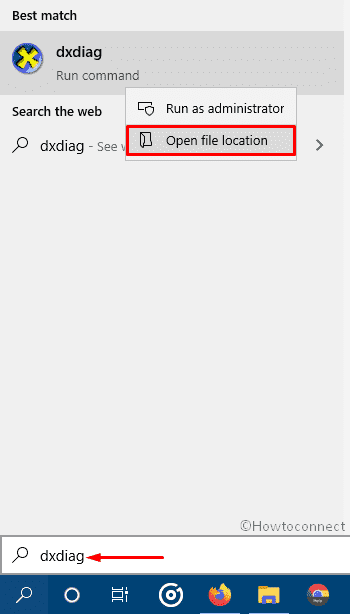
- From the subsequent page, right-click on dxdiag.exe and then select Send to>>Desktop (create shortcut).
9] Assign hotkey to run dxdiag tool
To generate a keyboard shortcut, you need to create desktop shortcut first. To do so, follow the previous method.
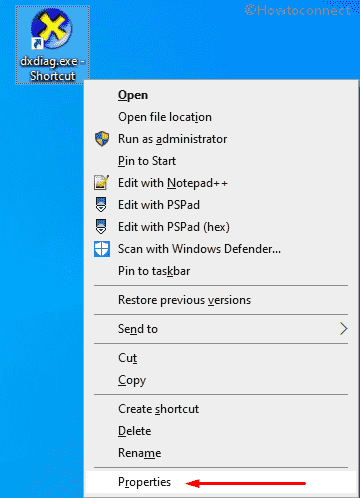
- Now, head over to desktop screen by using Win+D hotkey.
- Right-click on the shortcut you created and select Properties.
- On the next wizard, take the cursor to the bar assigned for the Shortcut key.
- Type a key you prefer. For example, we pressed D and the system automatically added Ctrl+Alt before that.
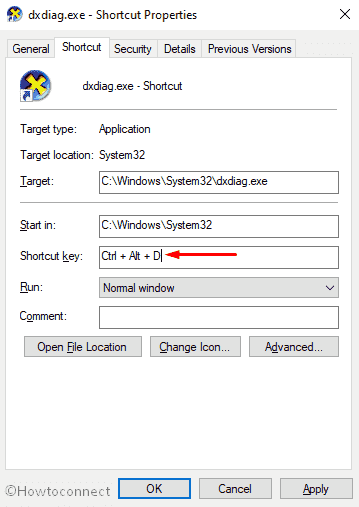
In the end, click the Apply button followed by OK.
Methods:
1] Using Run Dialog box
2] Through Windows search
3] By accessing Dxdiag with Task Manager
4] Via Command Prompt
5] By means of Windows PowerShell
6] Through File Explorer
7] From System32 directory
8] Establish a desktop shortcut
9] Assign hotkey
That’s all!!