Procedure to Run HomeGroup Troubleshooter in Windows 10 with steps. – HomeGroup is a popular networking group of Devices that lets you share items of your computer with other devices. The sharing is possible when other PCs are currently running and connected to your network. But many users are reporting various issues with HomeGroup. So, the best way to get rid of HomeGroup problems is to troubleshoot the service. Pursue a similar guide to Fix This computer can’t connect to a Homegroup in Windows 10.
So, in this guide, we will give the directions to Run HomeGroup Troubleshooter in Windows 10. The Troubleshooter was previously available in the Control Panel only but with the advent of Creators Update, you will find it in the Settings application also.
How to Run HomeGroup Troubleshooter in Windows 10
Step 1 – Use the combinations of Win&I keys to directly open Settings program on the PC screen. Well, if you are not comfortable with the keyboard shortcut, select Settings icon on the Start Menu to open the same.
Step 2 – When Settings application appears, its homepage will show up various categories, search and click Update & security.
To know more about this category, read How to Open and Customize Update & Security in Windows 10.

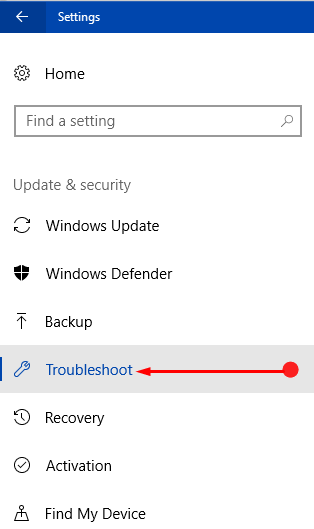
Step 3 – On the Update & security page, several sections are present on the left sidebar. Locate and click the section Troubleshoot.
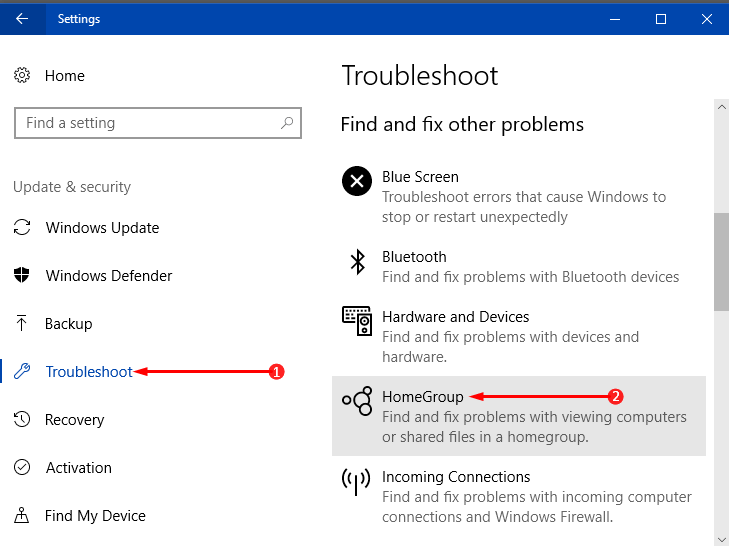
Step 4 – Move to its right pane and search for HomeGroup. You will find it underneath the heading Find and fix other problems. Once you see HomeGroup, select it.
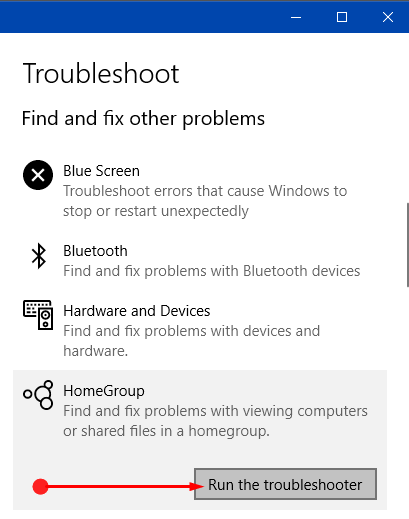
Step 5 – Now, Run the troubleshooter button will be noticeable, click on it.
Step 6 – This will immediately make the troubleshooting wizard pop-up on the screen and start detecting the issues. If prompted, you have to follow the guidelines of the wizard to complete the process.
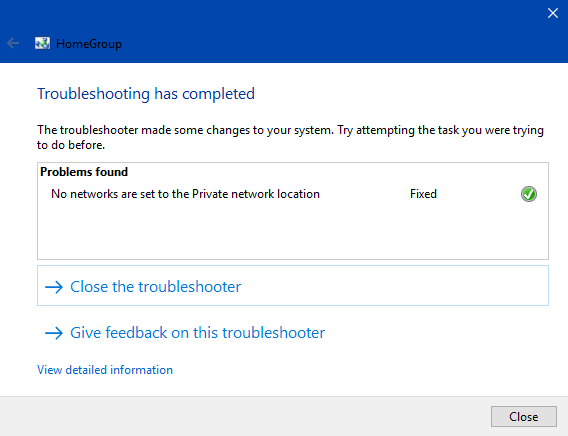
Step 7 – Once the scanning gets over, HomeGroup Troubleshooter will display the report on the issue. In most cases, the troubleshooter will apply the fix but sometimes it can also suggest you follow certain necessary guidelines.
If you are having trouble with HomeGroup password, you might this article helpful – How to View and Reset HomeGroup Password in Windows 10.
Conclusion
Hence, you can always Run HomeGroup Troubleshooter in Windows 10 whenever you encounter any issues with HomeGroup. This will be helpful when you try to join HomeGroup and it doesn’t accept the correct password. So, Run HomeGroup Troubleshooter in Windows 10 and enjoy this network sharing feature without any difficulties.