Have you ever thought of generating your own imaginative character on Windows 10?! In fact, until now I was also pretty indefinite about generating a character. Well, jokes apart; this article or post will guide you to generate a new character on Windows 10. Apart from designing your own character, there are many other facilities that you can carry on with such as modifying the existing characters or saving the characters. The Private Character Editor is an accessories program that lets you do the above-mentioned things.
When I was discussing this tool of Windows 10, I went into astonishment as there are many people who are unaware of this tool. It was very much present in the former versions of Windows but was always been left out. Like other tools or programs, it did not have much attention from Windows or even from them who are aware of it.
You may like to Read:
- Windows 10 Task Manager Menus and Processes Tab Tutorial
- Windows 10 – How to Record Screen with Problem Steps Recorder
Anyhow, let us come back to our original topic. I will show you the detail of the functioning of the Private Character Editor. But before that, we have to learn how to get access to this program.
Table of Contents
How to Obtain Private Character Editor in Windows 10
There are two ways of getting into the Private Character Editor tool. One option is from navigating the File Explorer and the second is from the Search option.
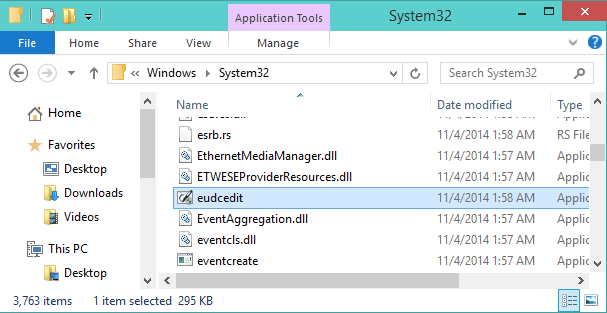
- Open File Explorer and navigate this path –
C:\Windows\System 32\eudcedit.exe.
- In most cases, Windows is installed in C drive. If your Windows is installed in any other drive than navigate the same path in that drive.
- Double hit on eudcedit.exe and there comes the Private Character Editor on your screen. It is quite a long process and so to save time you can pin it to the Taskbar or Start Screen for an easy retrain.
Now, the second method is launching your Windows Start Menu.
- Type Private Character Editor on the search area and opt the appropriate option when results arrive on the screen. This will also lead to the emergence of Private Character Editor window on your computer screen.

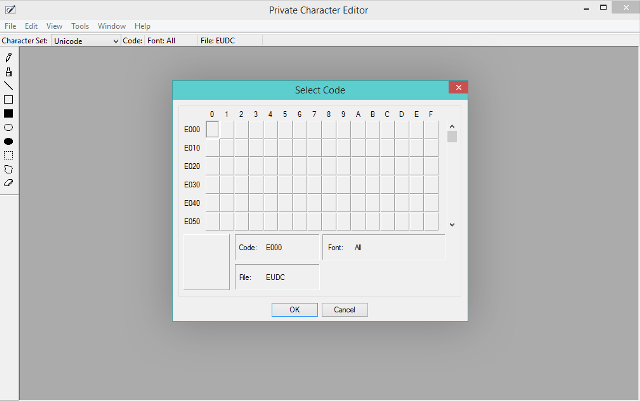
This is how the Private Character Editor looks for the first time.
Assortment of Hexadecimal Code for the New Character
After entering into the Private Character Editor, the first piece of work is to pick up a hexadecimal code for the character that you are about to generate. Every character perceives its own hexadecimal code as its identification and so you will also generate a new code now.
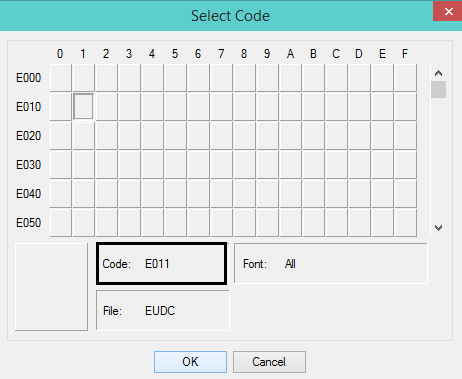
To create a code, you need to select the boxes. For instance, if you opt the foremost i.e. the first box then the code will be E000. Or if you opt for the first box of the second row than the code will be E010 and the code for the second box of the second row will be E011 and thus the flow of the codes goes in that pattern. You can opt any code for the upcoming character as per your choice.
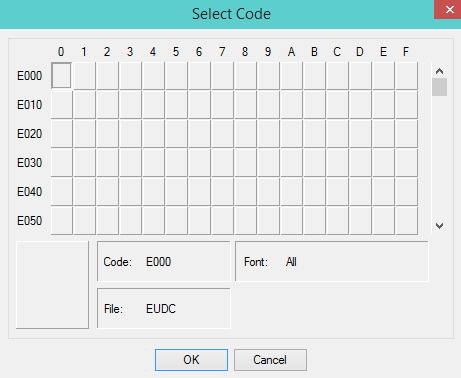
If you are experiencing the Private Character Editor as a beginner then you will find the entire grid in a deserted way. Now the foremost task is to create a hexadecimal code. And to do so simply select one box that you wish to set as a code followed by a click on the Ok button. For instance, I have selected the second box of the second row which makes the code as E011. You can see the code number mentioned in the code termed field. Have a look at the screenshot underneath for better understanding.
Dealing with Tools for Generating a New Character
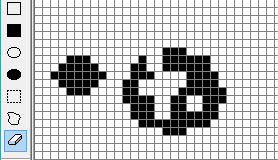
Now you will see the grid where you can produce your own imaginative character. It is a 50 × 50 grid. Doesn’t it look like a Paint program?! If I allow my students than I am sure they would end up in creating something new and exclusive. Well, keeping my students creativity apart let me guide with further details.
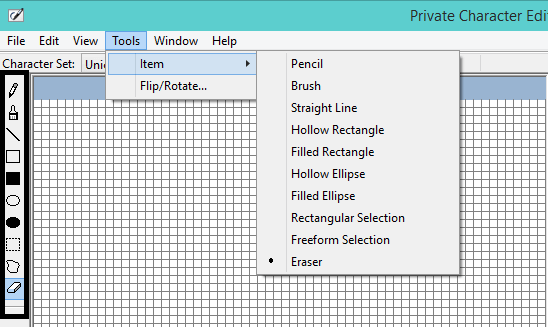
This program delivers you 10 different tools that will help you in accomplishing your creativity. The tools are observed on the left fringe of the window. You can also obtain the tools by clicking on Tools followed by Item on the Menu bar. Let’s plunge into the features of all the tools so that you can decide which one to use and also how to use it.
Pencil
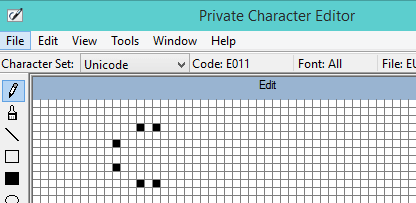
Like Paint, here also the pencil tool is selected by default. Only one square is selected by pencil tool.
Brush
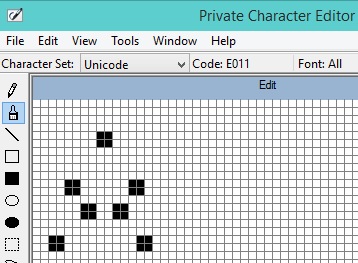
The brush tool selects 4 squares at a time, i.e. in a 2 × 2 way.
Straight Line
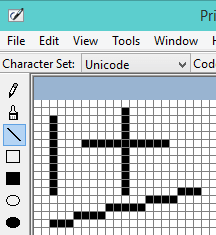
Apply this straight line tool to create any straight lines. Point the mouse on the box from where you wish to begin the line. Hold the left mouse button from that box and pull it that box where you wish to finish the line.
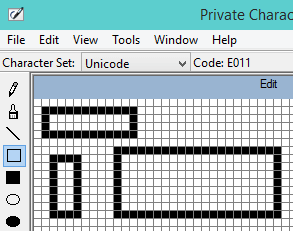
Hollow Rectangle
Implement this tool to draw any variety or sort of rectangle. When you generate a rectangle the inside portion of it will be empty.
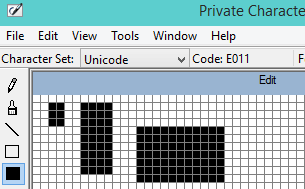
Filled Rectangle
The name itself will clear you its useful properties. If you wish to create an occupied rectangle then this is the perfect tool. Your created rectangle will entirely be filled.
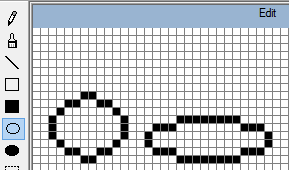
Hollow Ellipse
Just like the hollow rectangle, this tool also fulfills the same purpose but in a circular way. Create any void circular design. The size and variety depending on your creativity.
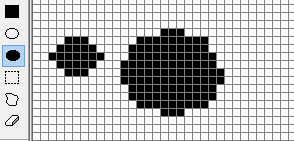
Filled Ellipse
When you create any circular design then it will be entirely packed up from inside.
Rectangular Selection
Free Form Selection –
Eraser – Here comes the best tool, eraser. This tool will help you to remove four squares, i.e. 2 × 2 areas at a time.
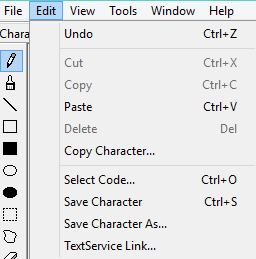
What if you need the cut, copy, or paste tools? There is nothing to worry much. Private Character Editor also provides you with these options. All you need to do is just click on the Edit option of the Menu bar and you will get everything listed there.
Get Help from the Reference Characters
The Reference Characters are those which are already there and you can take help or reference of those characters to build your own character. Now we will see how to obtain help from the existing characters.
- Go to the Menu Bar of Private Character Editor click on Windows followed by Reference.

- A Reference window with all the existing characters will arrive on your screen.
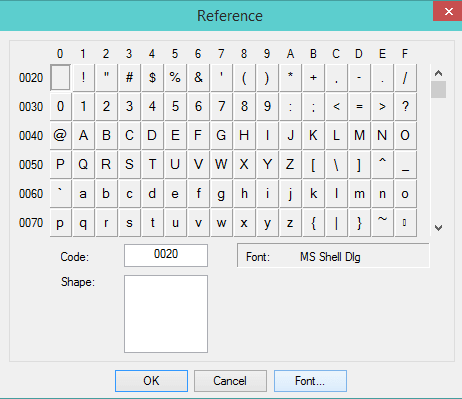
- The first task is to select the type of font. So click on Font button and go to the next step.
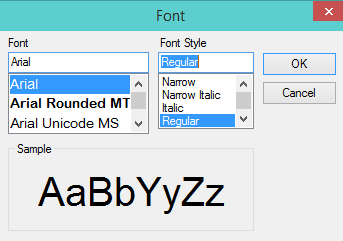
- Upon the emergence of Font window, use the drop-down menus of Font and Font Style and select the desired ones. After selecting them, click on Ok button of the Font window.
- Now again on the Reference window select the character whose reference you wish to take and click Ok.
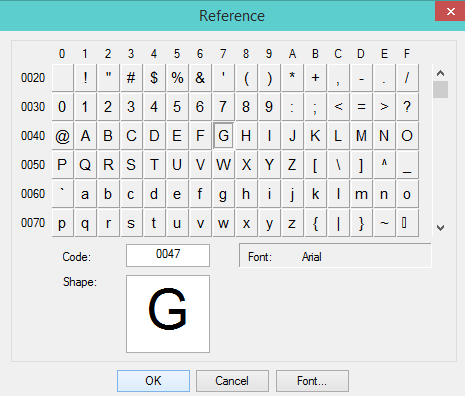
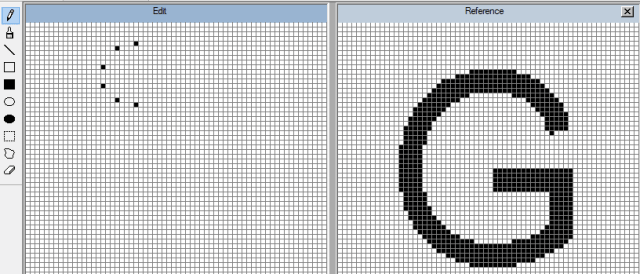
- This action will lead to the emergence of the reference letter on another new 50 × 50 grid on the right side of the Private Character Editor.
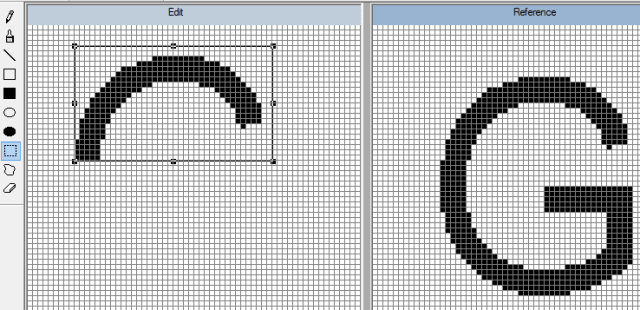
- If you are interested in any particular part of the reference then select that area and drag it on your grid. Now here you should keep in mind one thing that you cannot change the style again or reform the reference character.
- After you are over with the reference character you have to close it. So click on Windows then Close Reference.

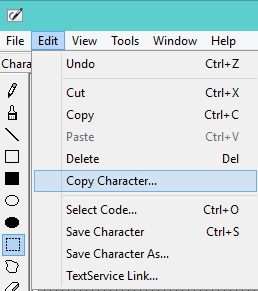
- If you wish that your new design should be established on the existing character then you have the opportunity to copy that character and place it on your grid. When you perform this action remember that all the creativity done earlier on the grid will be removed and be replaced with the selected existing character. So hit on the Edit option followed by Copy Character.
- You will be asked if you will save the character or not. Click Yes.
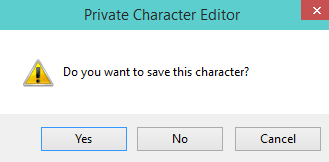
- On the Copy Character window, press the Font button and choose the desired font and suitable font style. Then again select the desired character that you wish to copy and click on Ok option.
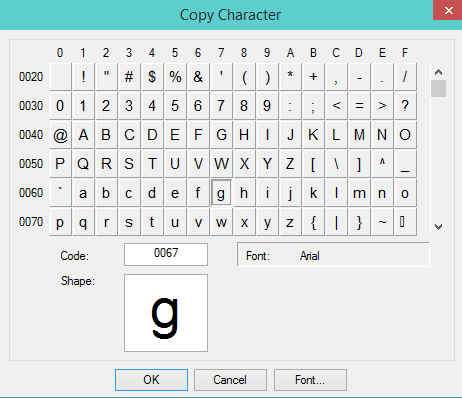
- It will now be visible on your grid.
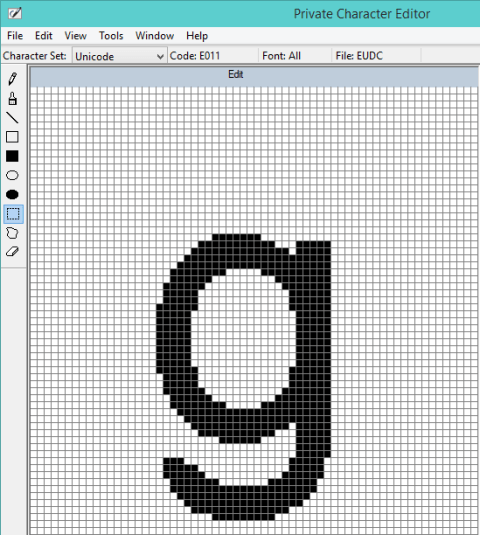
- Edit the character using the tools mentioned above.
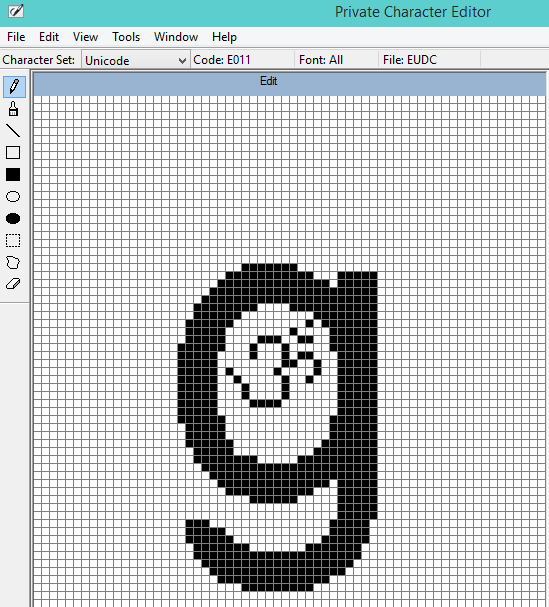
Saving and Linking a Character with a Font
You can attach your newly designed character to all the fonts or to the specific font. Private Character Editor provides you this facility so that you can attach your character to the opted font or fonts.
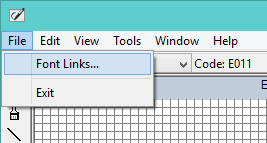
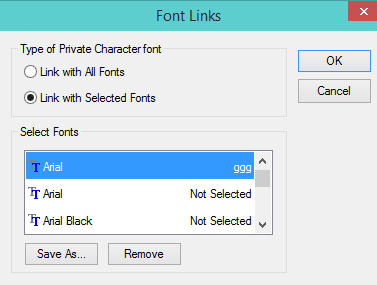
- To create a link with the fonts click on File then Font Links.
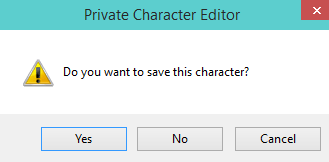
- A confirmation dialog box will prompt asking for your approval to save the character. Click Yes to continue.
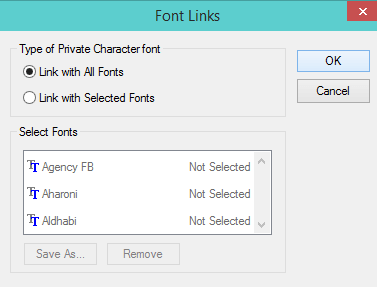
- On the Font Links window, you will see two sections listed there. One is Type of Private Character font and the second is the Select Fonts.
- Click on Link with All Fonts if you want to get it linked with all the fonts and then click Ok.
- But if you want to link it with few selected fonts than select the option Link with Selected Fonts. Then come to the second section which is Select Fonts. Choose the fonts that you wish to link with your character. After the selection is over, click on Save As button. Then provide a name for the newly designed character.
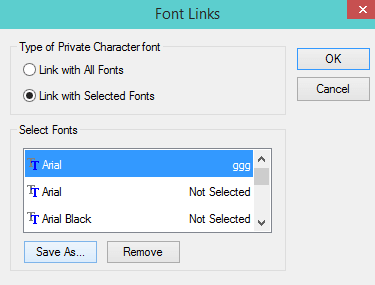
- You will see the name is displayed as a character with your selected fonts. Hit the Ok button at last.
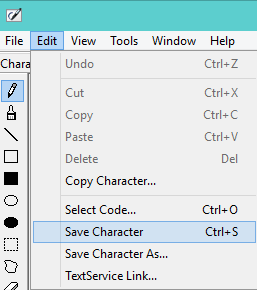
- After linking the character you have chosen with the font, you will save it now. And to save it you will keypunch Edit and then Save Character.
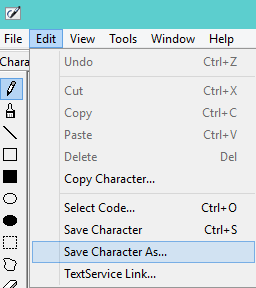
- But if you think that you should save it with a different hexadecimal code then click on Edit afterward Save Character As.
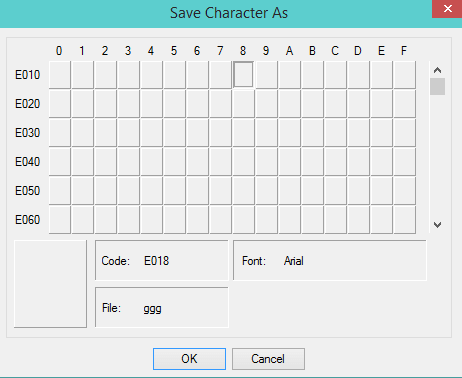
- Select fresh hexadecimal code as an identifier of your created character and click Ok.
Edit the Formerly Created Character
This section of the post will help you in editing the previously created character.
- And to do so click on Edit and then Select Code.
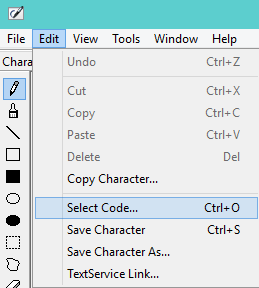
The code grid will arrive. Choose the associated box of the character and click Ok.
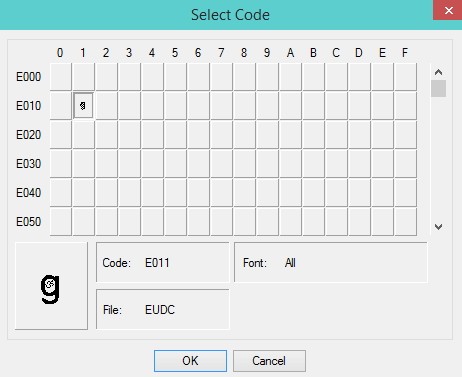
- The character will arrive. Use the above-mentioned tools and edit it as per your preference.
View and Use your Custom Character
- First of all exit yourself from the Private Character Editor by closing it.
- Launch Character Map to copy the newly created character into a document. Use the drop down menu where you find different types of Font and choose All Fonts categorized under Private Characters.
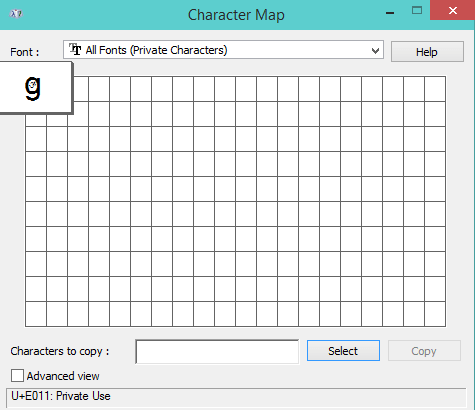
- You will get to see the designed character on the grid. Copy and paste it on your document.
Final Note
Ah! You learned such a nice thing today. This program is really very helpful for those who require a new symbol or characters in their project or some other work. I would feel very happy if you people drop down their comments on how you performed with this program of Windows 10. I am sure you are going to create something exceptional. So hurry up and start designing your imaginative characters. I will go and have some rest as I can see many tools and symbols spinning in front of my eyes. Just joking!!!
Raditya Dhaneswara
says:Hello,
thanks for sharing the tutorial on how to use the Private Characters Editor. anyway, I got a problem. I already create the new characters on the editor and it can be used. after several times, I don’t know when, the characters suddenly missing, so I need to input the characters again on the Private Characters Editor.
any suggestions or solutions on how to deal with this? please reply me, thanks!
perworcre
says:if i share my .txt file with others, thay can see it?
sunita
says:Hello, Kaisen, Are you using UTF 8 encoding.
Kaisen
says:I made a nice character, but when I try to paste it into my document, I get mojibake. What should I do to properly render the character?
Edgar Noriler Marschalek
says:Hello,
I was able to create my own characters but when i write them on a Word document they stay all on top of each other, like there is a bit of space after I write a character but not enough. Each character has the same space as 1 space bar hit, even tho the characters themselves are bigger. Do you know how to solve this? I’m creating an alphabet and I’m trying to make it functional for PCs.
Thank you.
Cody Hausser
says:When I make a character on my computer (windows 10, 64bit) the top 5 rows of my grid don’t show up in my character. Any idea on how to fix this?