Network Adapter Troubleshooter in Windows 10 is an inbuilt diagnostic tool which identifies the problematic circumstances to narrows down the connection issue. This dominant computer system software rectifies all the relevant issues and lets you fix most of the internet connection problems. Moreover, subsequent to using this troubleshooter you have to run some networking commands if necessitated and doing this may help you to gets connected.
Several users reported the occurrence of the corresponding connection issue on their machine even after resetting the entire network program. If you are one of them who have encountered a similar issue, it’s best to try out the built-in troubleshooter. Therefore, let us walk through a sequence of steps and see all the possible ways to get out of this maze.
Ways to Run Network Adapter Troubleshooter in Windows 10
Here is how to Run Network Adapter Troubleshooter in Windows 10 –
Through Windows Settings
Step-1: First of all, press Win+I hotkey and let the Windows Settings appear.
Step-2: On the following screen, click on the Update & Security section.
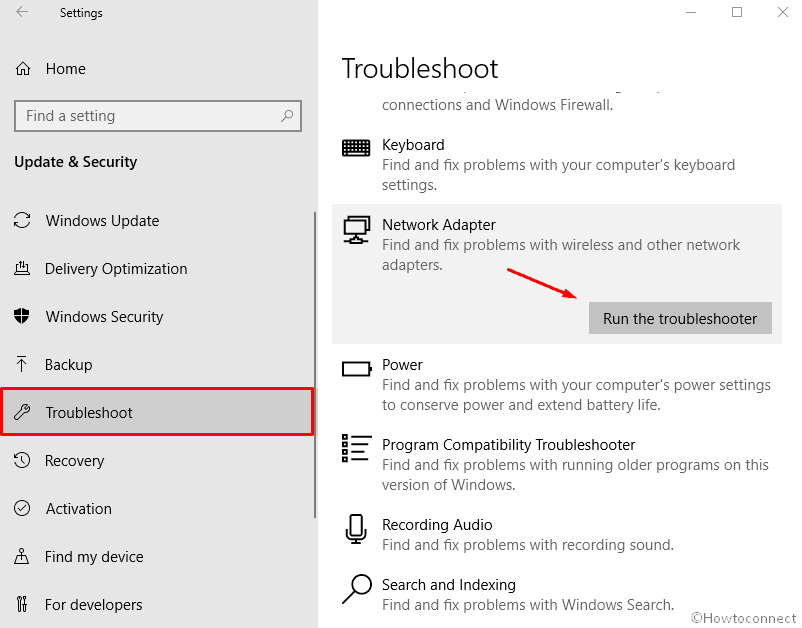
Step-3: In the left panel, locate the Troubleshoot option.
Step-4: Scroll the mouse wheel and do a click on the Network Adapter option available under the Find and fix other problems.
Step-5: Finally, click on the Run the troubleshooter.
Step-6: On the troubleshooter application, select the network adapter which you need to diagnose. If you aren’t determined you can choose All network adapters. Click Next.
Run Network Adapter Troubleshooter through Control Panel
- Go to the Taskbar and click on the Search.
- Type ‘control’ and select Control Panel from the showing result in the list.
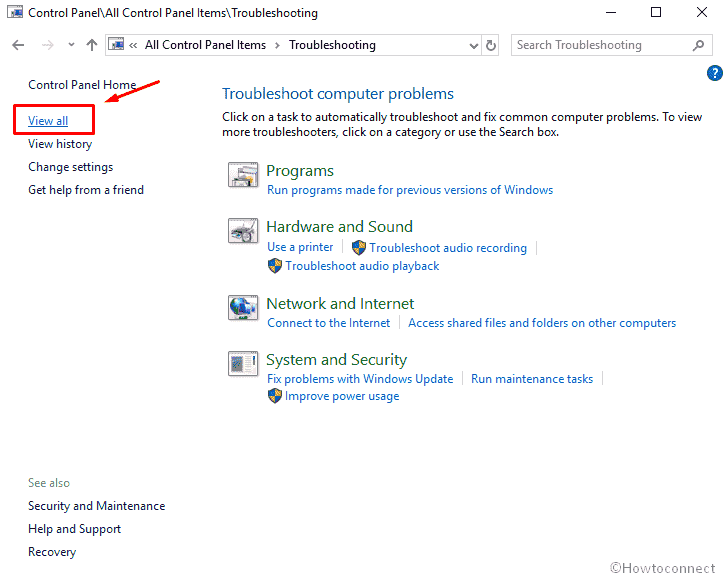
- On the following screen, find and click on Troubleshooting from the available options.
- Subsequently, hit the View all option, available in the left pane.
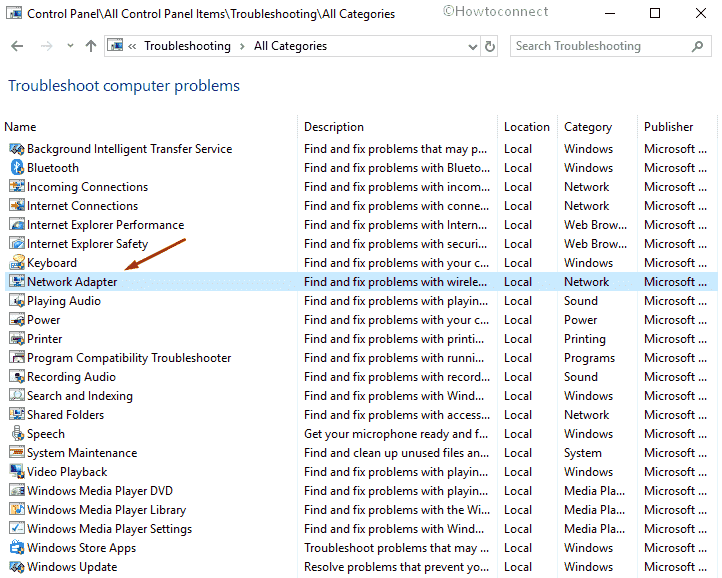
- It’ll start searching for a moment and then put forward a variety of troubleshooters.
- Locate Network Adapter
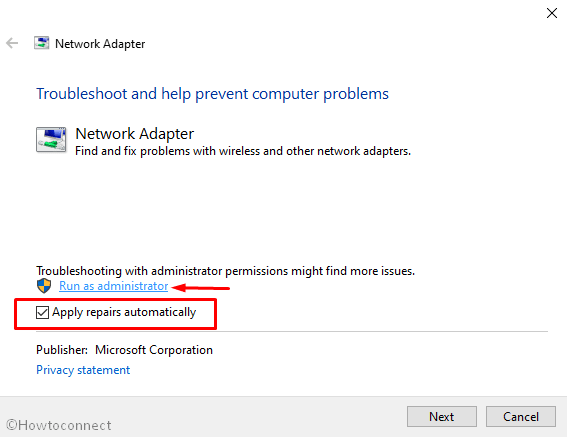
- Click on Advanced link on the troubleshooting application.
- Make sure that the box for “Apply repairs automatically” is checked and click on Run as administrator.
- Follow the step-6 of the previous method.
- This will detect and scan the problems and lastly, your device will get rid of this issue.
That’s all!!!