Recording Audio Troubleshooter is Windows 10’s built-in diagnostic tool which detects and resolve problems with recording sound. This dedicated utility of Microsoft repairs all the issues that occur when you record sound. The Troubleshooter lists out the connected devices that it finds on the computer, moreover, discover audio service status also.
Many users complain that they are not able to record voice properly even after successfully installing sound card and device. So, if you also encounter a similar issue, it’s best to try out the built-in troubleshooter. Hence, let us walk through the series of steps and see all the possible ways to use this tool. See – How to Setup and Use Voice Recorder in Windows 10.
Run Recording Audio Troubleshooter in Windows 10
Here is how to run Recording Audio Troubleshooter in Windows 10 –
Through Windows Settings
Step-1: Press “Win logo + I” keys to open Windows Settings, the built-in app. In addition, you can also launch Start Menu and click the gear icon to access the same application.
Step-2: Click Update & Security.
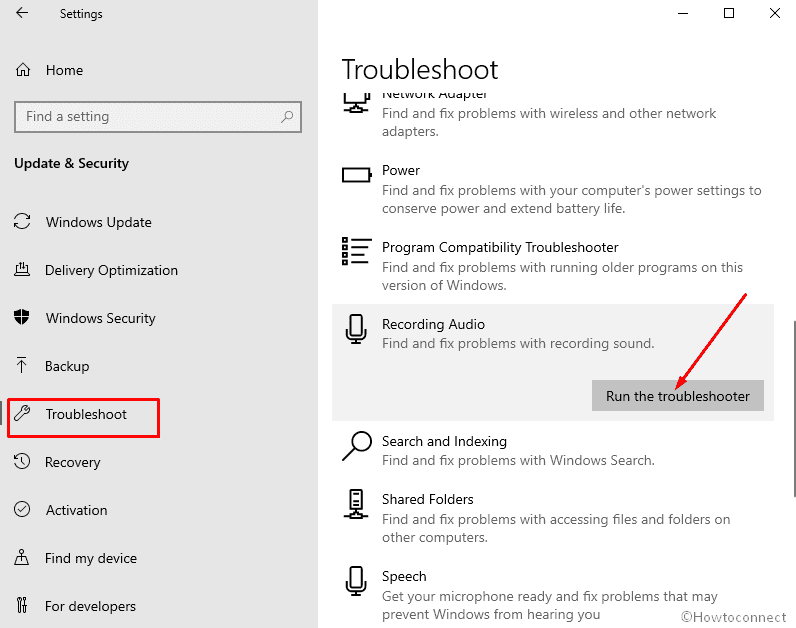
Step-3: Navigate to the Troubleshoot section on the left sidebar of the next page. Locate and select Recording Audio on the adjacent right pane.
Step-4: Click on Run the troubleshooter button.
Step-5: The Recording Audio wizard will start detecting for the issues. It will ask you to choose the device that you prefer to troubleshoot. So, select the device that is creating the problem and click Next.

Step-6: Wait for the troubleshooter to find a suitable resolution for the issue. It will try and make an attempt to repair the problems.
Run Recording Audio Troubleshooter Via Control Panel
- Go to taskbar search and type control panel in the box. Hit Enter when you see the same as the result.
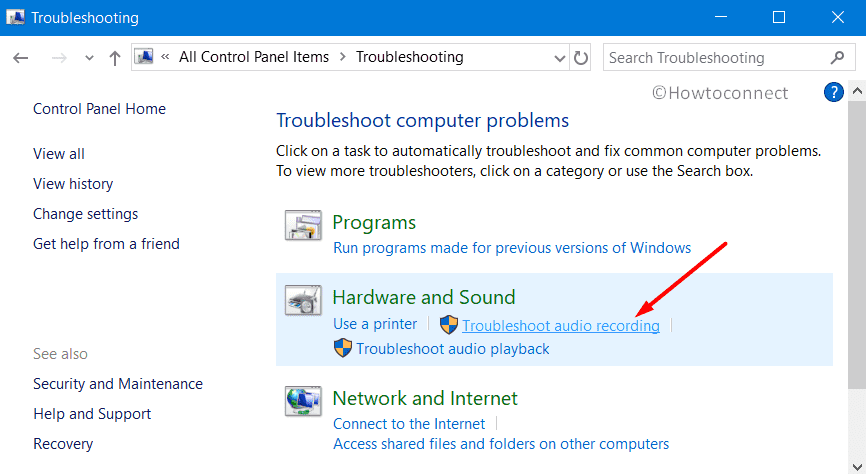
- Keep the applets into small view and click Troubleshooting.
- On the next window, click Troubleshoot audio recording underneath the section “Hardware and Sound”.
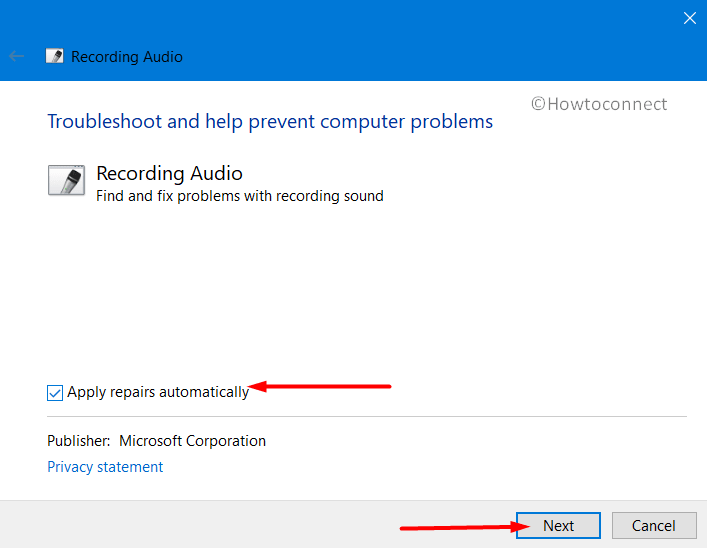
- Click Advanced. Ensure to checkmark the box Apply repairs automatically.
- Once the troubleshooter finishes the scan, it will make an attempt to repair the problems right away.
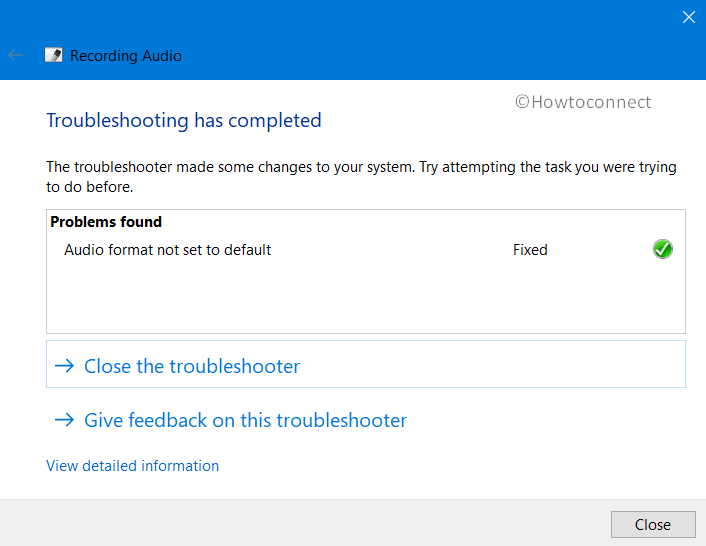
Now you will be able to Run Recording Audio Troubleshooter in Windows 10 successfully and can further record audio smoothly.
That’s all!!!