When you update Windows 10, the OS itself generates a hidden folder called $GetCurrent on the local drive of your system. It contains the installation files moreover log files of the last update. So, once you successfully install the updates, you may prefer to Delete $GetCurrent Folder.
Many users complain that after upgrading to the Creators Update, this folder consumes a huge space of around 3 gigabytes. This is because it incorporates the leftover Windows Update installation files. However, by default, these files automatically get removed after 30 days. But users still find the folder intact in the C: drive and thus there arises a need to delete it manually. You can do this using two methods and both are very easy to follow. So, let us explore the ways one by one.
How to Safely Delete $GetCurrent Folder in Windows 10
Method 1 – Using File Explorer
Step 1 – First and foremost, launch File Explorer to Delete $GetCurrent Folder. You can do this either by clicking its icon that exists on the taskbar or jointly press the hotkeys Windows and E.
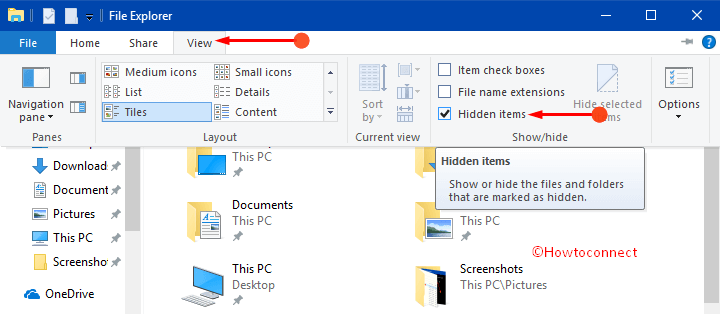
Step 2 – Click the View tab on the top as shown in the given picture and moving ahead, checkmark the box namely Hidden items on the ribbon that drops down.
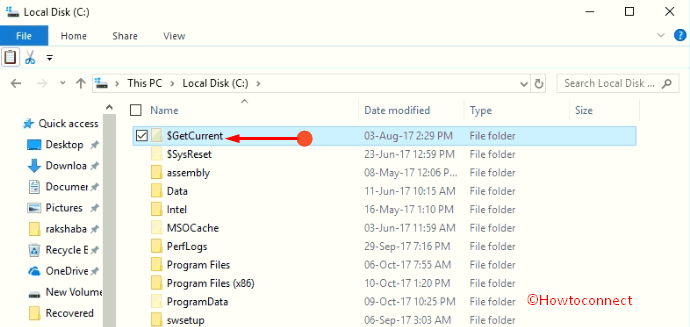
Step 3 – Navigate to the C: drive, locate the folder $GetCurrent and perform a right-click on it. Out of various options that shows up, click Delete. Instead, you can also select $GetCurrent folder and press Delete key on the keyboard.
Step 4 – If any confirmation dialog comes into view, click Continue to approve.
Step 5 – Finally, if you prefer you can deselect the Hidden items box.
Method 2 – Using Elevated Command Prompt
Step 1 – On the Cortana search field, type in “cmd” and to access elevated Command Prompt press Ctrl +Shift + Enter keys altogether. This may evoke UAC prompt, click Yes to carry on.
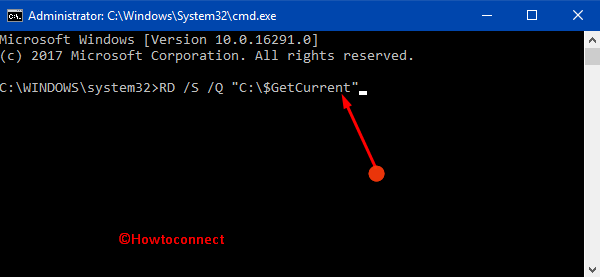
Step 2 – Copy-paste the given command and press Enter to Delete $GetCurrent Folder.
RD /S /Q “C:\$GetCurrent”
Step 3 – That’s it and you won’t see the $GetCurrent folder on your local drive.
Conclusion
Hence, you see that with these two simple methods you can pretty much easily Delete $GetCurrent Folder in Windows 10. However, you cannot view this folder because by default it is hidden by the OS. But, when you remove this folder you simply reclaim a good amount of space. If you are aware of more ways to delete this folder, do share them with us.