Many times, your email contains extra sensitive information that you want to protect from unauthorized access. Gmail gives you the ability to enable Confidential mode, a feature that stops your emails recipients from illegal use of your content by sending secure attachments. This eventually helps you prevent your subject matter from being misused in any manner. So, in this article, we will discuss the relevant way to Send Secure Email Attachments in Gmail.
Turning on the Confidential mode disable lots of options for the recipients. They will not be authorized to forward, capture snapshot, print, or download any of your secure attachments. This way, it secures the contents and files attached to your email. In Gmail, the procedure is pretty simple and you can carry out the task in just a few steps. Let us start –
Way to Send Secure Email Attachments in Gmail
Here is how to send secure Email Attachments in Gmail –
Step-1: In Gmail, click on the “Compose” button to compose a mail, just the normal way as you do. A New Message window will open at the lower right corner.
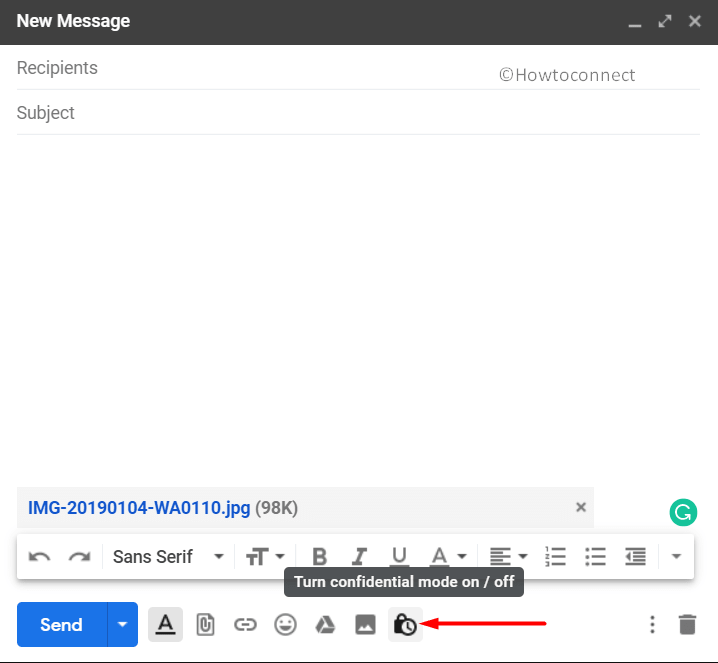
Step-2: Click the Attach files button, choose the file you prefer to send and compose the mail.
Step-3: Moving ahead, click the Turn confidential mode on/off button as shown in the below screenshot.
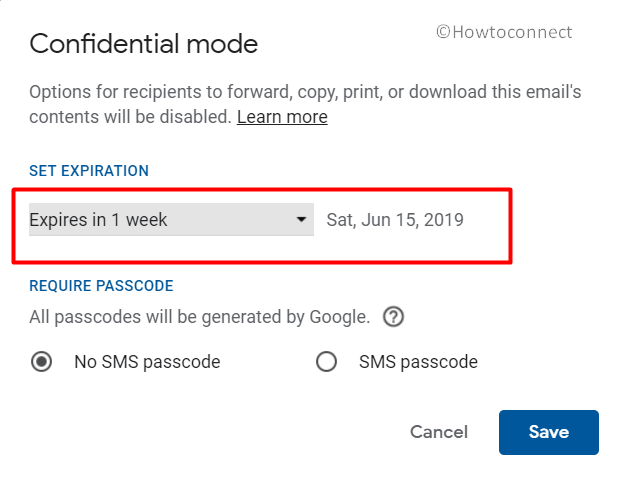
Step-4: A new Confidential mode window will appear. The will provide you options to set the expiry and choose whether to get the passcode through SMS or not.
Step-5: So, first set the expiry date as per your preference to Send Secure Email Attachments in Gmail. This action would mean that the contents of your mail will expire on the date that you set here.
Step-6: Then, select whether you want to go with “NO SMS passcode” or “SMS passcode“. This will ensure that the recipient must use the password to see the content in the email you are sending.
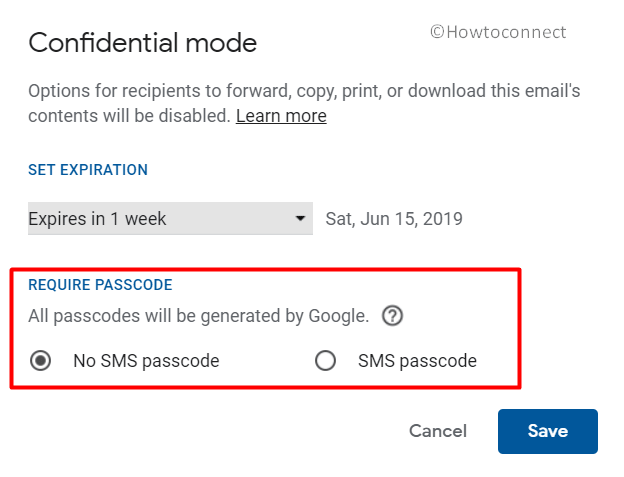
Important – The “passcodes” will be generated by Google itself.
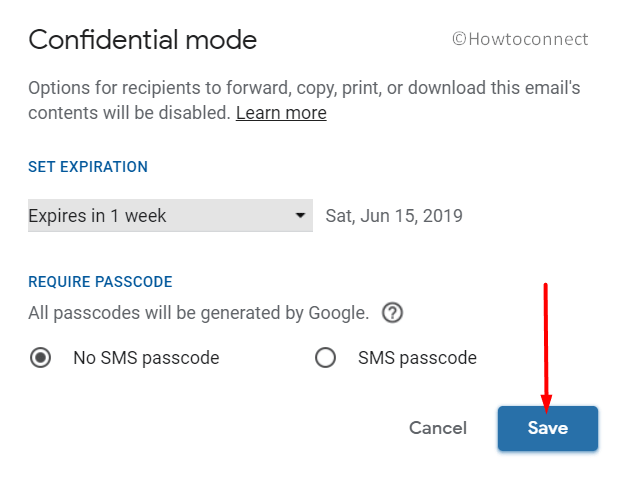
Step-7: Once you have set the requirements, simply click on the Save button.
You and the recipients will now be able to see a note slip at the bottom stating the expiry of the content.
That’s all!!!