Today in this context, we will discuss How to Take Screenshot in Windows 10 October 2018 Update. With the advent of Smartphones, Snapshot has become a common feature among the people because it is quite easy to capture one. But, often computer users find it difficult as they are unaware of different ways to do the same. By taking that chance, many third-party applications become more popular rather than the built-in snipping tool. To overcome this situation, Microsoft started working on it and successfully went to include some additional methods to take screenshots. The upgraded snipping tool will be easier to access and the sharing experience will be also easeful.
As you already know, Microsoft is about to release it’s second biggest update of this year. Like every other version, they have included lots of amazing changes and features into it along with the improved screenshot tool. Furthermore, Swiftkey, dark mode for Microsoft apps, clipboard history, and sync services will be also available.
Related – Windows 10 October 2018 Update Changes, Features Details
Take Screenshot in Windows 10 October 2018 Update
Here is How to Take Screenshot in Windows 10 October 2018 Update –
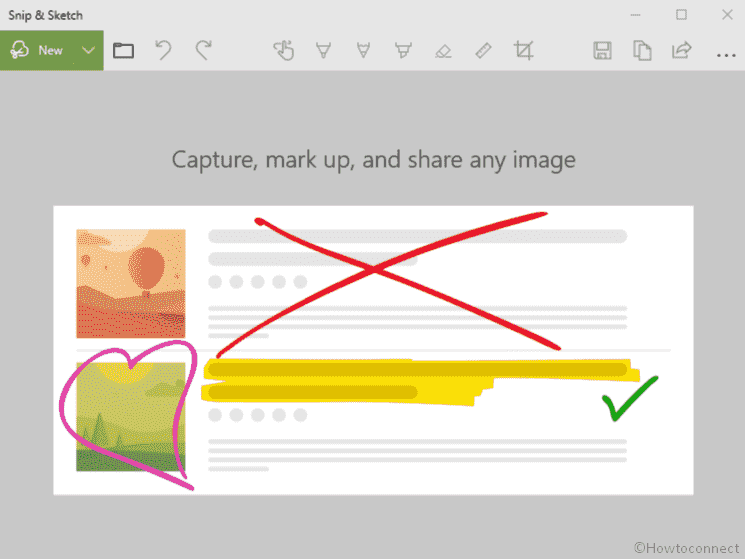
Snip & Sketch
There are expectations that Windows 10 2018 update will have a new Snipping Tool, Snip & Sketch. This utility is a new approach to capture screenshots. You will be able to take free-form, full-screen, and rectangular snips. As we said earlier, In comparison to the previous Snipping Tool, the new one is easily accessible and sharing the screenshots with this utility is quite easy.
You can use the old keyboard shortcut, Win + Shift + S, to capture the screen. However, there will be two additional methods to initiate the screen capture in Windows 10 October 2018 update. They are –
- Firstly, you need to set the PrtScn (Print Screen) as default for opening screen snipping. To do this, you can go here –
Settings > Ease of Access > Keyboard
- Secondly, users will see that the Action Center has a new button, Screen snip. Moreover, this utility automatically adds the snapshot to the clipboard and it streamlines the process of screenshot-sharing.
PrtScn (Print Screen)
When it is about capturing the whole screen, the users can press the PrtScn (Print Screen) button on their keyboard. The screenshot won’t automatically save but will be present in the clipboard. To save this, you can open an image editor (like Microsoft and Sumo Paint), paste it in that and simply save the file. Different keyboards have this button labeled differently, such as PrntScrn, PrtScn or Print Screen.
Alt + Print Screen
In order to take the brisk screenshot of an active window, the best option is to use the Alt + PrtScn keyboard shortcut. As soon as you press this combination, your active window gets snapped and the screenshot gets copied to the clipboard. For saving this snapshot, you should again use an image editing software as well.
Win + Print Screen
For capturing the whole screen and saving this screenshot automatically, you need to press Win + PrtScr. At that time, the display of your monitor will turn into grey. Mainly, it indicates that a screenshot is just taken. In order to view the image, navigate the following folder –
Pictures > Screenshots
Win + H
Press Win + H on your keyboard when you are looking to take the screenshot of the whole screen with an intention of sharing. Doing so will capture the full display and the Windows Share toolbar opens allowing you to share the screenshot via OneNote, Facebook, Twitter, email, and others.
Windows Logo + Volume Down
If you own a Surface, you can capture a screenshot as you take it in a tablet or Smartphone. For this, you have to hold (touch) the Windows Logo from the screen and press the volume-down (physical) button located at the side of your device. Hereafter, the screen will slightly dim which indicates that the screenshot is taken. In this method also, the screenshot will be automatically saved to the folder Pictures > Screenshots.
These are the coolest ways to Take Screenshot in Windows 10 October 2018 Update differently.
That’s all!