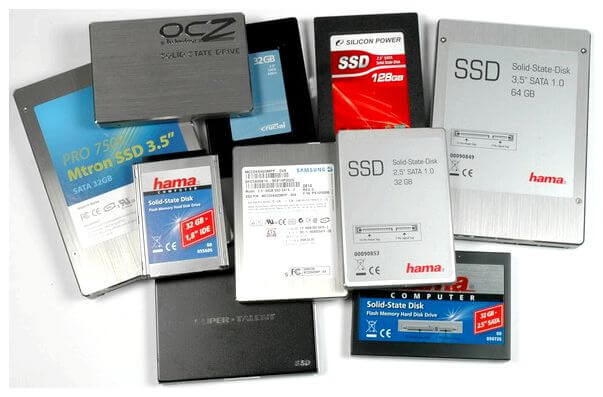
Method to Trim SSD on Windows 10 Using PowerShell with steps. – Many times, it is important to maintain the performance of your SSD drive for long durability. In this concern, TRIM command helps you to enhance the performance of your solid state drive. TRIM directs the SSD controller to purge the inoperative and unused data blocks from the storage. Find Top 5 Utilities to Analyze and Repair Hard Disk of Your PC.
The main benefit of TRIM is that it performs the removal operation in advance, and when write operations occur, it finishes it faster without wasting any time in the removal process. When TRIM does not work automatically at the system level, the performance of SSD will degrade as the time passes by. Read How to Make a Pen Drive Write Protected in Windows 10 to learn more.
So, in Windows 10, you can manually Trim SSD on Windows 10 Using PowerShell and in the below section we present you a series of steps for the same. In addition, TRIM is also compatible with both ReFS and NTFS file systems respectively in the OS.
Let us now head towards the steps and learn more about TRIM.
Trim SSD on Windows 10 Using PowerShell
Step 1 – Press Win + X keys jointly and allow the power user menu to come into view. From the list of various options, click the option namely Windows PowerShell (Admin).
Know more ways to Open Elevated PowerShell on Windows 10 After Creators Update.
Step 2 – Agree to the UAC prompt by clicking the Yes button and move to the next step.
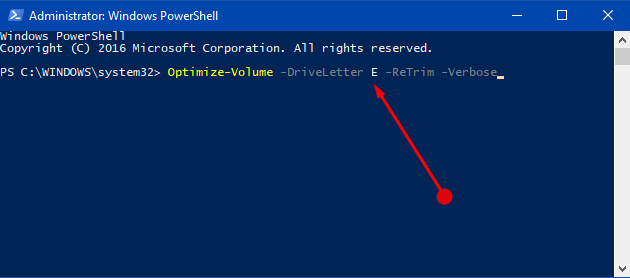
Step 3 – To directly Trim SSD on Windows 10 Using PowerShell, type the syntax given below and press Enter.
Optimize-Volume -DriveLetter YourDriveLetter -ReTrim -Verbose
Note – Make sure that you substitute YourDriveLetter in the above command with the actual letter of your SSD.
For example – The letter of my solid state drive is E and so, the final command will look as mentioned below.
Optimize-Volume -DriveLetter E -ReTrim -Verbose
Step 4 – Lastly, close the PowerShell window.
You may have noticed that in the above syntax, Optimize-Volume cmdlet was used. This particular cmdlet can accomplish numerous operations such as optimizing a volume, slab consolidation, trim, storage tier processing, including defragmentation. In case you don’t mention a parameter, then the default operation will take place for the drive and they are as follows.
1. Hard Disk Drive, Fixed Virtual Hard Disk, and Storage Space – Analyze-Defrag.
2. Solid State Drive with TRIM support – ReTrim.
3. Solid State Drive without TRIM support, Removable FAT, Unknown will refer to No operation.
4. Thinly provisioned Storage Space, thinly provisioned SAN Virtual Disk, Dynamic Virtual Hard Disk, Differencing Virtual Hard Disk – Analyze -SlabConsolidate -Retrim.
5. Tiered Storage Space – TierOptimize.
For reference, you can read Windows 10 – How to Access Disk Management, Handle Partition.
Final note
Completing the above simple command will make you able to Trim SSD on Windows 10 Using PowerShell. When you execute the command, cmdlet will create TRIM for all the unused areas of the volume informing the underlying storage that the areas no longer need and thus can be cleaned. Well, if you know more ways for this TRIM, write to us in the comments below.